
Posts and pages are what builds up Wordpress.com then you should know about them if you want to use them. You may be confused because there are many boxes, options and settings appeared on the screen. All these things are known as modules which helps you edit and customize your post and page. If you want to clearly understand about them, do not miss out this topic because I will show you how to generate and edit post and page screen on WordPress.
How to generate and edit post and page screen on WordPress
Creating and editing post screen
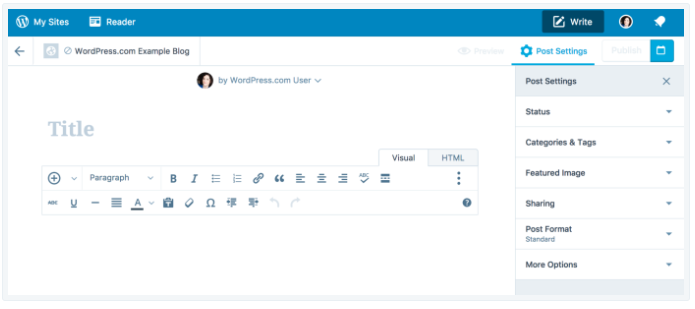
To generate new posts or edit existing posts, you can go to My Sites → Blog Posts → Add to show the Post screen and it will look like this:
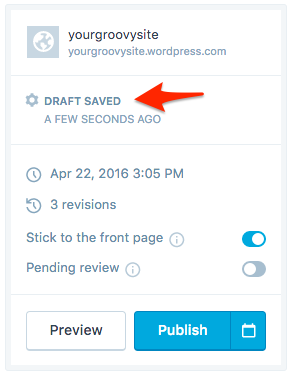
When you create a new post, you will find that the status of the screen is ⚙ New Draft. However, it would be ⚙ Published if you are editing an existing one with everything else on the screen is still the same.
There are different modules on the display which includes three major parts: Title, Editor and the options module. As the name of them demonstrates, you need to enter the name for your post on Title and its content on Editor. Meanwhile, the options module allows you to save, publish posts and preview changes. When you change the status of your post, the module will change as well. For example, in the below photo, the module shows that the draft was saved a few seconds ago and the post has 3 revisions.
Besides, there are other modules available in a post screen:
Categories & Tagslets you add and edit the categories and tags of your postFeatured Imagecan be used to show unique custom header photos for specific posts and pages or set thumbnails for special features of your theme.Sharingallows you to do things with sharing action, such as displaying sharing buttons at the bottom of the posts and automatically share your new post on social media with thePublicizefeature. You can also get the shortlink of your post.Post Formatallows you to use templates for your images, audio files added in the post.More Optionslet you geolocate your post, write an excerpt, update the slug, and allow comments and pingbacks.
Generating and editing page screen
The interface of the Page screen is quite similar to the Post screen that the only thing is different here is Post is replaced by Page. You can compare the below image with the one in the previous part then you will see the point.
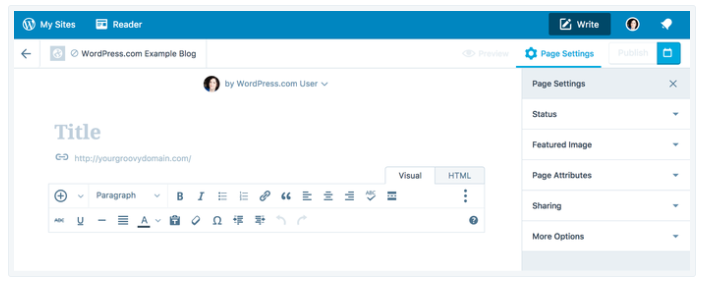
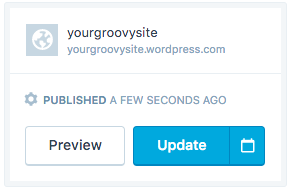
You can see that there are different sections on your screen which means they are used for different purposes. Similar to Post screen, Title, Editor and Publish box are the most important parts of a page. Particularly, Title is where you enter the header for a page, Editor used for content filling and Publish box is where you save your pages, publish them, and preview changes. If you create a new page, it will be as followed:
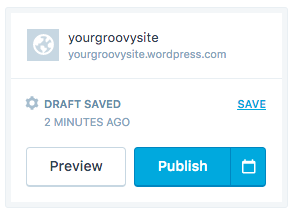
After publishing, this is how your screen display will look like:
Conclusion
Overall, this writing has given you the introduction of how to generate and edit post and page screen on WordPress. The Post screen and Page screen is similar in several ways that it does not take much of your time to understand and follow the above instructions. Hence, I hope you enjoy reading time and can gain some benefits from this topic.

