Featured images can be a tool which helps you express the mood, content or theme of a post or page. Moreover, these photos can also be used to boost the presentation of your blog or website or in other words, it helps to change the design for your page, to be more beautiful and eye-catchy. It also contributes to increasing the uniqueness of your site because you can use your own photos for the featured or custom header images. Thus, featured images are such a powerful assistant that you should utilize and if you wonder about the process of how to configure a featured image for a post or page on Wordpress, follow this writing to discover the instructions and notes to practice it.
How to configure a featured image for a post or page on Wordpress
Set a featured photo
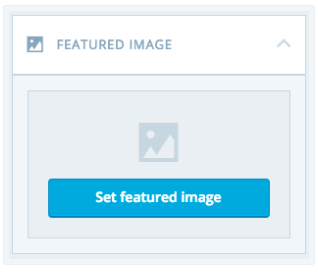
First of all, you must be certain that you have selected the Featured image in the Screen options of the Add new and Edit post page then you can go for the next steps. Open the editor of the page or the post you want to use the header image for then look at the settings on the right of the screen display and press on the Set Featured image under the Featured image section.

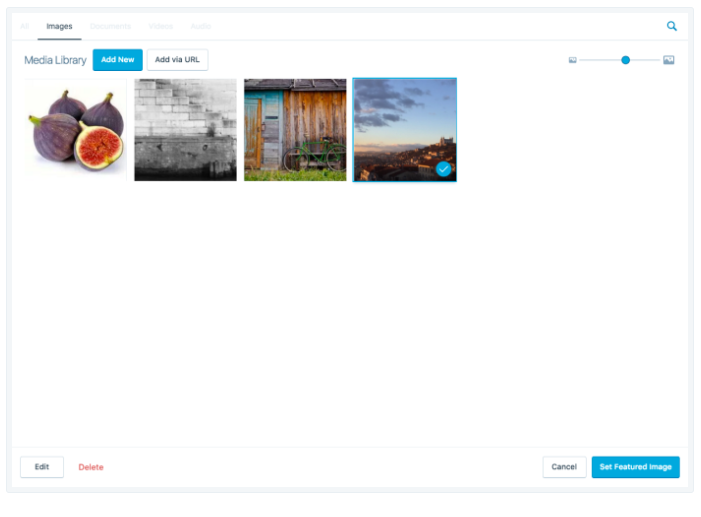
A window will show up which is similar to the one you see when inserting a picture in your blog post. You can upload a new photo from your computer or use one of the pictures in your Media Library to be your featured image. When you choose an image from the Media Library, a blue outline and checkmark will appear on it that even if you are out for a while, you can easily know which one you have picked when you are back. You can also customize the image by clicking on the Edit on the left bottom of the pop-up window.

In case you want to use a photo from your computer, press on the Add new and find the file then upload it. Be noted that for different themes, there are different requirements for the size of featured images that you should check it before deciding to use any photo. After that, if you are satisfied with your selection, click on the Set featured image button and you will see your post/page editor again that you need to select Update to save your changes.
Change or remove a featured image
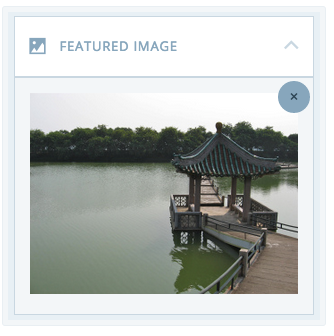
If you have a second thought and would like to remove or use another featured image, you can go to the editor of the post/page again. After that, click on the x icon under the Featured image section on the right of the screen display then choose Update and there is no featured image and the custom header image will be shown. In case you want to update a new featured image, just re-do the process of setting a featured photo in the previous part.

Add a featured header image
Because this features only runs with themes supporting the use of custom header images and having featured header images enabled, hence, you should check your theme first before starting this set-up. Additionally, you can edit the header image for the About page only.

Besides the featured header images, a number of themes provide users with alternative featured images, such as slideshows, post thumbnails, and images attached to featured posts.
Reated Posts
Conclusion
In short, this writing has given you the process of how to configure a featured image for a post or page on Wordpress. It seems to be long and complicated, however, the steps are simple and easy to follow that it will take just a few minutes to practice. Hence, I hope you find it interesting and useful or at least, you can have a good time reading this writing.


