The Profile on WordPress enables each of its user to perfom the "author information" that is associated with all the content the user posts online on WordPress.
So, you may ask, what is included in the "information box"? The Profile section lets you specify the way your name is seen and displayed on all your blogs, writings on site, your email adress included for administrative purposes as well as other personal information and personal preferences related to your WordPress user account.
In this article, you will be shown all the corners of the "information box" called Profile. So let's take a closer look on what is included in the overall Personal Settings to get a clear gasp on how to edit your profile on WordPress.
To edit your profile on WordPress
Access Personal Settings
To edit your profile, you may consider to start from Personal Settings. So how to access the Personal Settings section on your WordPress account page?
Easy done in just 2 steps!
- Step 1: Go to WordPress.com
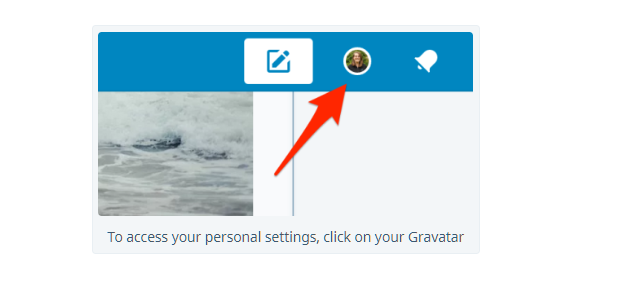
- Step 2: Click on the me icon. What is the me icon? Well, it is your Gravatar - your avatar picture at the top right hand corner of your homepage, as shown:
The Profile tab
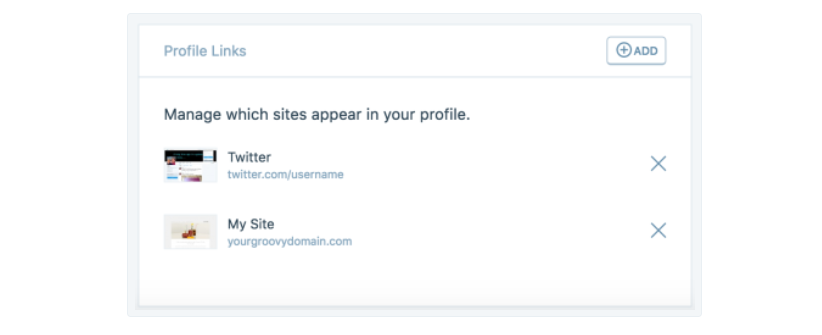
The first tab of the information box called Profile is the Profile tab. You may ask, what is in this tab? Not so much of the most displayed information of yours, which you can edit: your First name, Last name, Public Display name, About me. You may show a part of yourself here. And it is not just about the name, right?
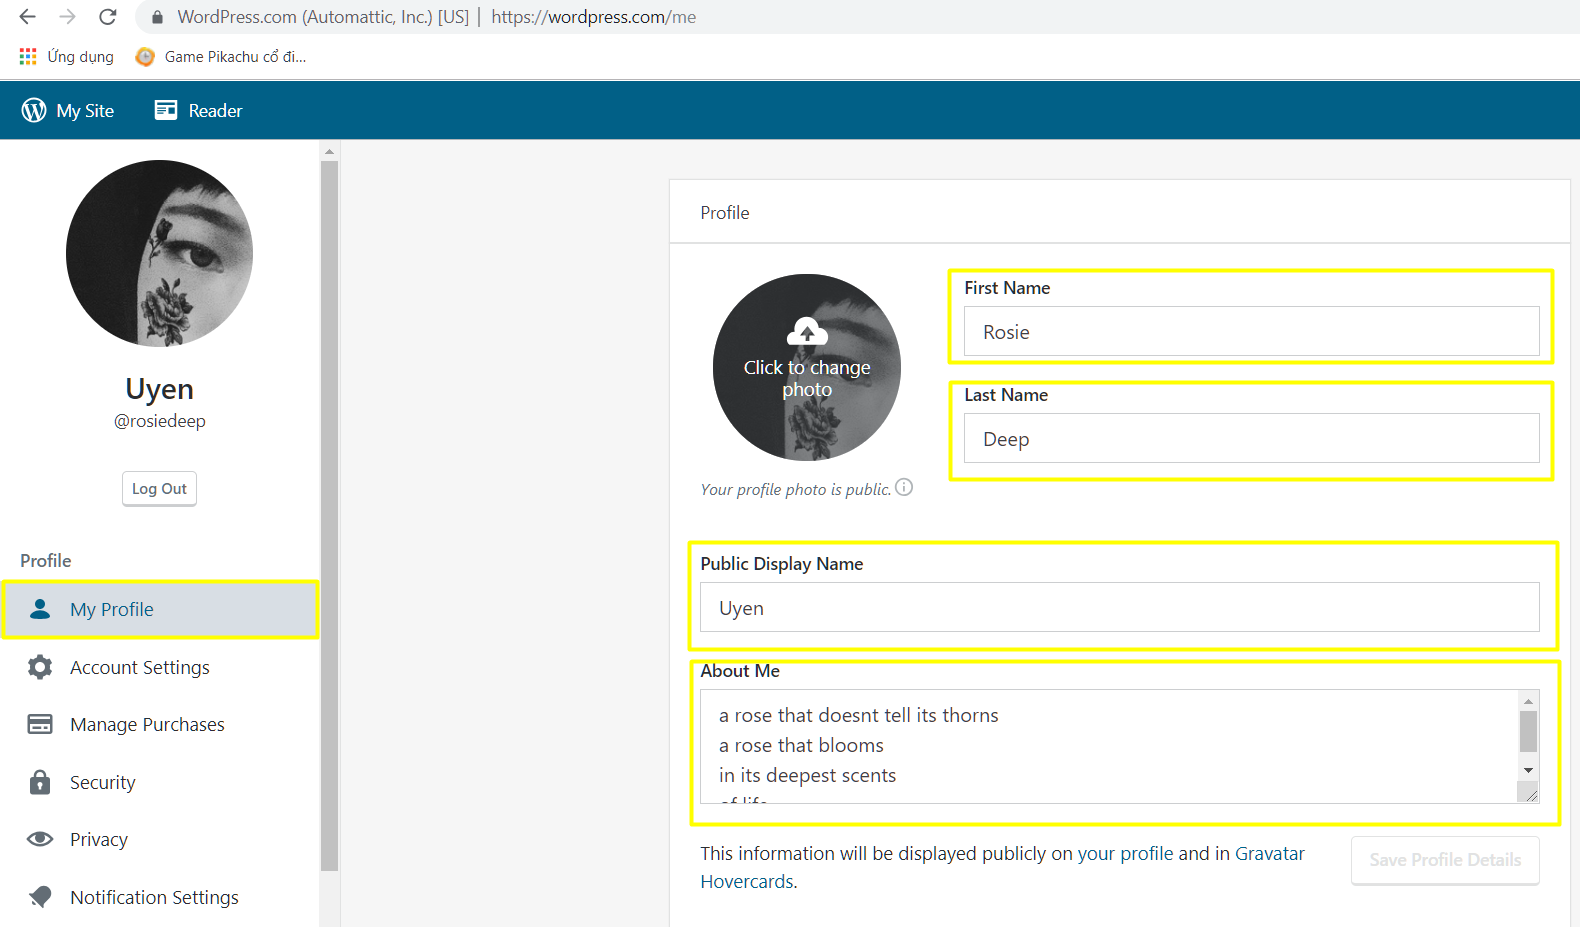
In your Profile tab, you can also add profile links, which will be displayed as part of your profile:
The Account Settings tab
Let's get to the second tab of the information box - the Account Settings tab.
This tab is focused on the settings directly related to your account. Here, you will be able to modify your username, the email address associated to your account, which of your sites is your “primary” site, what URL you would like to display as part of your profile when you comment on posts and what language settings you would like your interface to be in.
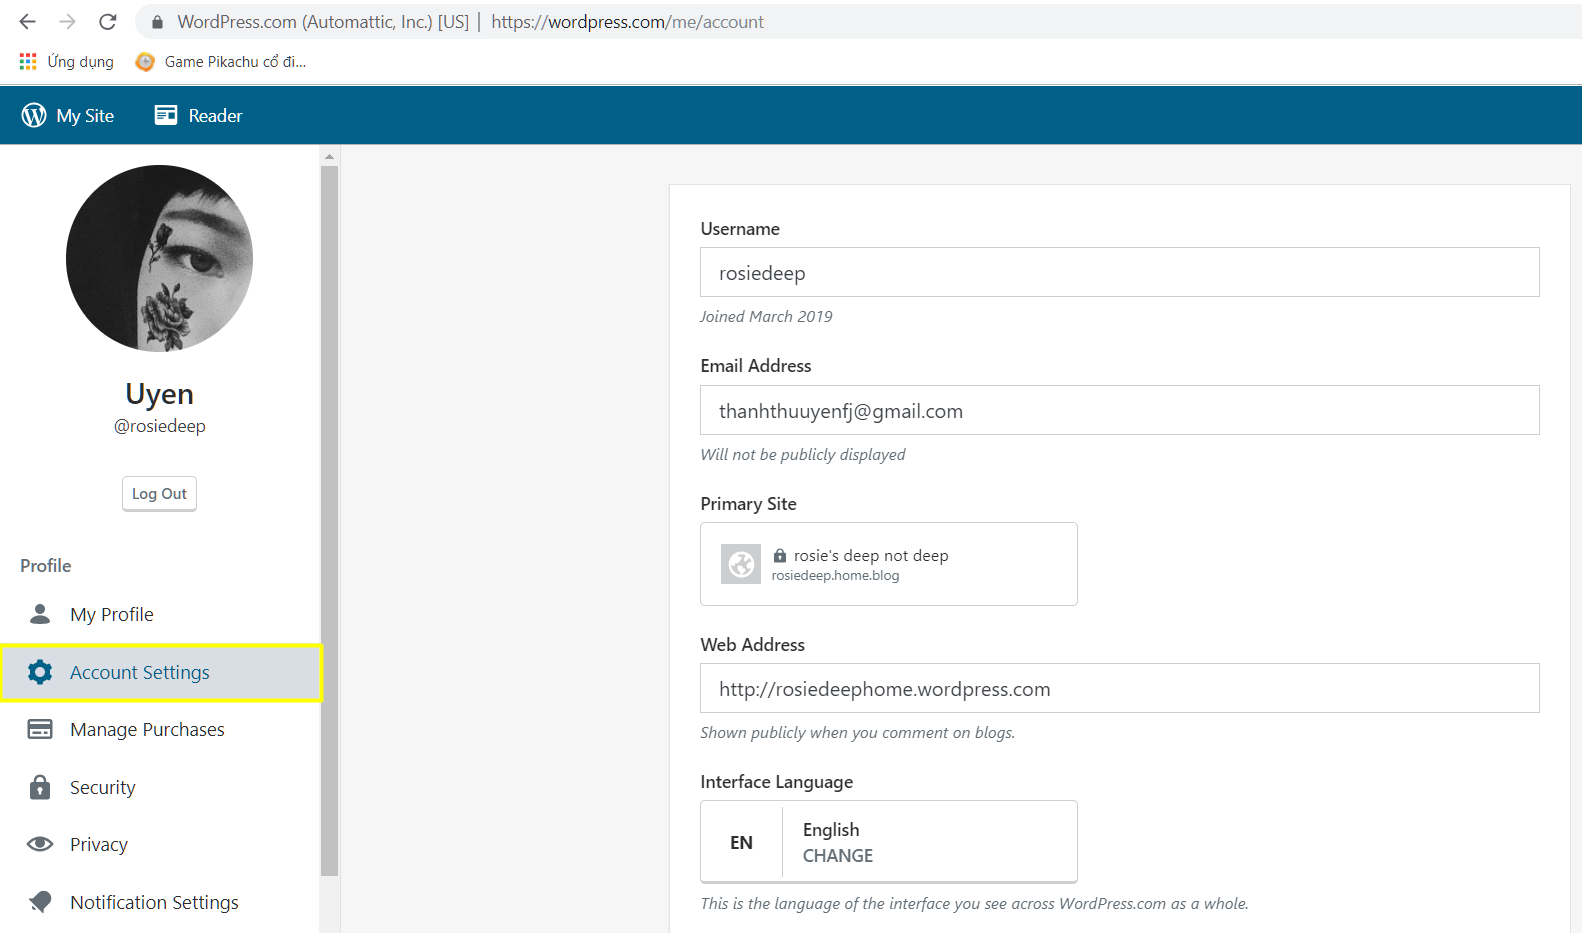
However, note that the username cannot be changed back once you change it nor can you or anyone else use the old name since it will be unavailable. So, if you just want to change how your name shows, only change your Display name. Change the display name
The Manage Purchases tab
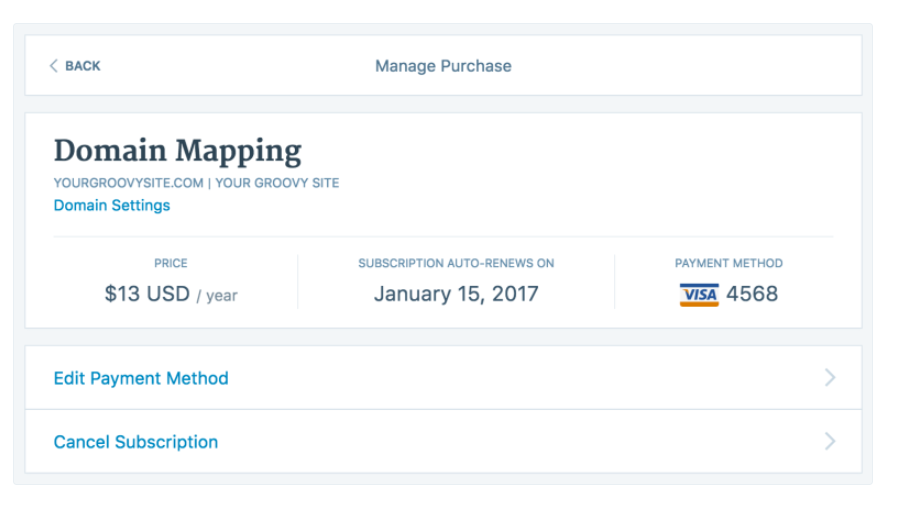
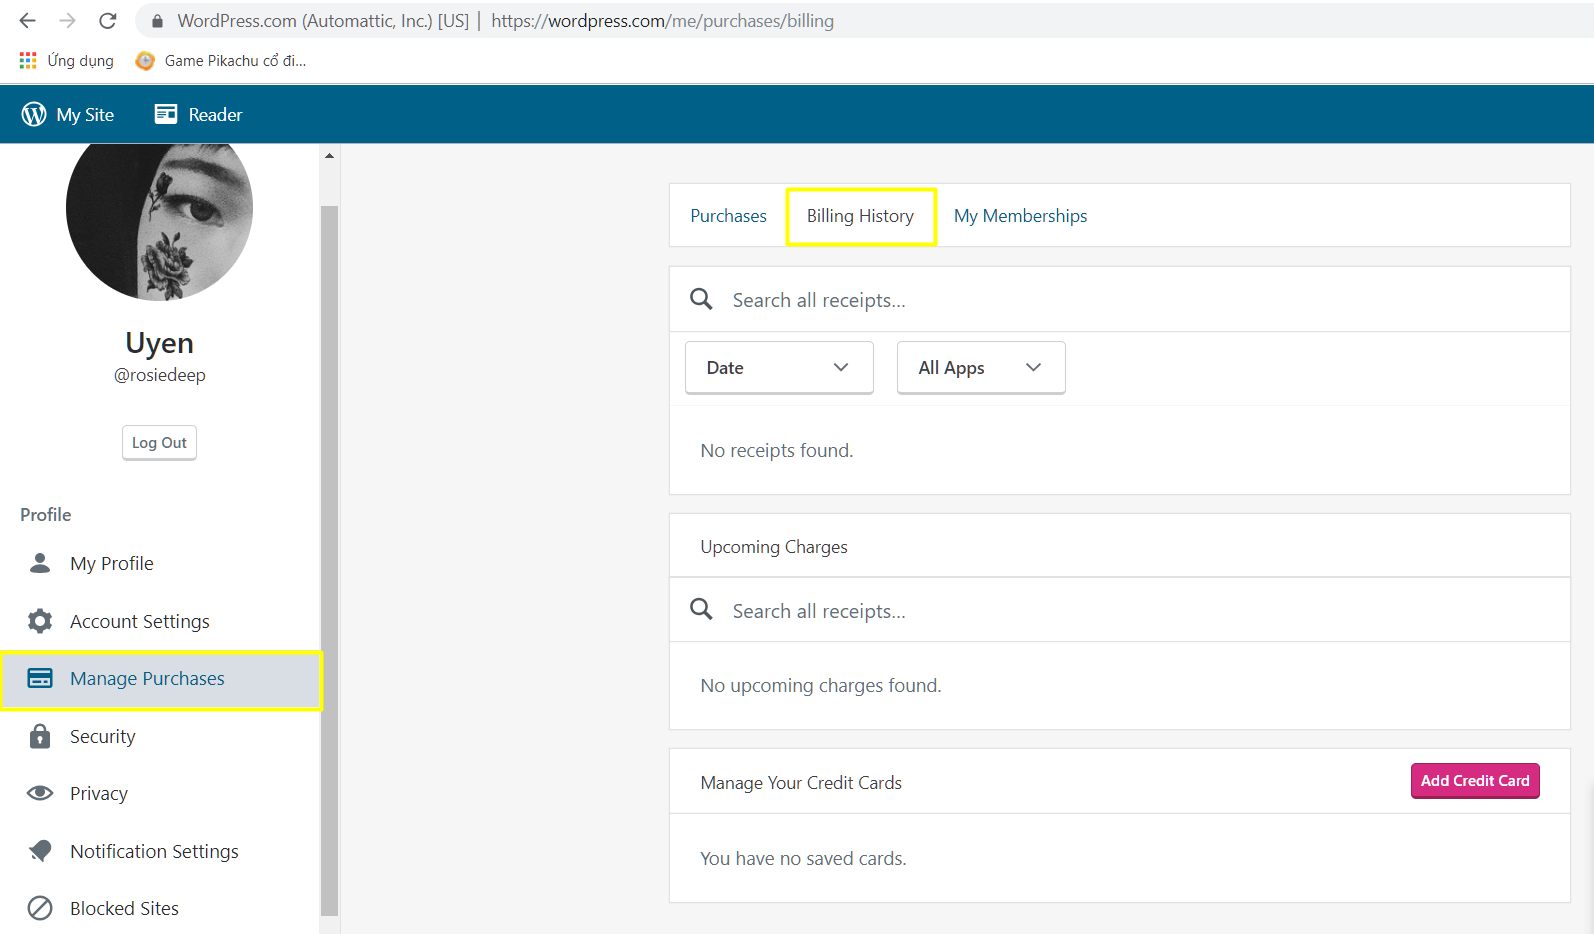
It is clear what this tab does - manages your purchases made on WordPress. You will be able to see which upgrades you have for your sites, as well as renewing and canceling them. This is also where you can edit the payment method for your purchases in the event your card has expired. This section also includes your receipts in the Billing History.
Security
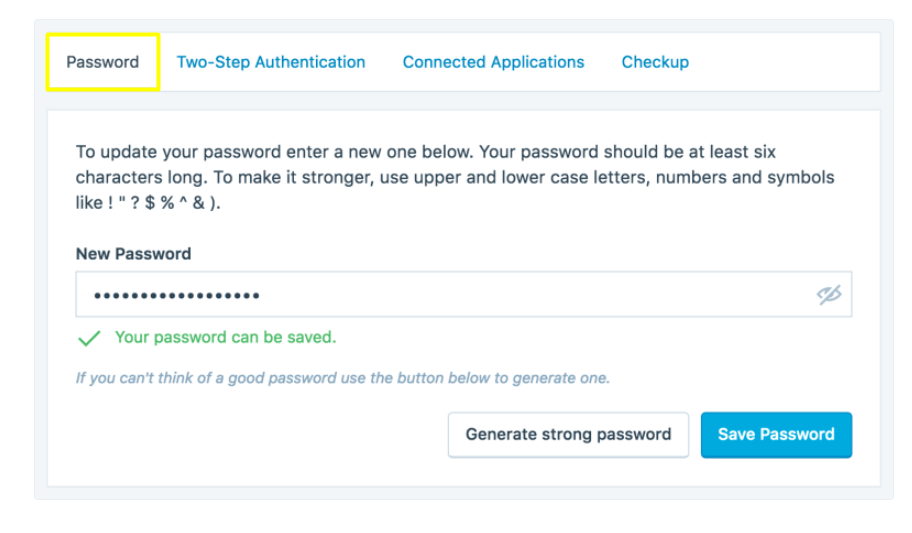
The Security tab is exactly where your password and all your account information are kept safe and managed. Also you can add the Two Step Authentication to raise the security level of your WordPress account.
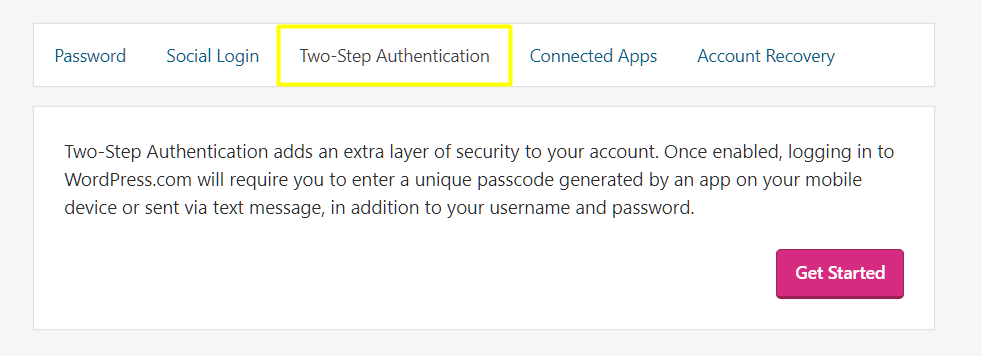
You can also manage which applications are using your WordPress.com account and disconnect them if necessary.
Notifications
Once you are done with setting up and editing all the information required in the tabs above, you are only one more tab close to completing the edit your profile on WorPress.
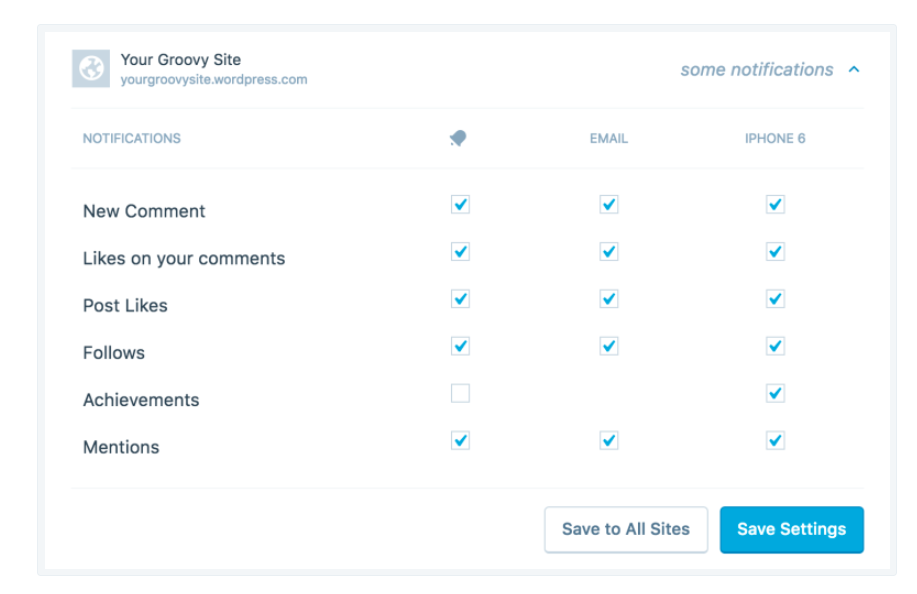
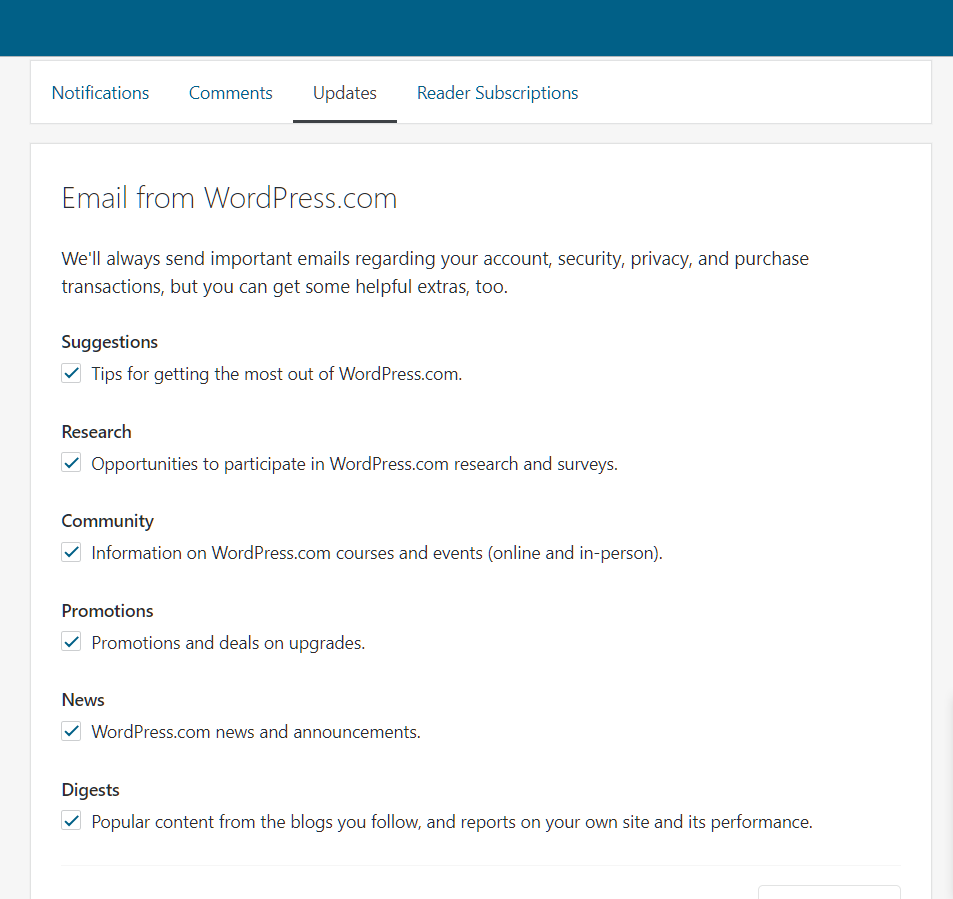
The Notifications tab will help solve users ever-going question: "Why am I being bombarded with too many emails and information from nowhere that I know?". Yes, now you can choose which notifications you would like to receive to keep it up to date with the WordPress community.
Conclusion
Now that you are done with the "information box" step by step guide we have just given you, you are just ready to rock WordPress.com!
This above tutorial has shown you useful steps on how to edit your profile on WordPress, WordPress support is always available to help you. If you find hard to perform those steps, don’t forget to contact us for further support and information.


