
Smartphones and tablets become more and more popular that it is convenient to make changes and manage your WordPress.com blog directly on these devices. Fortunately, WordPress.com had developed and released an application for Android and iOS devices that you can easily install it and enjoy its features. There are differences in the uses of the software between Android and iOS that in this topic, we will focus on the instructions for Android devices only. As you know, images, videos or other kinds of media are important items which make your post and page more interesting and attractive to the reader. Thus, we will show you how to insert media to a page or post on WordPress using the app on Android.
To insert media to a page or post on WordPress
Step 1: Go to Pages or Blog posts
Open the app on your Android devices with your account log-in and click on the Pages or the Blog posts. If you want to add media to a page, select Pages. Otherwise, press on Blog posts to open the posts you want. In case you do not want to edit an existing post or page, tap on the orange circle on the bottom right of the screen display to create a new one.
Step 2: Choose a post or page
In the list of all of your pages or posts, tap on the one you want to make changes to open it. The Editor for the post or page will appear that you need to press on a place where you want to display the media.
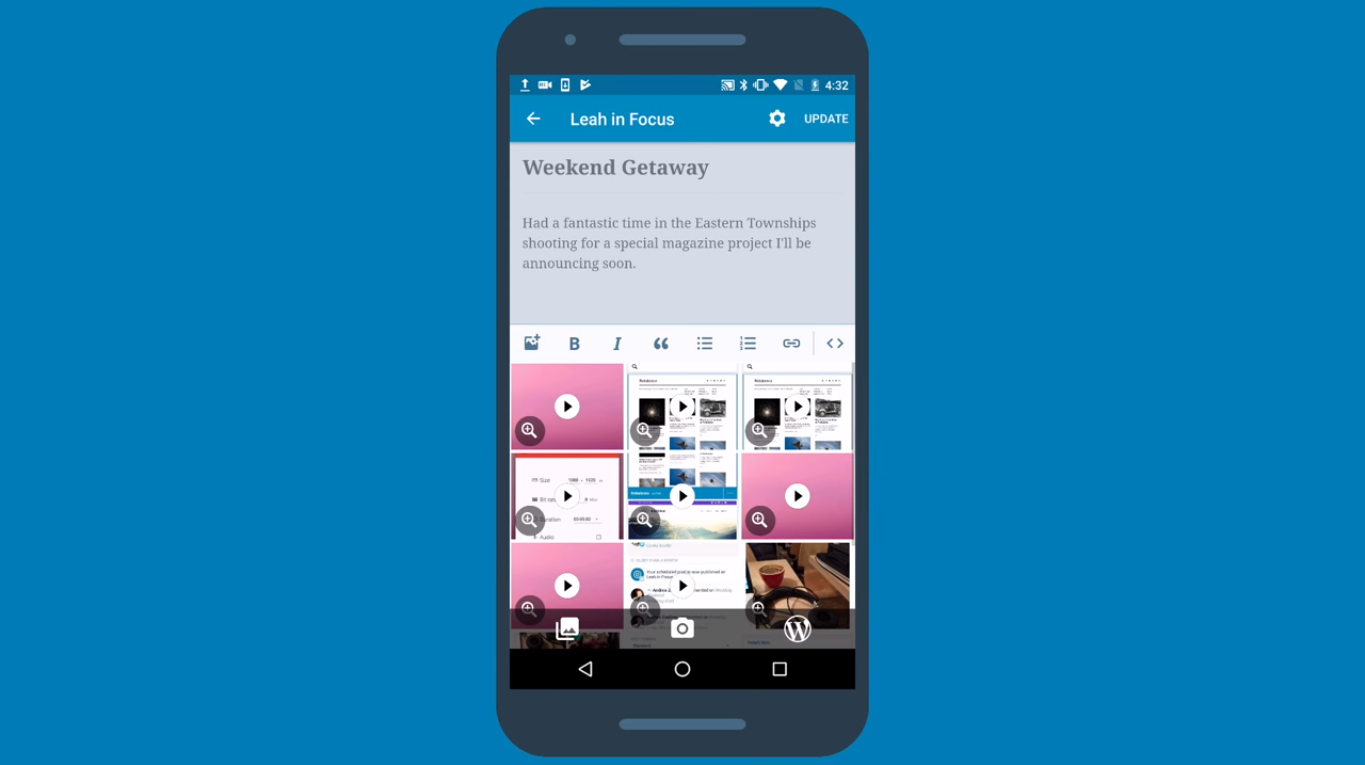
Step 3: Press on the media icon
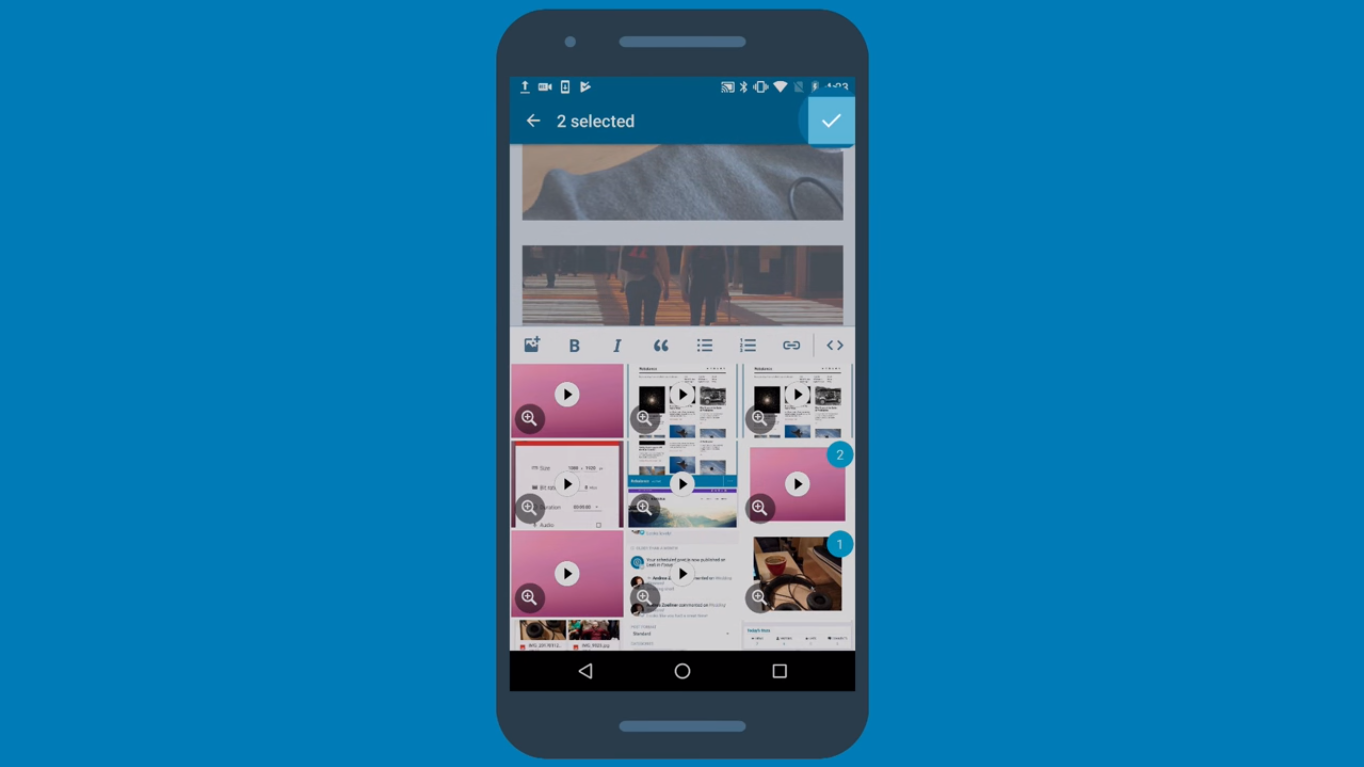
The keyboard will appear together with the options to edit the post/page then you need to tap on the first icon which has a symbol of an image and a plus. After that, a number of photos will appear for you to choose that you can select one or multiple pictures for your post/page. If you want to show only one image, simply press on that and it will be added to the post. Meanwhile, if you want to insert more than one photos, tap on the picture and hold for a few seconds until you see a small number appear on the corner of that picture. From the second image, you just need to select it as normal and when you complete the selection, press on the check mark on the top right of the screen display to confirm your choice.
Moreover, you can choose the images for your posts and pages from three different sources. The first one is the library on your devices which is represented as an icon with multiple photos. Additionally, you can take a picture immediately and add it into your work by tapping on the camera icon. Otherwise, you can select the W icon to choose images from your WordPress media library. Be noted that you can do similarly for adding videos, recordings and audio files to posts/pages.
If you mistakenly select a picture, video or a media file and it is already appeared on your post/page, tap on that media and press on the x icon to remove it from your writing. Repeat the above step to insert a photo, video or audio file to your post and page.
Step 4: Select Update
When you are satisfied with your selection and editing, choose Update to save all the changes that you make for the post or page and publish it. If you exit the app before doing this step, the system will not save your adjustment and nothing will be changed. You will have to do all these steps once again then do not skip this one.
Conclusion
To sum up, I have given you the guideline of how to insert media to a page or post on WordPress using WordPress.com application on Android devices. This is a simple process with only four steps in total that it will not take much of your time to practice. Moreover, illustrated images are added in this writing that you can follow these instructions easier. This process is helpful because you can apply it for many times and save your time managing and controlling your blog. Thank you for reading this topic until the end and hope that you can gain benefits from it.

