
You may have different sections with different topics on your site and you want to show it then the visitors can reach your content more easily. Categories Widget allows you to organize the posts by category and display it on the sidebar of your blog. This feature not only helps your readers find the topics and posts they want more simply but also lets you manage your content more effectively. If you want to apply this feature for your site, follow this writing to know how to display Categories Widget on WordPress.
To display Categories Widget on WordPress
Adding Categories widget
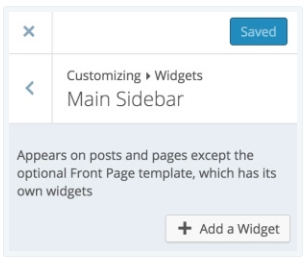
To insert the widget to your site, click on My sites and go to Customize. After that, choose the Widgets and select the location where you want the widget to appear on your page. You can even put it in the footer or sidebar location as well. Press on the Add a Widget button then enter Categories in the search bar and click on the one you want to add to your page. Besides, you can see a note about widgets before creating a new one on the screen display. Particularly, the newly added widgets will be displayed on your posts or pages except for the optional Front Page template.
Customizing Categories widget configuration
WordPress also allows you to make the Categories widget more personal which helps to express your characteristic. One of the options you can make changes for the Categories is its header. Particularly, you can enter the name you want to use for your category in the Title box, for example, Subjects, Areas of Expertise, etc. Moreover, this header will be displayed in the sidebar and above the categories.
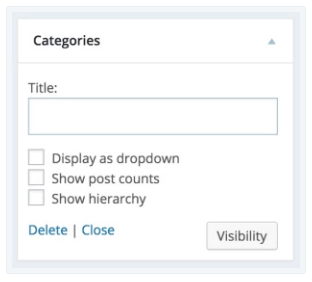
Below the Title box, you can see there are three more options that you can select by ticking on the box next to them. The first one is Display as dropdown which allows you to show your categories in a dropdown menu rather than a list. If you want to save the space on your site for other purposes or you have a large number of categories, you can activate this option by selecting its checkbox. When you enable this setting, your Categories will look like this:

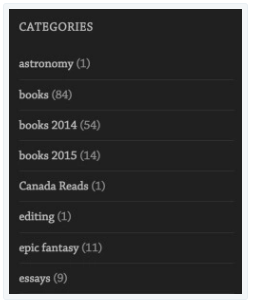
Under the Display as dropdown is the Show post counts option which will present the total number of released posts for each category once you activate. This number will stay next to the category link like in the picture below. Besides, you can apply the post counts option for both list and dropdown menu formats.
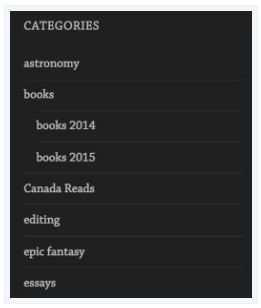
If you have sub-categories under the main categories, you can select the option Show hierarchy to display them in the Categories. It works for both list and dropdown menu formats then you can apply it for your site and make your Categories more detailed. If you don't enable this option, the Categories will look like the previous image. Meanwhile, it will be as followed in case you activate it.
For the order of the Categories, you don't need to put it in a certain order but you can create a Custom Menu and use Navigation Menu Widget instead. In term of Visibility, editing is optional which lets you select when to display the entire category widget due to different factors.
Conclusion
In short, this writing has shown you the process of how to display Categories Widget on WordPress. I not only introduce to you the way to add Categories widget but also steps to edit its configuration. Images are also included in this writing to help you imagine and understand what you have to do to complete this process. There are some notes that you need to remember as well that I hope you find this topic interesting or at least it is informative and helpful for you.

