
You can use Facebook as a tool to spread out your blog post by sharing your posts on your Facebook page. However, it is time-consuming if you have to share one-by-one posts when they are published. Fortunately, WordPress.com allows you to use Publicize to share your post immediately on your Facebook account when you release it on your blog. For more details, following this topic to know how to connect Facebook with Publicize on WordPress.
To connect Facebook with Publicize on WordPress
Step 1: Go to Connections
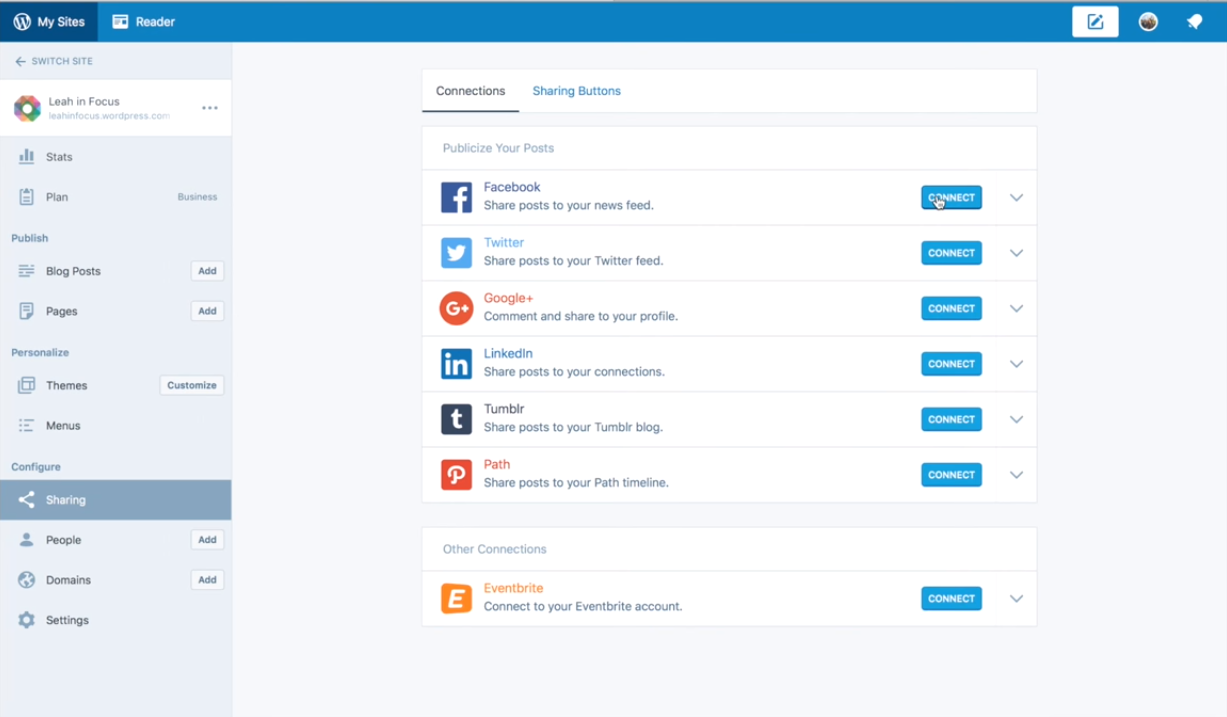
Sign in to your WordPress.com account and click on My sites. Scroll down until you see the Configure section then press on Sharing. You will see two tabs appear on your screen display, including Connections and Sharing Buttons that you need to select the former one to continue.
Step 2: Select Connect next to Facebook
There are two more sections under the Connections that the first one you will see is the Publicize Your Post. The Facebook icon is placed at the top of the list then you need to click on the Connect button next to its logo.
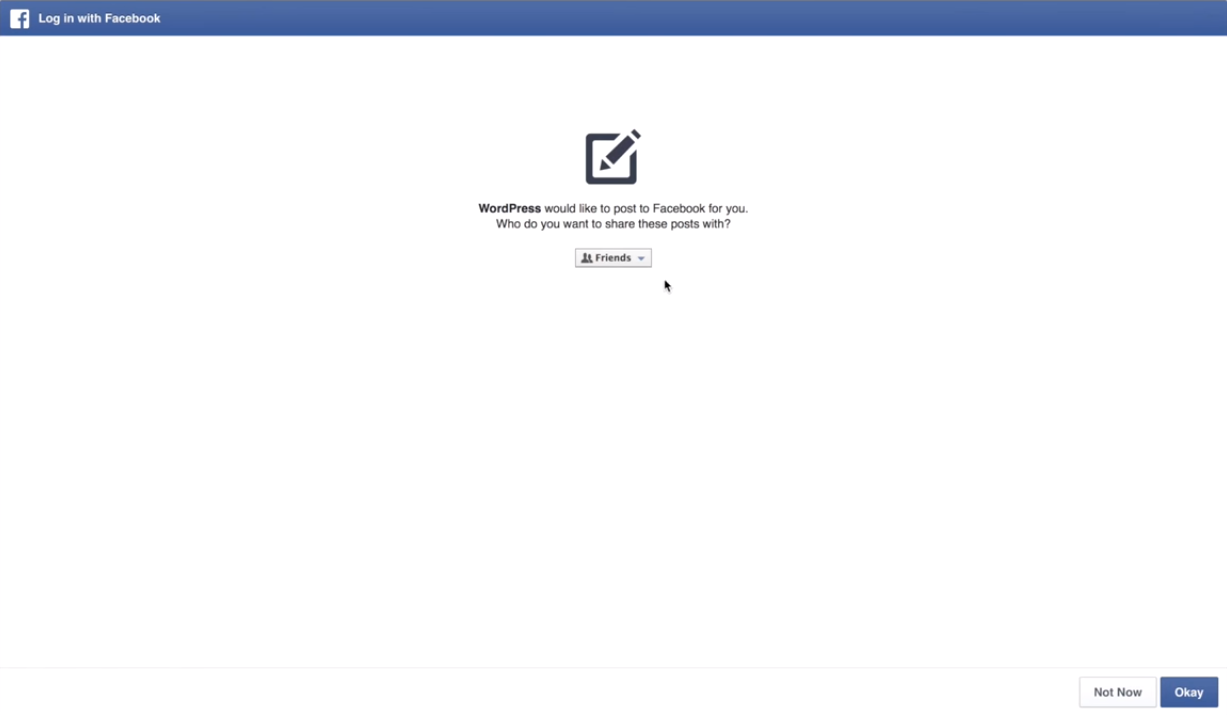
Step 3: Set up the connection
A new tab will appear to ask you to confirm the connection between your Facebook account and WordPress.com. If you have more than one Facebook account, you can choose the one you want to connect with WordPress in this step then select Okay to move on. If you use a Facebook page, you can click on Edit the info you provide to change the settings or you can adjust it later otherwise. After that, you have to authorize the right of WordPress in which WordPress can share posts with whom. You can choose between Public, Friends, Only me or specify your settings with Custom then select Okay when you are satisfied.
Finally, WordPress will ask to manage your page that you need to click on Okay. If you want to change any settings, select Choose what you allow and edit it.
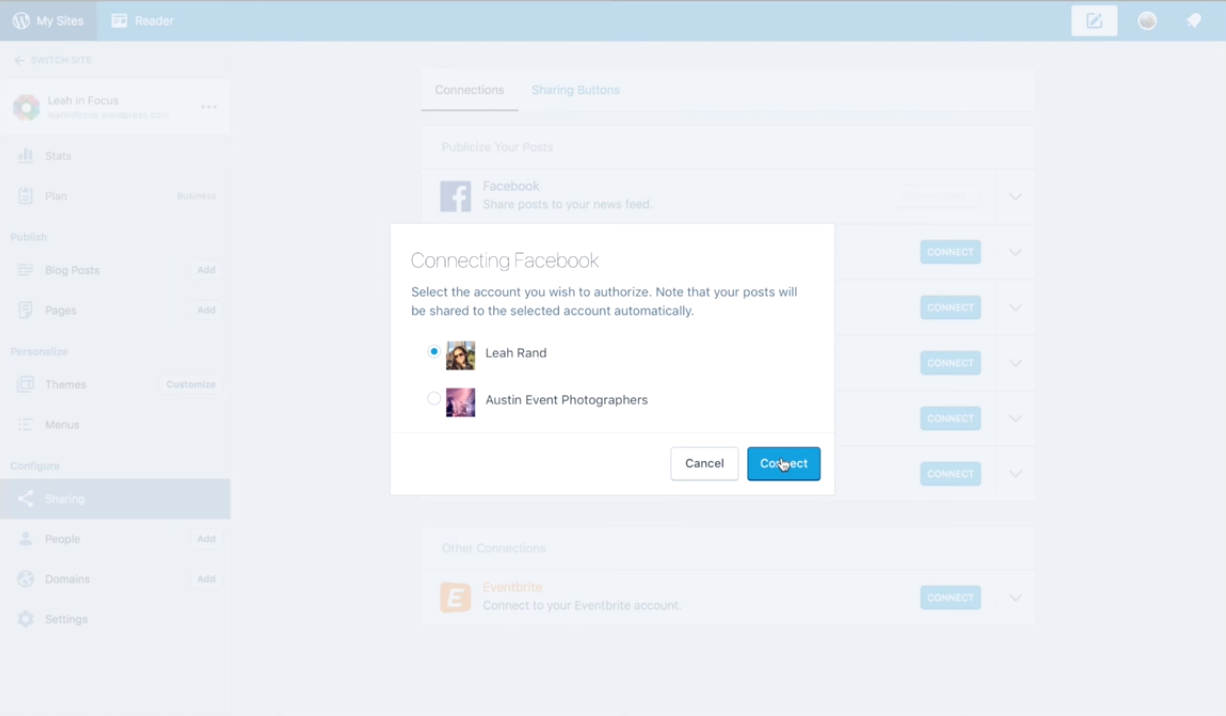
Step 4: Choose an account
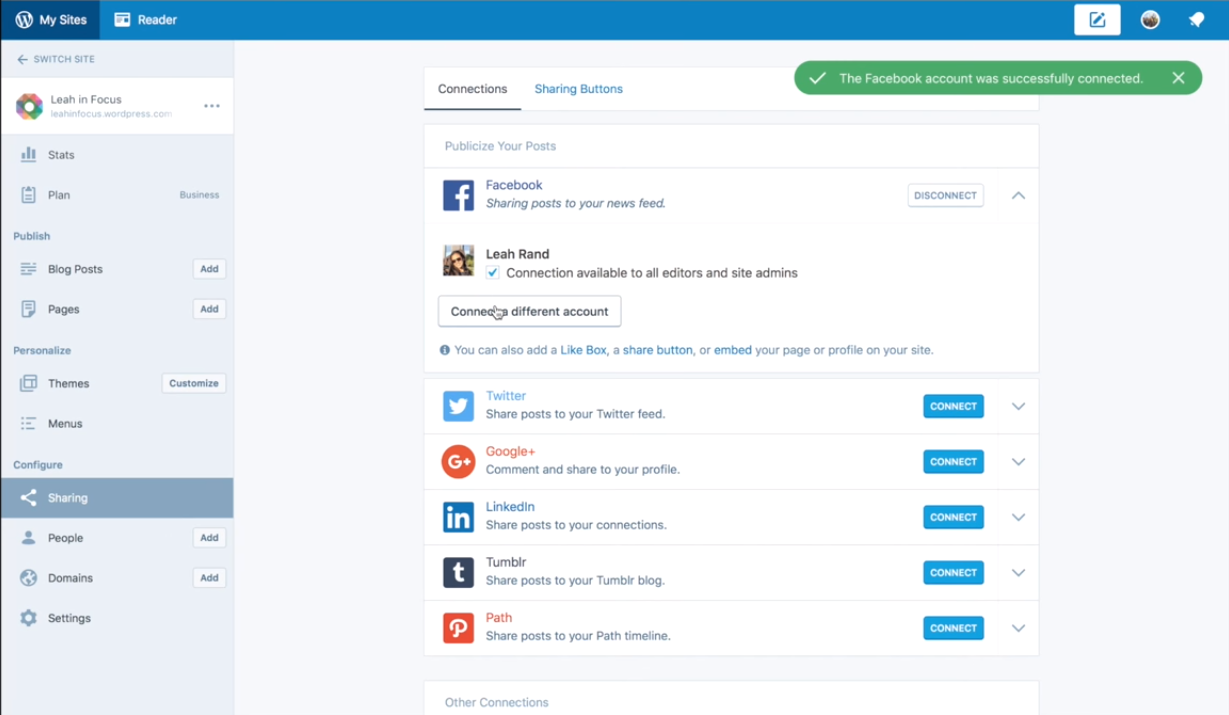
Come back to the settings page on WordPress.com and the system will ask you once more to select the Facebook account you want to connect with your WordPress.com blog. Please note that WordPress.com will automatically share posts on the Facebook account you pick after their publication. When you make the selection, press on the Connect button and wait for a while for the system to work. You will see a green notification on the right side of the screen display when the connection is successful with the content as The Facebook account was successfully connected.
Step 5: Tick on Connection available to all editors and site admin
Click on the down arrow next to the Disconnect button, you will see your Facebook name account with your displayed name and avatar together with an option. You need to check on the box which represents for the option Connection available to all editors and site admins. This option is helpful when you run a magazine blog and a Facebook page for it. Particularly, it allows you to divide the equal chances for all of your editors and administrators to promote their articles on Facebook.
If you want to change the Facebook account, you can press on the Connect a different account below this option and choose another one.
After the setup
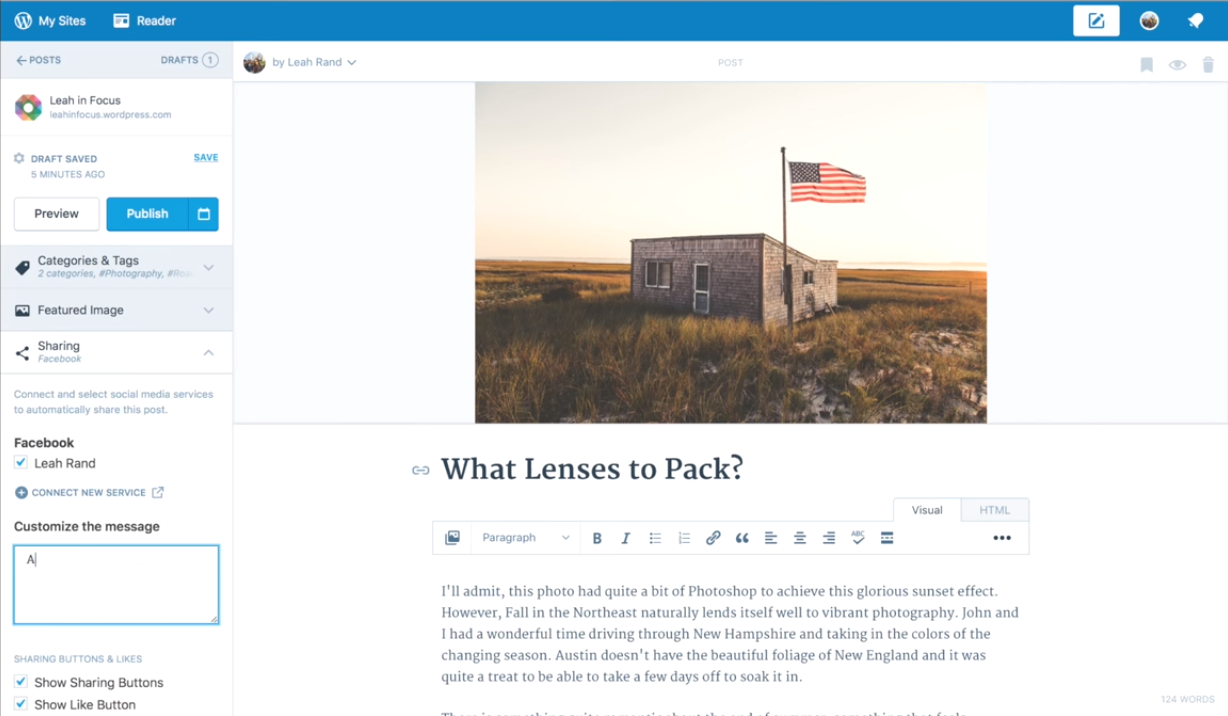
Head to the Blog Posts under the Manage section and open any post you want. Otherwise, you can create a new post then look at the left side of the editing screen, you will see the Sharing settings under the Featured image that you have to click on it. In the Customize the message field, you can enter the content you want to display with your post URL. For example, you can add in this box like Do you want to know some tips? Check this out. In case, there is a post that you don't want to share to your Facebook, untick the box in the Sharing settings in the post editor. When you are satisfied with your post, click on Publish or Update to release it.
Conclusion
To conclude, this writing has introduced to you the guideline of how to connect Facebook with Publicize on WordPress. This process is simple and useful that you can apply it on all of your posts and attract more readers for your blog. Moreover, it will not take much of your time to practice and finish this set up then hope that you can try it out and gain some benefits from it.

