
If you are possessing a custom domain and you want to have another email address customized for that domain, you might think of creating this kind of email by using the Microsoft Office 365.
Therefore, in this article, you will be shown on how to add an email through Office 365 on WordPress.
How to add an email through Office 365
Create an Office 365 account
- Step 1: Head to
office.microsoft.comand sign up for Small Business plan or higher one so that you can use its email service.
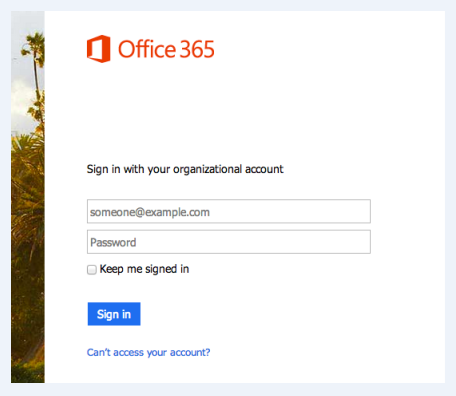
- Step 2: In case you already had an account from Office 365, you need to sign in this account by accessing
login.microsoftonline.comwith your email and password.
Add the name of your domain to Office 365
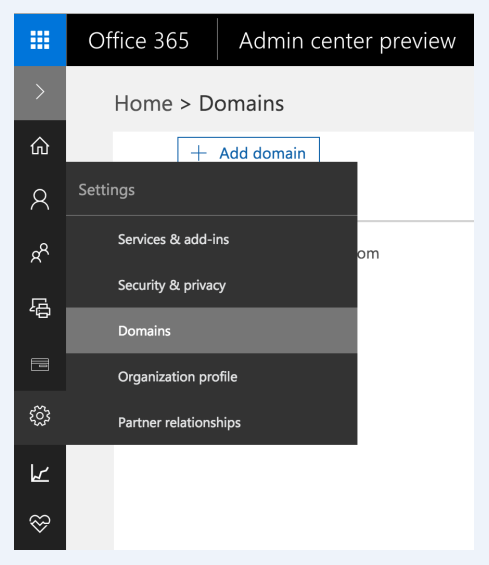
After logging in successfully to your Microsoft account, you have to add your domain you want to use for your own email. In order to do that, you can click on Domains options from Admin list in your account of Office 365.
Next, you can type your domain’s name in the box given and choose Next to continute.
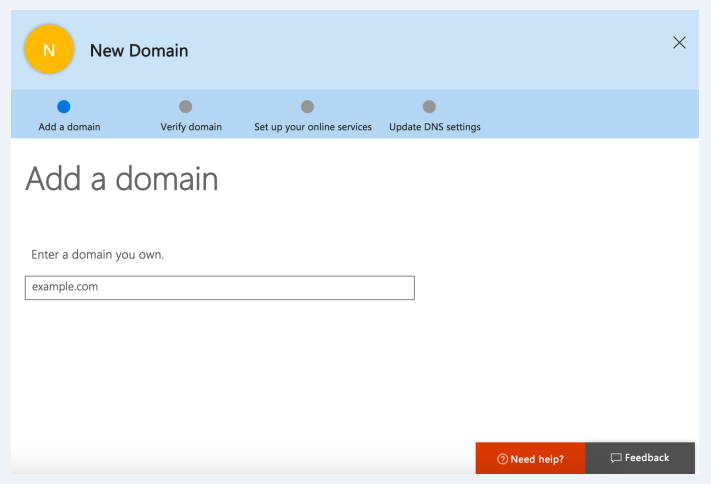
After that, you will be requested to verify your own domain by using a TXT record.
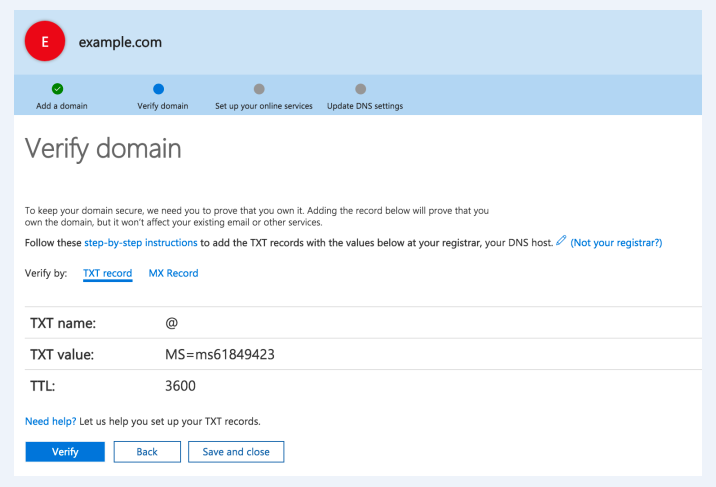
Verify your domain name
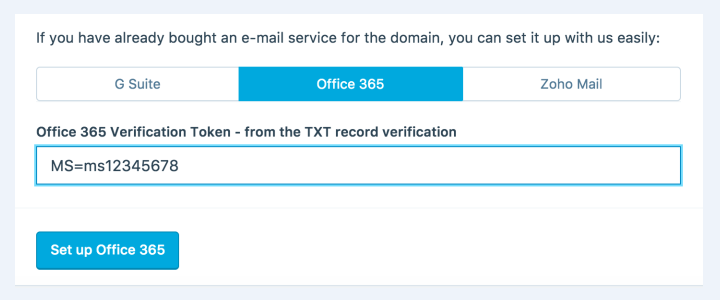
If you want to verify your name of the domain you are using, you need to copy the value from the TXT records with its structure MS = XXXXX and then enter it as you start using the setup of Office 365 in the next step.
Set up DNS Records
There exist two ways of setting up your DNS records.
-
Connect automatically without configuring DNS manually
-
Edit DNS manually and make the changes by yourself
Connect automatically without configuring DNS manually
In case your domain uses the name severs of WordPress.com, you can connect Office 365 automatically without editing the DNS manually.
However, you might have to enable the _domainconnect record, and obey those steps as mentioned in this tutorial.
Edit DNS manually and make the changes by yourself
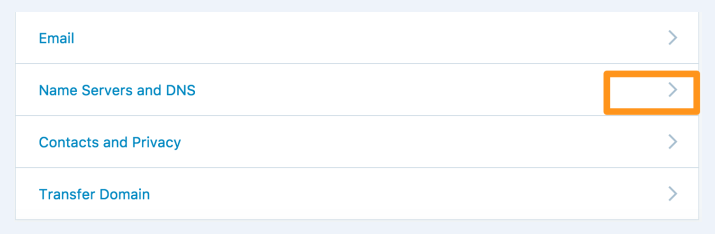
Click on the page: https://wordpress.com/domains/manage and press on your domain name before going to Name Servers and DNS field.
The Name Servers and DNS settings own a quick option for some email services, consisting of Office 365. Select Office 365 to continue.
At this time, you are asked to enter your verification code. This is what you already copy to your clipboard in the step before. Paste this to the box and choose Set up Office 365.
A message of verification will be present on the top of the screen and confirm that those records are created.
Back to Office 365 to finish the final step.
Complete Office 365 setup
When you come back to the screen of Office 365, you will note that there is a button saying Verify. When clicking on Office 365 button, you had better check your domain to see that if it is verified or not.
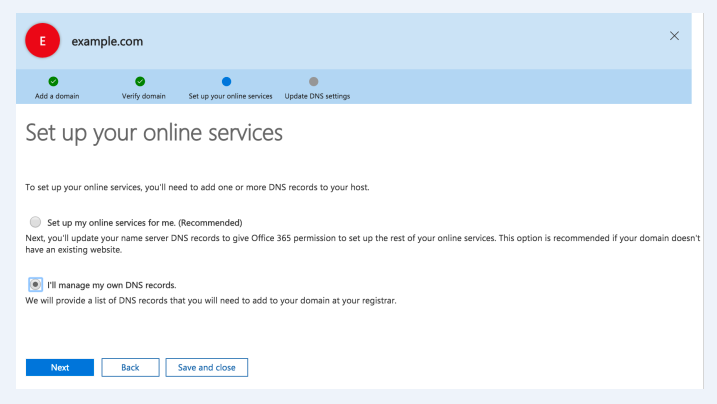
Set up online services
If you want to set up online services, click on the second option to help manage your DNS. To continue, press on Next.
Office 365 will spend time checking your updated records and will inform you which records have not been detected yet.
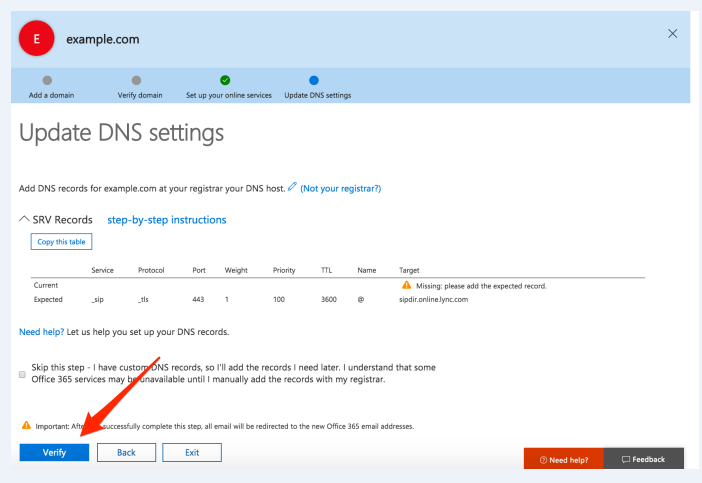
It might take several minutes to update those records and sometimes, it can take up to about 72 hours to complete the update.
Another way is to click on Verify again to check if those records are updated or not.
As records have been successfully updated, you will be given a confirmation message on Office screen saying that every email which is sent to addresses using the custom domain name will appear in your own Office 365 account from now on.
The final step is to choose Finish and after that, you have completed the setup of your own custom domain email.
Test new Office 365 email address
If you want to test your new Office 365 email address, you can send an email to your new one.
After that, choose Outlook in the Office 364 menu bar to help access to the new inbox. When receiving that email in Office 364, you can send messages back to ensure that you can also send email from your new email as well.
Conclusion
We hope that this article on how to add an email through Office 365 will give you a hand in setting up your Office 365 email. If you have any problem or question, don’t hesitate to leave us a comment or contact us.

