
It becomes more and more convenient for WordPress users when they are now able to embed the Tlk.io Widget right on their sites in order to invite people to join them in a web chat. Accordingly, people totally can have online conversations with others while surfing website and reading blogs.
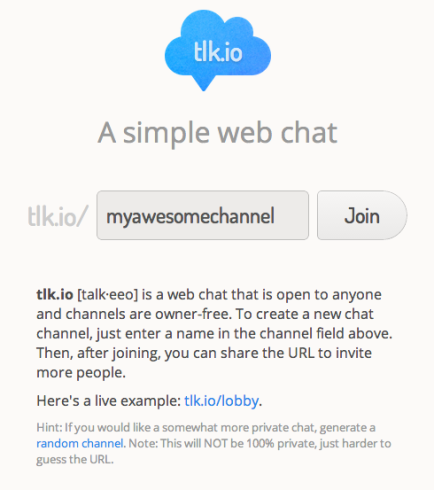
Tlk.io [talk-eeo] is a web chat which is simply manageable to use. Its idea is to create a website that allows users to join a chat channel without having to signup or login. The website helps you with building a quick chat room, or an online meeting to share information with others or even if you just want to have a private online talk. There will be a URL and all you need is to share that link to invite people to join the channel with you, at no cost.
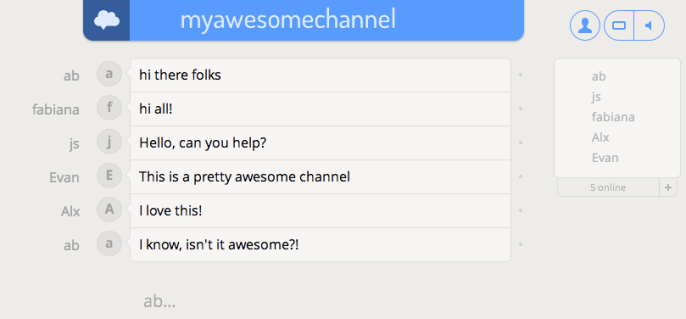
Inserting a chat room enables your site’s subscribers to take part in a casual group conversation which is typically around a common hobbies, interest or a specific topic. This not only makes your site become friendlier to your viewers but it can also help you to gain more visitors as the fact that there is never one person participating in a chat room. What is more, apart from looking for help from customer service, people can easily question on the chat channel.
So here is the method to add the Tlk.io Widget onto your site. In the following article, we are going to direct you how to add web chat to your WordPress.
Adding the Tlk.io Widget
Step 1: Visit Tlk.io website to start a channel {#step-1-visit-tlk-io-website-to-start-a-channel}
Go to http://tlk.io to begin the channel. All channels are available and free to access, including the random channels.
Step 2: Add the Tlk.io widget to your sidebar widget area
Firstly, move to your WordPress browser. On the upper left side, click My Sites. After selecting Design button, choose Customize. On the Customize tab, go to the Widgets area. Then add the Tlk.io widget to your sidebar widget area.
Step 3: Choose Title for the widget
Choose any Title for the widget or you also can skip it. The Channel setting must match your channel on Tlk.io.
Step 4: Save the change
Click the Save button as the last step. Once finished all the steps, now you are able to start the chats from your sidebar.
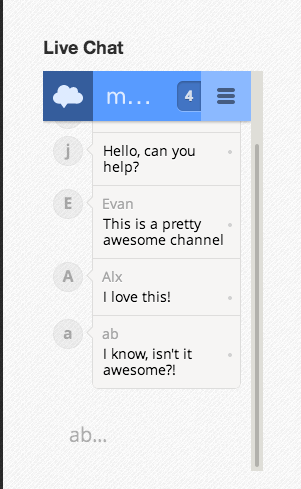
What is more, the chat channel not only appears on Wordpress but it also be seen from the Tlk.io website as well.
Adding Chat to Pages and Posts
Besides inserting Tlk.io on website, WordPress also allows users to add chat to their pages and posts as well. There is a shortcode to embed Tlk.io:
[tlkio channel=lobby height=800]
Conclusion
The preceding step-by-step instruction is to help you to insert the Tlk.io Widget onto your WordPress website. We hope that the guidance is helpful for you to easily open chat room for you and website visitors. Please let us know if there be any problem.

