
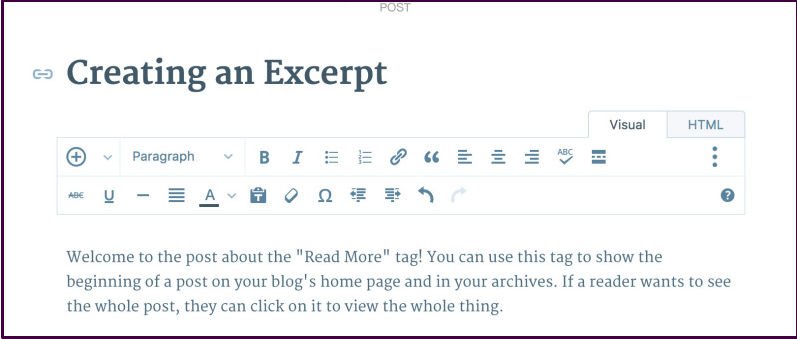
As you might not know about, a simple thing that you can do to get the first part of your post shown on the archive pages, homepage, and in the subscriber emails is to truncate the blog entries. As you perform this, a link can be easily placed after your short writing, directing your readers to your full post and you can place the link everywhere in the post and get it customized like the way you want. In this article, you will be shown how to insert and customize the More Tag on a post on Shopify.
How To Insert And Customize The More Tag On A Post
Step 1: Add and customize more Tag
Create a new post
You can begin with creating a new post. You can inset content, text, images or anything into your new post.
Insert Read More tag into your post
In this step, you can add the more tag to anywhere you want it to appear in the spot. In the Visual Editor’s toolbar section, you can choose Insert Read More Tag button which can be found in the first line.
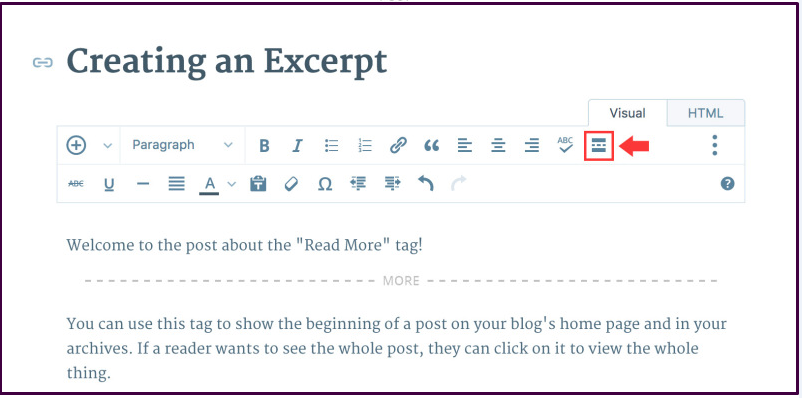
After clicking on it, merchants can notice the split occurring in their post.
Customize Read More tag
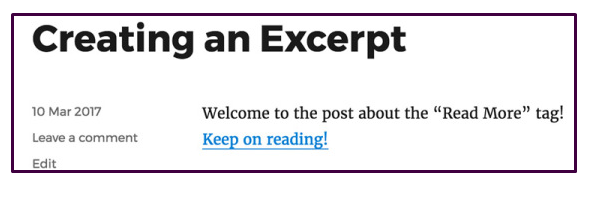
Don’t forget that Continue Reading will occur by default as a text for this link, however, you can modify it.
-
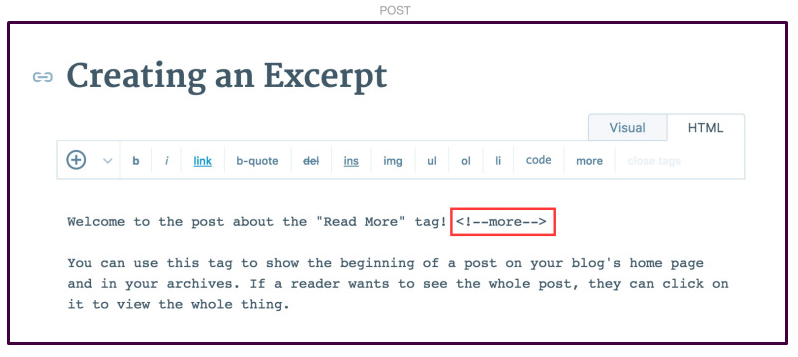
First, select
HTML tablocated in the right corner of your editing area to help open the HTML editor or search for<!--more-->. -
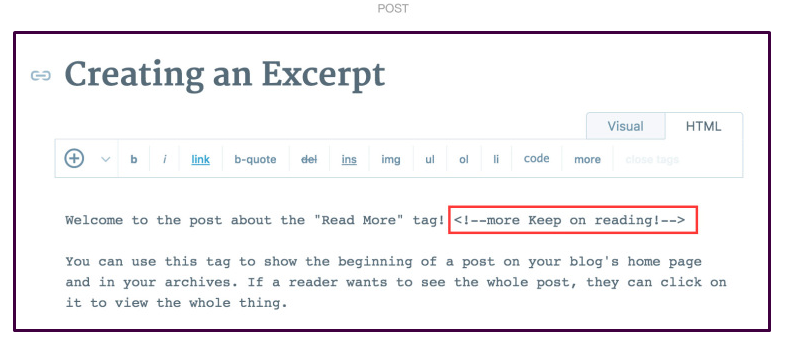
Second, insert a space after
more, then add something like<!--more Keep on reading!-->in the custom message.
Take note that if you want to use More Tag on various posts, you might need your messages for each post to be customized. A global message cannot be set up in your post using the More Tag. In case you do not change the More Tag, it will default to Continue Reading.
Publish
Now, it is time to visit your homepage to view your excerpt of the post. You will not see the split as previewing the post. Instead, you can only view the tag on the homepage or post page and archives.
Step 2: Use more tags with content selections
If the theme you choose can support content options, don’t forget to click on Full Post if you want to include more tags into your post manually.
Step 3: Use more tags in pages
You can use more tags in the pages, however, there are some themes that allow the splint to occur. When it comes to alternatives for pages, you might consider Pagination instead.
Step 4: Format errors
After writing posts, if you add more tags to them, formatting issues can appear. The errors can occur once you add more tags applying your visual editor, however, it is usually located in other HTML tag. Here is an example:
<strong>Oh man, this post is messed up.<!--more--></strong>
As you can see, the tag inside HTML tags can make your text bold, which then causes your post to be bold and includes sidebar contents or makes the sidebar go to the bottom of your page. To fix this problem, all you need to do is to place the tags outside any closing HTML tags.
Conclusion
The above steps on how to insert and customize the more tag on a post will partly understand what exactly the More Tag is and the way to customize it on your post. The More Tag aid in showing your post’ excerpts so that your reader can be directed to your post just simply click on Read More tag.

