How to move a post, page, or comment to the trash folder on WordPress Trash in WordPress is just like the recycle bin on your computer. Users who are in permission level, including editors and administrators, are allowed to delete or remove pages, posts, and comments. The trash feature is installed and added to WordPress ver 2.9 to help you reduce the risk of accidental items removal.
As you want to delete your pages, comments or posts on your blog, they will be moved into Trash folder and you have to separate your trash folders for pages, posts, and comments. This idea, actually, makes it difficult to remove a page or a post from WordPress. Things in the trash folders can be restored or deleted permanently in 30 days of the first trashing.
In this article, you will be shown how to move a post, page, or comment to the trash folder on WordPress.
How to move a post, page, or comment to the trash folder on WordPress
Move a page or a post to trash
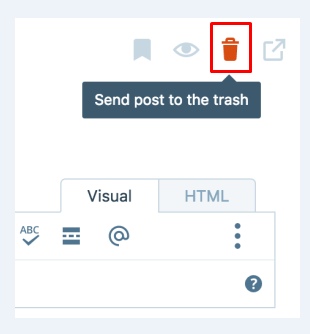
- As you edit a post or page, you will notice the Trash icon located on the top right of your hand corner above your editor’s toolbar. When clicking on it, you will be required to confirm again your action.
- Another way is to head to My Site -> Blog Posts or My Site -> Pages. Regarding posts, the Trash icon will be shown under your post.
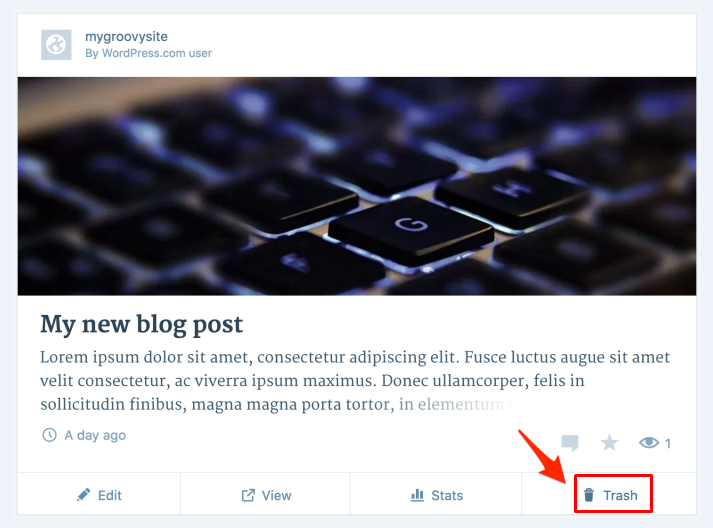
- If you want to delete your page from My site -> Pages, choose the three little dots first to get the Trash icon displayed. Click on that icon and finish your task.

Move a comment to trash
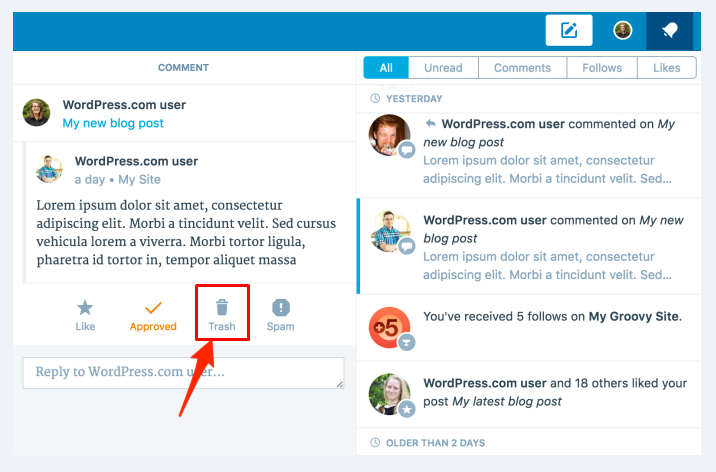
From your Comments panels in the notifications, you can move your comments to the trash. All you need to do is to head to the Trash icon.
Delete an upload permanently
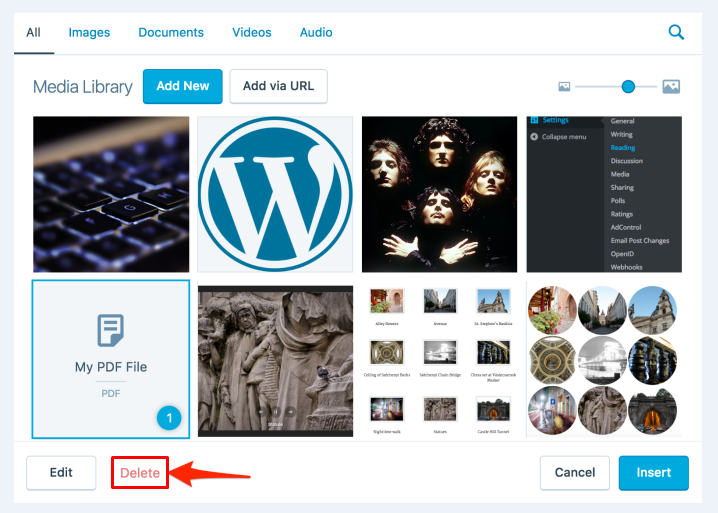
With WordPress, you can easily delete your uploads from the Media Library. The process is simple since you choose the file and press on Delete link located at the bottom of your window.
Unlike posts, comments or pages, any upload is deleted permanently from your media library and it will not be moved to your trash folder.
Access your trash
Take note that pages, posts or comments also have its own trash folder. Here are places they are located:
- Pages: Go to Pages -> Trash
- Posts: Go to Blog Posts -> Trashed
- Comments: Go to Comment (located in your WP Admin dashboard)
Restore from trash
- When you enter Trash status or folder of your pages, posts and place the cursor over anything you want to restore, you will notice the two linked options: Restore and Delete Permanently. Press on the Restore link.
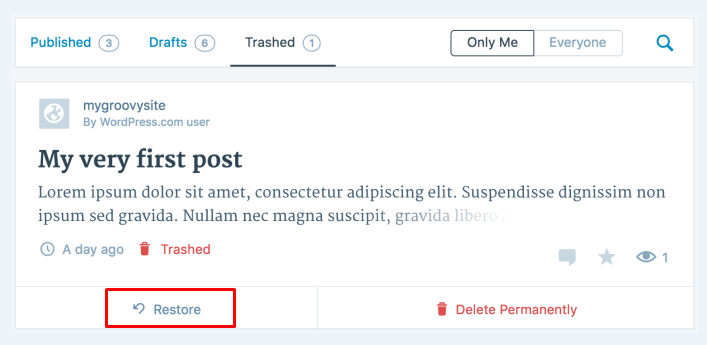
- Then, this item will be removed from your trash status or folder. At the same time, you will get a message saying that your restoration was already successful.
Delete a page or post permanently
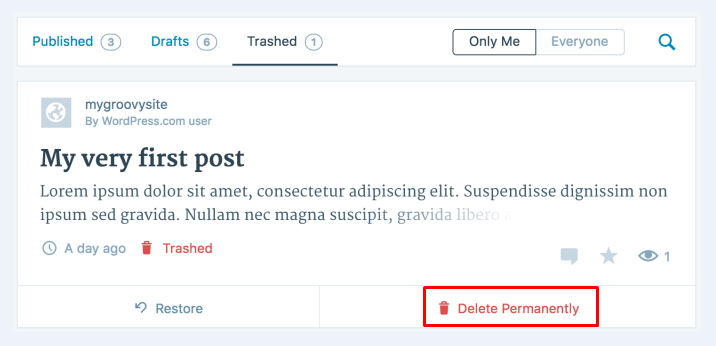
- In order to delete your page or post permanently, you have to enter the trash queue or status as well as place the cursor over items you want to permanently delete. You will also see the two linked options, which are Restore and Delete Permanently. Choose the link telling you to Delete Permanently.
-
Then, the item you choose will be deleted from your Trash status or folder, and a message telling that your deletion is successful also appears on the screen.
-
You should bear in mind that whenever you opt for deleting your items permanently from the Trash folder, they cannot be restored.
Trash collection
You need to be aware of the fact that all of your files in your trash are automatically removed after about 30 days.
Conclusion
Before concluding this post, users can restore items they accidentally delete. However, after 30 days, those deleted items are automatically as well as permanently removed from the WordPress database. With this tutorial on how to move a post, page, or comment to the trash folder on WordPress, we hope that you can easily perform your deletion without having any difficulties. If you have any questions or comments, don’t hesitate to share and let us know.


