
The Navigation Menu Widget is a very effective tool that helps your store visitors navigate more easily on your website by allowing you to display shortcuts to pages, categories, or custom links on the sidebar of your blog.
WordPress is a very user-friendly website, especially in the sense that it provides users with a simple yet compact navigation menu system that helps even beginner users create and manage menus effortlessly. The number of menus available, as well as the location of where the menus are placed can differ from theme to theme. However, almost all of the WordPress themes offers at least one menu location. Because the navigation menus play a critically important part in helping you show visitors your site structure, they are usually displayed in locations that are closed to the header in most of the WordPress themes. Besides, if your website is rather complex with different areas and heavy contents with many links attached, WordPress themes with multiple menu locations could accommodate for yours.
Before you could have this useful widget displayed, you need to create and customize your navigation menu first.
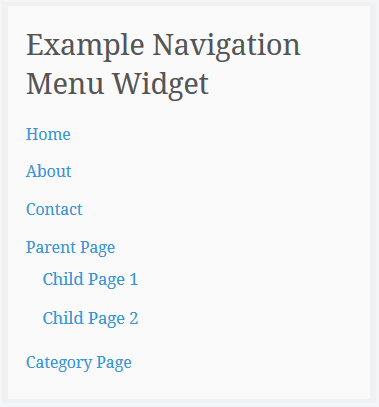
When you are done, an activated navigation menu widget would look like this:
If you are looking for a way to increase users' experience surfing your website effortlessly, it's time you tried out the Navigation Menu widget.
So in this instructional writing below, you would be guided through a quick and easy-to-follow instruction on How to display Navigation Menu widget on WordPress. Hope these little effort would help you generate big result.
Display the Navigation Menu widget
Step 1: Visit Customizer > Widgets. Then add the Navigation Menu widget to your sidebar.
First, visit Customizer, then go to Widgets. Then add the Navigation Menu widget to your sidebar.
Step 2: Customize the widget settings
Once you click Add, there are several widget settings you are required to customize.
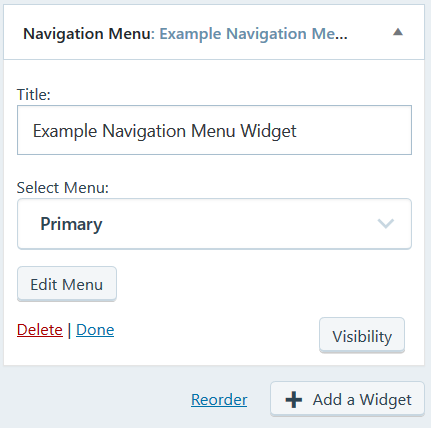
Here is a clearer explanation on what you are required to fill in those blank fields:
-
Title: Fill in the title for your widget. This is the text that displays right above the custom menu on your sidebar.
-
Select Menu: This is where you select which custom menu you want to display. If a custom menu hasn't been created, you will need to create one first from the Menus page.
Conclusions
Above is a detailed, step-by-step instruction on How to display Navigation Menu widget. Hope these little effort would bring you great result.

