
How to View and Make Comments On A Discount's Timeline on Shopify

After creating a discount on Shopify, you can immediately see the timeline showing the history of its activities on the page of the discount’s settings. As you can see, the timeline displays the time and date when your discount is created or when a discount is enabled or disabled. Also, the date and time used to edit the discount are saved; however, it does not show the specific edit. Besides following the discount’s creation as well as edits, the timeline can allow you to make comments to help offer further detail about the activities associated with this discount. In this article, you will be shown how to view and make comments on a discount’s timeline on Shopify.
How to view and make comments on a discount’s timeline.
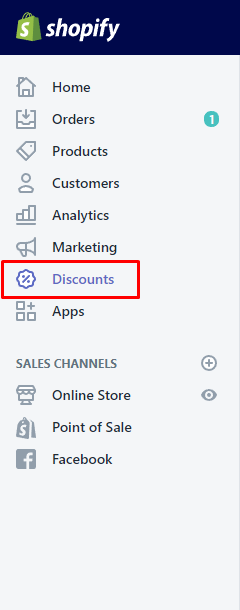
Step 1: Select Discounts
After logging in your Shopify admin, you should select Discounts.
Step 2: Choose the discount name you want to view on the timeline
Next, you can choose the discount name you want to view on the timeline.
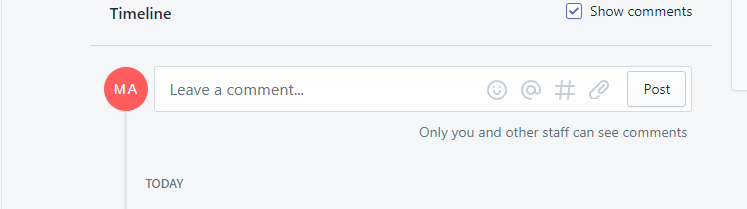
Step 3: Move to the Timeline section
To continue, you can go to the Timeline section on the discount’s setting page.
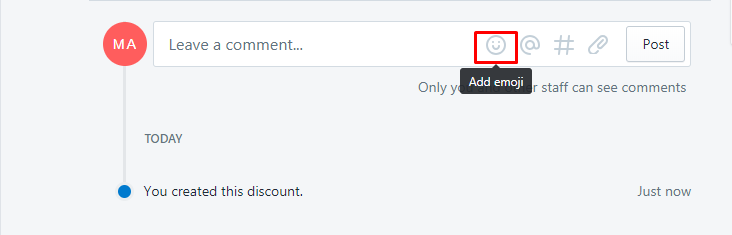
Step 4: Type a new comment with the emoji face
You can enter a new comment in the box. At the same time, you can choose the emoji face as you like to include an emoji into your comment.
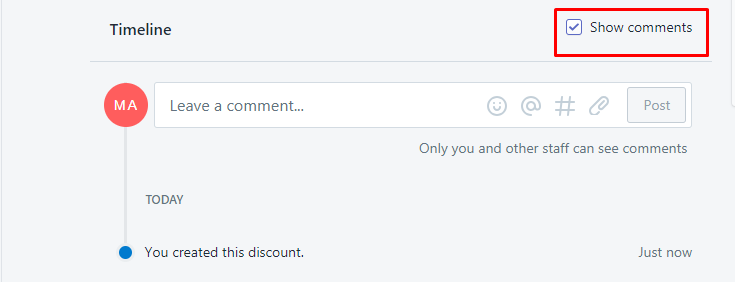
Take note that only you and the staff can look at comments). If you want to toggle those comment on or off in your timeline, you can click Show comments.
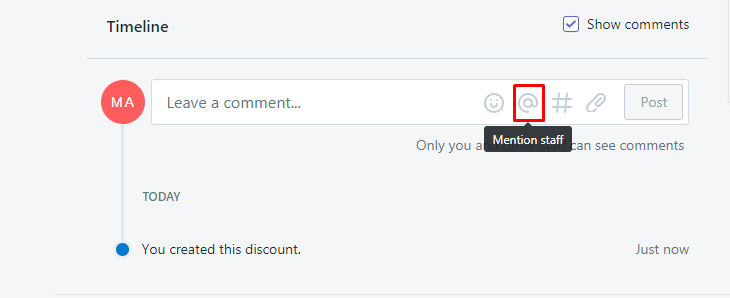
Step 5: Click the @ sign
You can click the @ sign to mention typical staff members in the comment. When selecting the @ sign, there is a list of the store’s employees appearing.
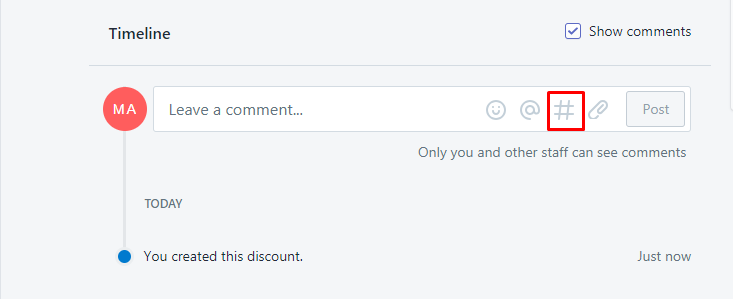
Step 6: Click the # sign {#click-#-sign}
In case you want to get some specific orders, customers, draft orders, variants, transfers, and products referenced in your comment, you can click # sign.
Step 7: Choose the paperclip icon
You can choose the paperclip icon to help attach any files to the comment.
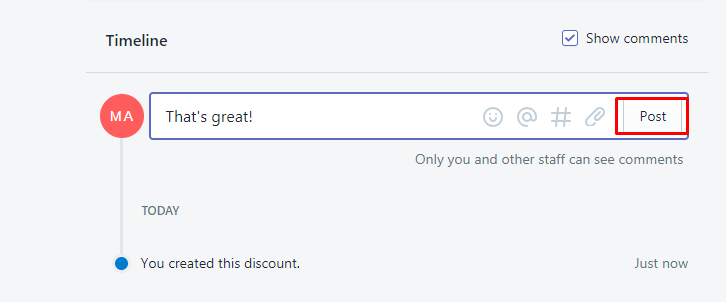
Step 8: Go to Post to insert a new comment
Finally, you can go to Post to insert a new comment into the timeline. Choose X in your comment box to remove the comment on a discount’s timeline.
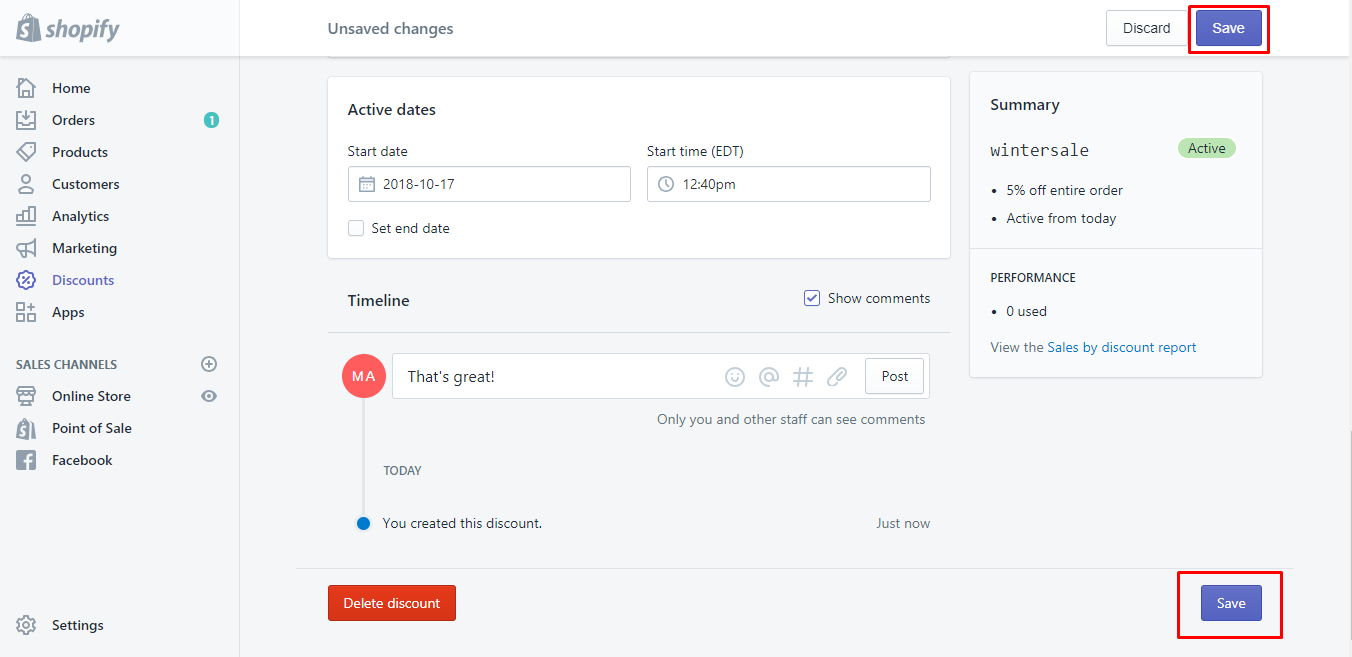
Step 9: Click Save.
Don’t forget to click Save to complete your current work.
Conclusion
With the above-mentioned steps on how to view and make comments on a discount’s timeline, you can easily manage your discount in an effective way. We hope this article can help you find out more interesting things on Shopify.


