
How to Resize Image in Shopify

Sometimes, it may be confused for the non-native speaker to distinguish Crop and Resize. Both of them change the original size of the picture, however, Crop is about removing the part that you don’t want to present in your photo while Resize maintains all content of the image except for its size. If you are interested in the latter, follow this writing to get the instructions of how to resize an image on Shopify.
Before going into details, let’s learn about the aspect ratio of a photo. It is the rate of an image’s width divided by its height. For instance, a picture has the size of 200x400 will result in the aspect ratio of 1:2. Therefore, a tip for you to set up your display is to set all photos in the same aspect ratio then it will present better side by side.
Related Posts:
- How to adjust an image colors on Shopify
- How to adjust the contrast, brightness, and white balance in an image on Shopify
- How to draw on an image on Shopify
- Add a Product Image on Shopify
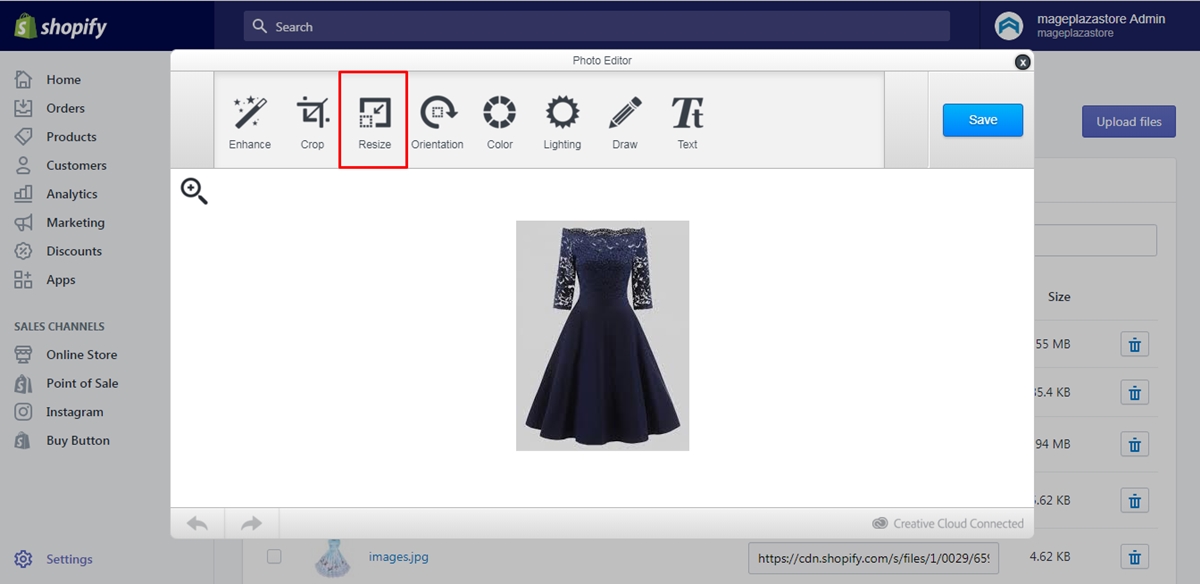
Step 1: Select Resize
Sign in your account on Shopify and head to Settings which stays beside a gear icon. After that, you will see the list of Settings appear on your screen that click on the Files near the end of the second column. Pick a photo from the Files list and choose Edit respectively. The Photo editor dialog box will appear that press on the Resize which includes the symbol of two squares.
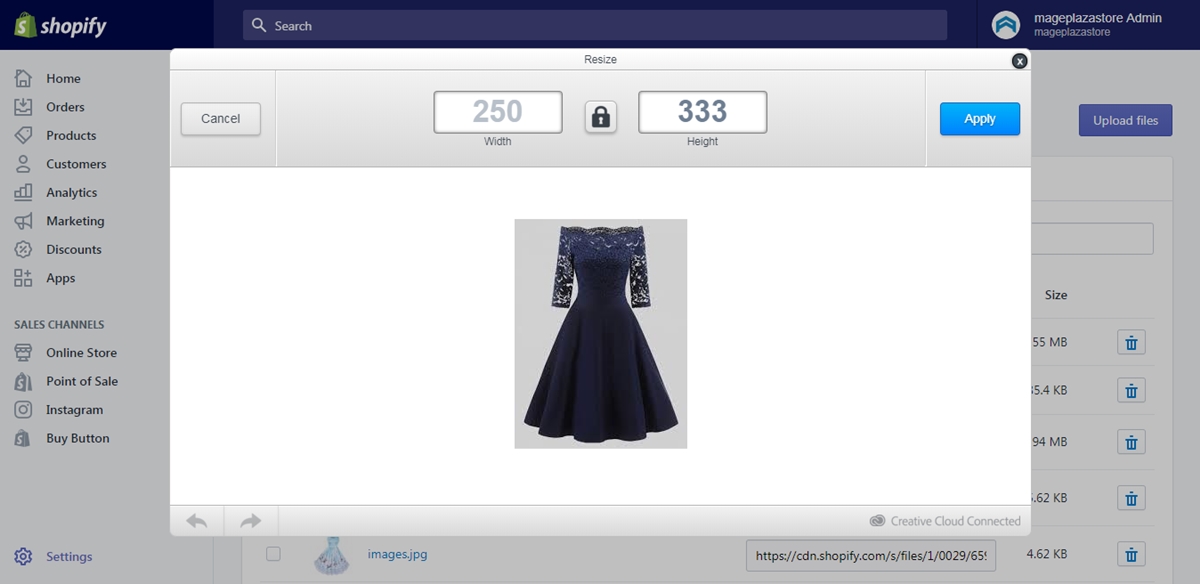
Step 2: Specify the size
Fill the figure that you want to use for an aspect of the photo, the width for example, and the system will automatically fulfill the other. If you want to change the size of the picture without remaining the old ratio of the aspect, press on the lock icon to activate it. Once you click on it, the system will remind you that this action can distort your file then if you accept, select OK to enable it. Moreover, there is a note that you should crop the image instead of resizing if you want to change the aspect ratio.
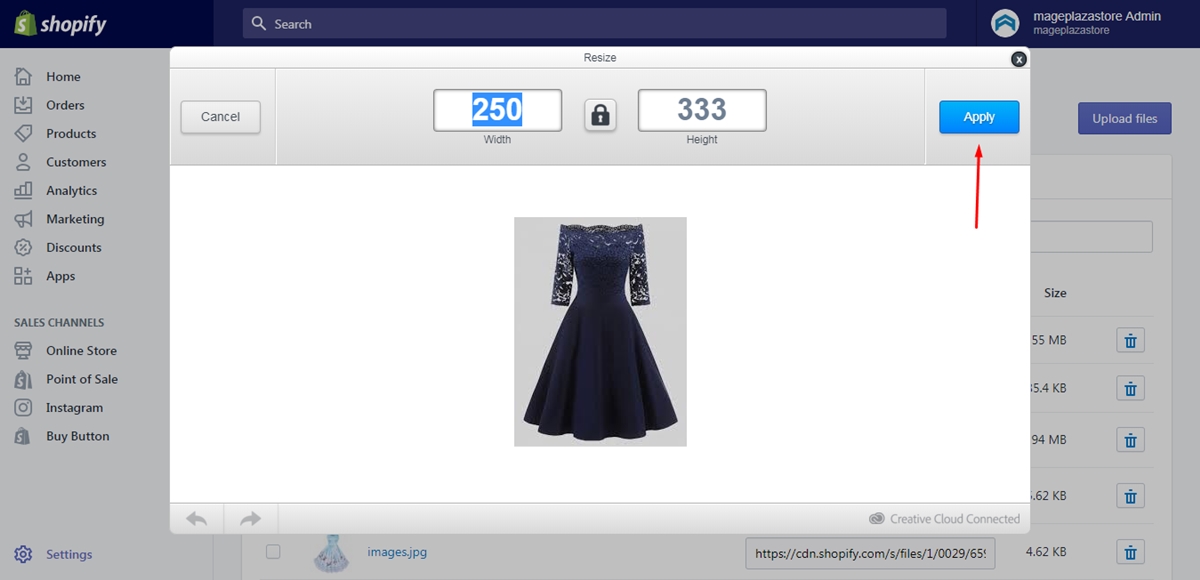
Step 3: Choose Apply
After entering the resize statistics, you still not see anything happened to your photo then you need to press on Apply to see the result of your changes. If you are not satisfied with it, you can select the Resize again then choose the different ratio.
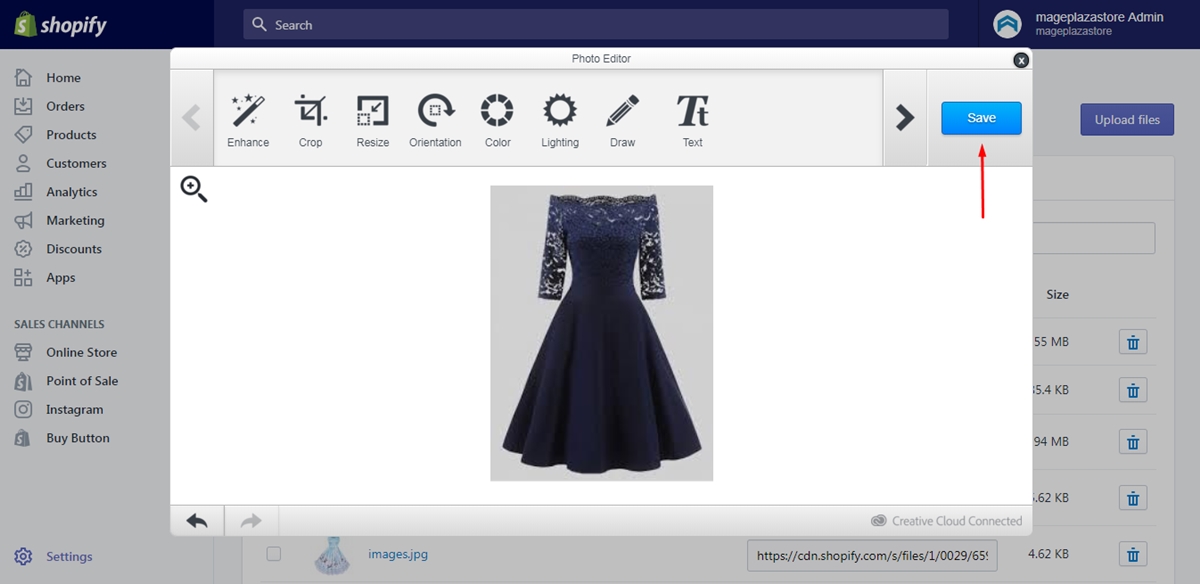
Step 4: Click Save
When you are done, remember to record the adjustment by pressing on the Save button on the right side of the Photo editor dialog box.
Conclusion
To sum up, this article shows you the guideline of how to resize an image on Shopify. The steps are quite similar to the process of how to crop an image that if you are skilled in one, you can practice the other easily. Moreover, this is an important skill that you may apply much in the future then I hope you enjoy this topic and earn some benefits from it.


