
3 Steps to Edit an Image In the Rich Text Editor on Shopify

With Shopify, you can also edit an image in the rich text editor by adjusting several specifications of the image. In previous posts, you have been shown how we can move and resize an image with our bare hands, simply drag here and there. In this article, you would know how to touch to the particular specifications of an image to edit it, specific detailed numbers.
Related Posts:
- How to Choose Product Images From the Rich Text Editor on Shopify
- How to Use an image URL with the rich text editor on Shopify
- How to Upload images with the rich text editor on Shopify
- How to Add a Product Image on Shopify
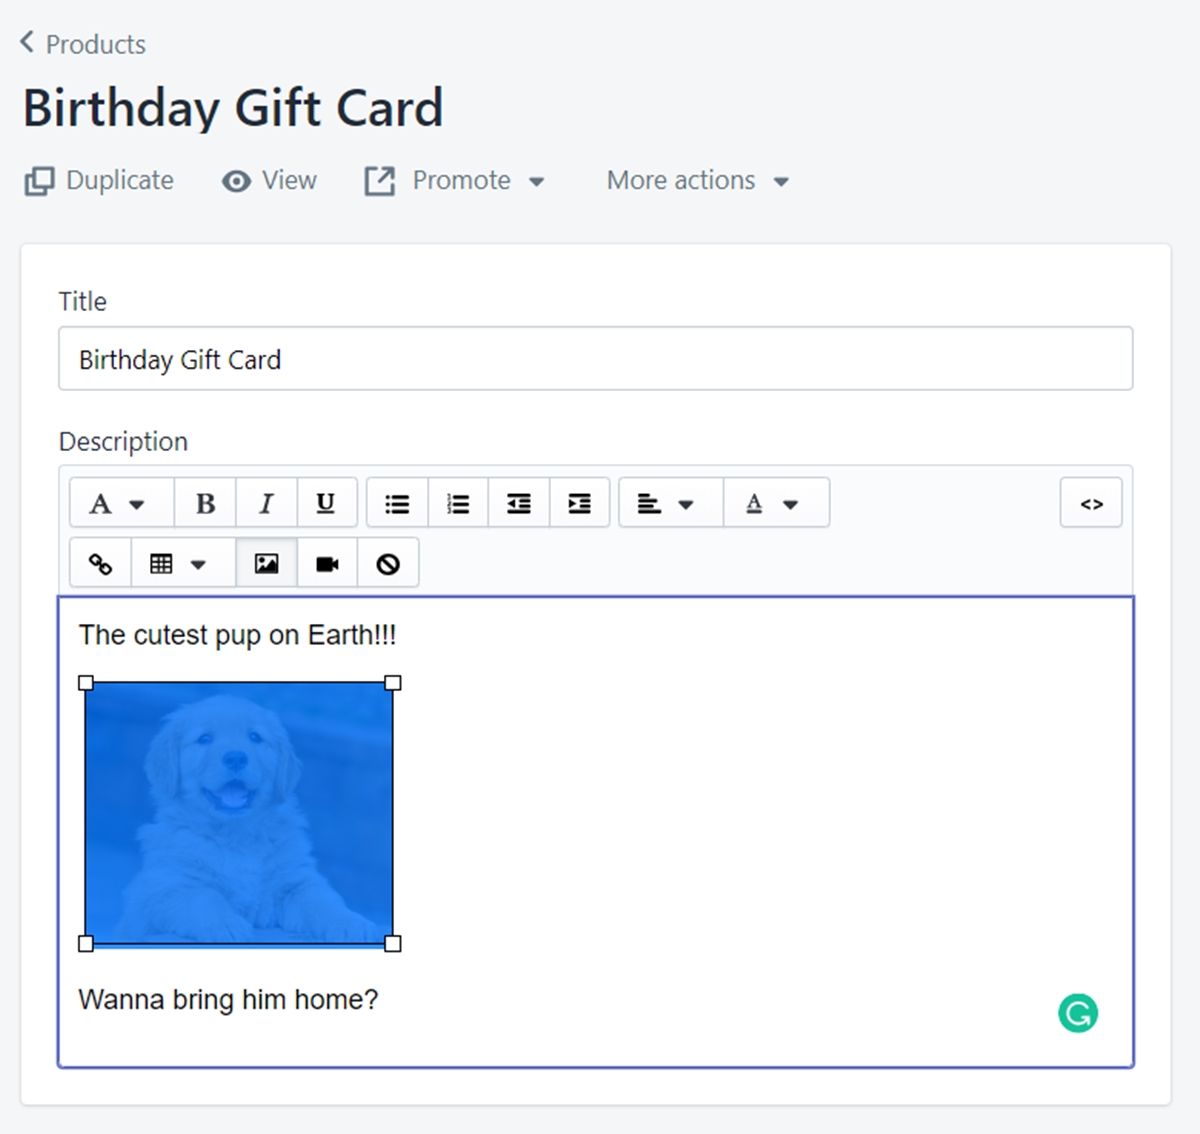
Step 1: Double-click the image in the text
From the text you want to edit, double-click the image to open the Edit image window.
Step 2: Change some specifications
In the Edit image window, you can adjust some details of the image:
Image size: choose one option from the dropdown menu this field to resize the image.
Image alt text: give an alt text to promote your store’s SEO and accessibility when customers search for it.
Alignment: control how the word content locates around the image. You can also choose to Wrap text around image
Enter the number of pixels of space on each side of the adjusting square to add spacing.
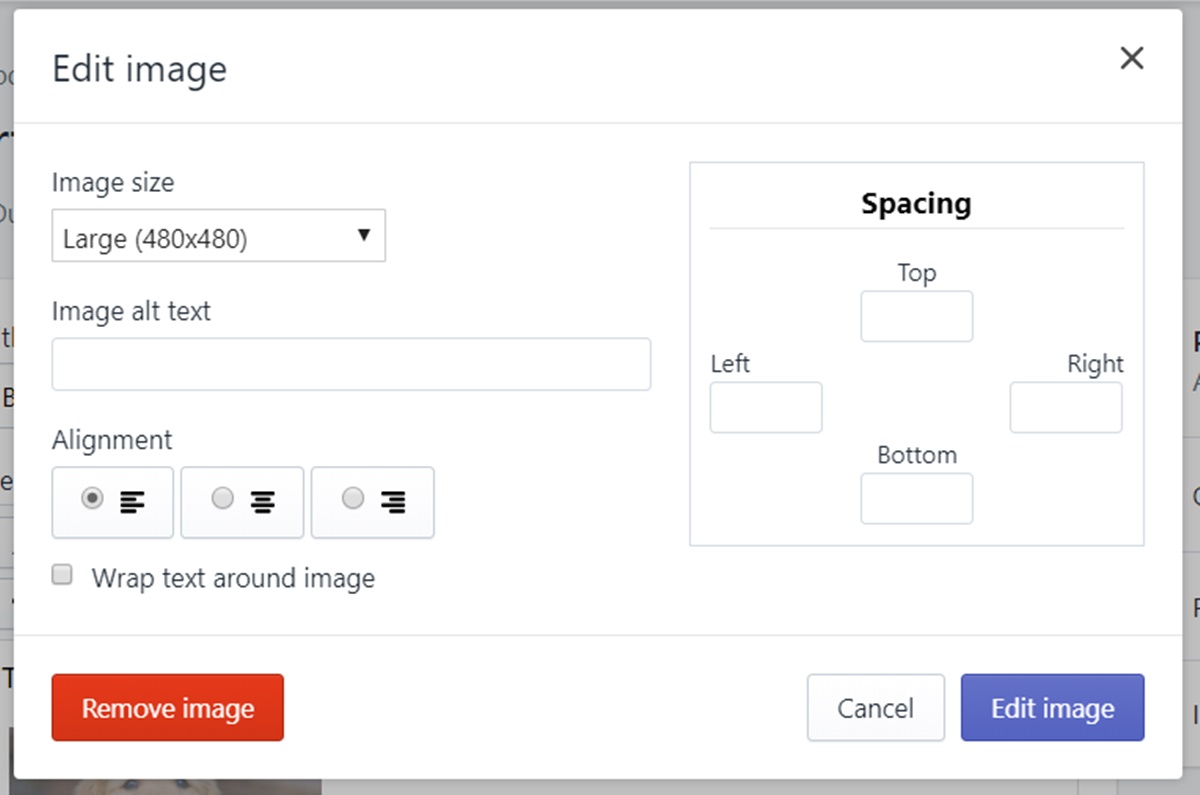
Step 3: Save your edit
Click Edit image to save your changes.
Summary
By editing an image in the rich text editor, you can adjust and change the appearance of the image from the smallest details. This method will help you to ensure the specifications of the image. Read more of our review about Best Shopify Image Editor Apps


