
5 Steps to Add a Profile Photo to Appear On your Timeline on Shopify

You must have noticed that there is a profile picture beside the comment on Timeline. You can add a profile photo to appear on your Timeline on your own. It will make your Timeline attractive. Also, if others such as the staff members see those comments, they will know that the writer is you.
Follow the easy steps below to do this.
Related Posts:
- 5 Steps to Add Comments to Timeline on Shopify
- Use Emojis on Timeline on Shopify - A Simple Guide
- How to Mention Staff Members on Timeline on Shopify
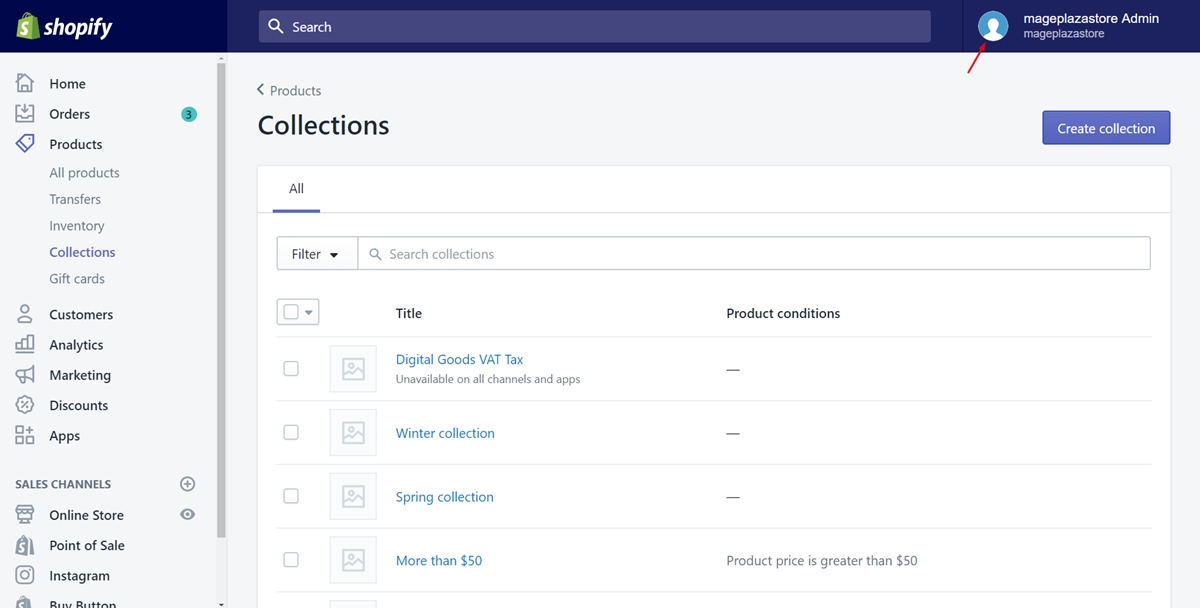
Step 1: Choose the username and account photo
First, sign in your Shopify account to go to the admin page. Take a look at the upper part of the page, you will see your username and account photo. Tap on it to continue.
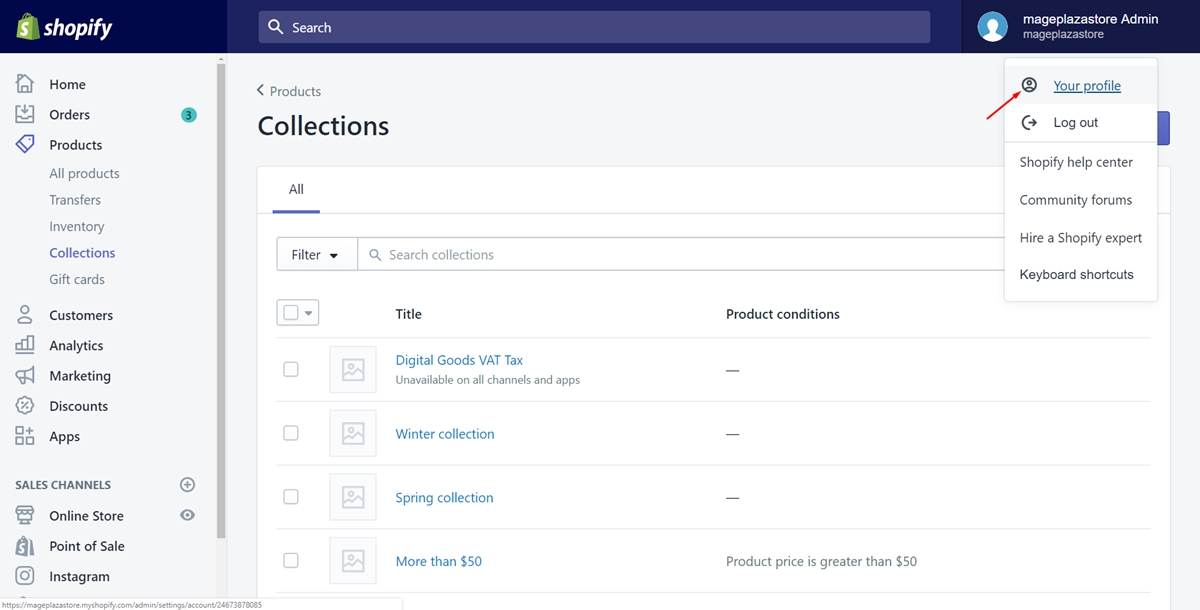
Step 2: Tap on Your profile
A few options will appear in a menu. Make sure to choose the first one called Your profile. Then, you will access your profile page.
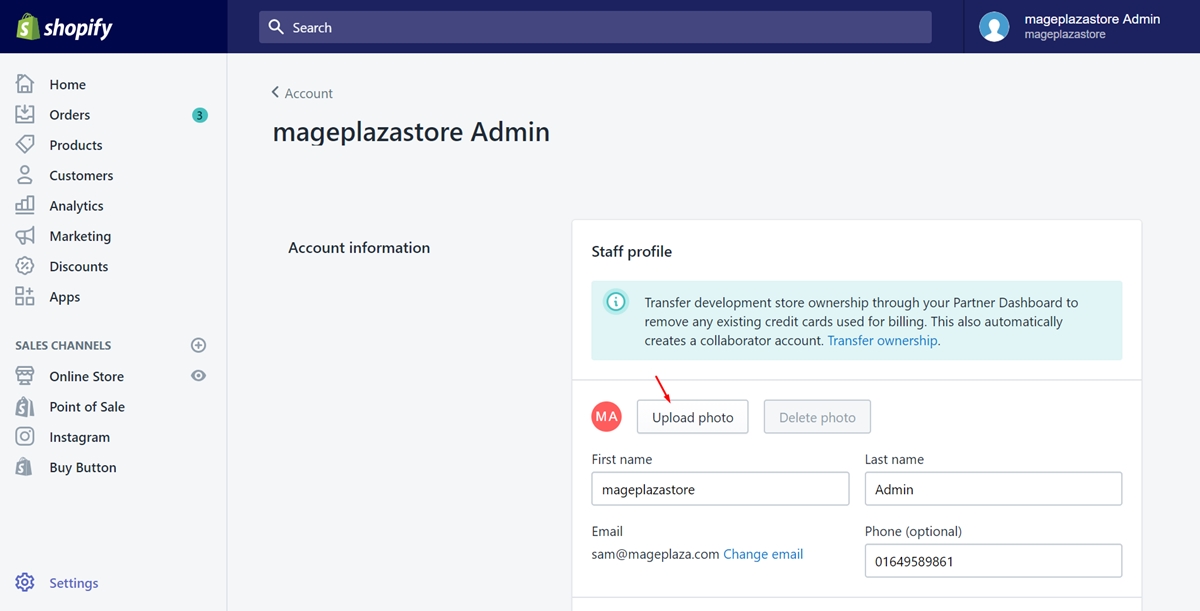
Step 3: Select Upload photo
View the Account information section. Choose the Upload file button I’ve pointed in the following image. It is to open the image you expected.
Step 4: Press on Open
In this step, you need to find out the image you are looking for. Click on it to choose and press on Open to upload it on Shopify.
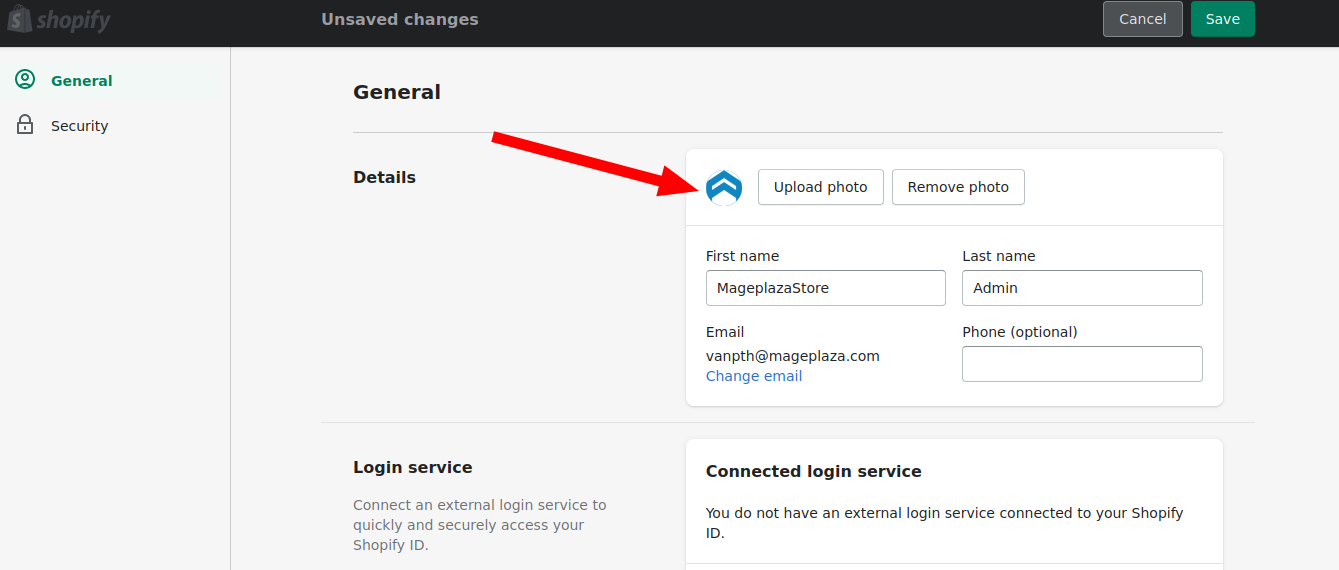
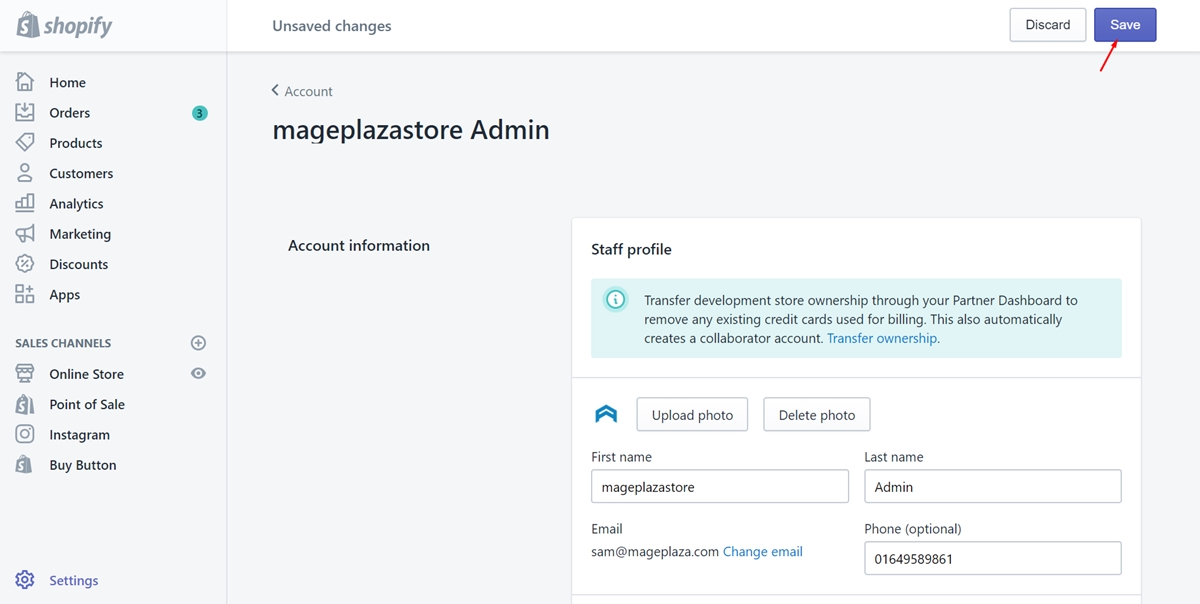
Step 5: Select Save
After you’ve had a charming profile photo, remember to select the Save button to complete.
Summary
Above are the easy steps you can take to add a profile photo to appear on your Timeline. Hope that you will find some benefits from this post and have the desired picture. If you want more instruction like this, check out our posts on productivity tools.


