
How to Add 2Checkout to Shopify

Choosing the right payment gateways tends to be a challenge for Shopify users, especially when they want to approach customers who use mobile payments and online payments or those coming from other regions. Among multiple payment gateways connected with Shopify or BigCommerce, 2Checkout is one of the most ideal solutions for any level of business with high rates and helpful features.
In this post, we will briefly introduce Shopify 2Checkout integration, its benefits, and how you can add 2Checkout to your Shopify stores.
Let’s dive in!
About Shopify 2Checkout integration
2Checkout is one of the most requested global payment platforms. With the help of it, users are enabled to approach mobile and online payments of customers from all over the world with a localized merchant account. Some of its best features are PCI compliance, international fraud prevention, merchant account, integration with multiple shopping carts, and more. 2Checkout not only benefits businesses but also brings about convenience for buyers.
Now let’s see some noticeable advantages of Shopify 2Checkout integration. 2Checkout also integrates with Shopify and this integration turns into more and more popular. In fact, this offers useful services that you should consider when it comes to payment gateways.
Benefits of using 2Checkout on Shopify stores
Multiple payment methods
The more payment methods your online store supports, the more customers you can attract. With the help of 2Checkout, you have multiple payment solutions in your hand to serve your customers’ demands. Some most popular payment methods are PayPal, Visa, American Express, Discover, JCB, MasterCard, Diner’s Club, traditional debit cards, and more. It’s perfect for those who want to sell internationally. There are more than 200 markets around the world whose payment gateways 2Checkout supports. Each market has its own localized options suitable for customers from each region.
Furthermore, 2Checkout does offer multiple languages and currencies related to each localized payment gateway to make customers feel more convenient. In specific, it supports 87 currencies and about 15 languages.
Subscription services
2Checkout will be an ideal choice for those businesses having demand on selling their products on a regular subscription service. That means you will be enabled to set up subscription payments from buyers all over the world.
Numerous integrations
2Checkout has integrations with various platforms and apps. So, you don’t need to apply for any new app or plugin since 2Checkout has all the necessary functions in itself. To be more specific, 2Checkout has integrations with:
- More than 100 shopping carts
- Key eCommerce platforms such as Shopify, BigCommerce, WooCommerce, and more,
- Multiple integrations for booking and other eCommerce purposes.
High security
Besides, 2Checkout has over 300 fraud rules of its advanced protection to make sure all transactions of both customer and seller are protected from fraud. Additionally, its advanced fraud protection prevents interference from causing fraud alerts. This is a three-tier defense strategy for finding out the fraud activity before it happens. This is one of the most noticeable benefits of being complimented by 2Checkout users.
You may not find any information about 2Checkout’s security on its website and assume that the platform is not a secure payment method. However, 2Checkout’s PCI Data Security Standard is recognized as Level 1 certified. For those who don’t know, this is the highest level of security that a company can gain.
Standard and Inline options
2Checkout provides its users with two checkout options which are standard and inline:
- Standard checkout: the checkout page is displayed and based on the device that the customer is using.
- Inline checkout: the checkout page is displayed like it is another page on the seller’s site. What’s more, users choosing this option still get all functionalities of the hosted checkout option.
Huge feature set
Most noticeably, 2Checkout integration brings about a huge toolset including all that you need from a payment platform:
- Mobile responsiveness
- Multiple payment methods are available like credit cards, debit cards, PayPal, and more.
- Multi-language settings
- Advanced fraud protection
- Integrations for both hosted checkout option and inline checkout option
- Recurring billing for customers to be charged on a monthly or yearly basis
User-friendliness
With all the mentioned features, 2Checkout is surprisingly easy to use. You will have to use code but these bits of code are provided, so you just need to copy and paste to add more payment methods to your online store.
In addition, the process of managing your payments or navigating the website is simple. It’s also because 2Checkout offers quick integrations with many popular eCommerce platforms and its developer tools are well-designed.
How to add 2Checkout to Shopify
Step 1: Create a 2Checkout account
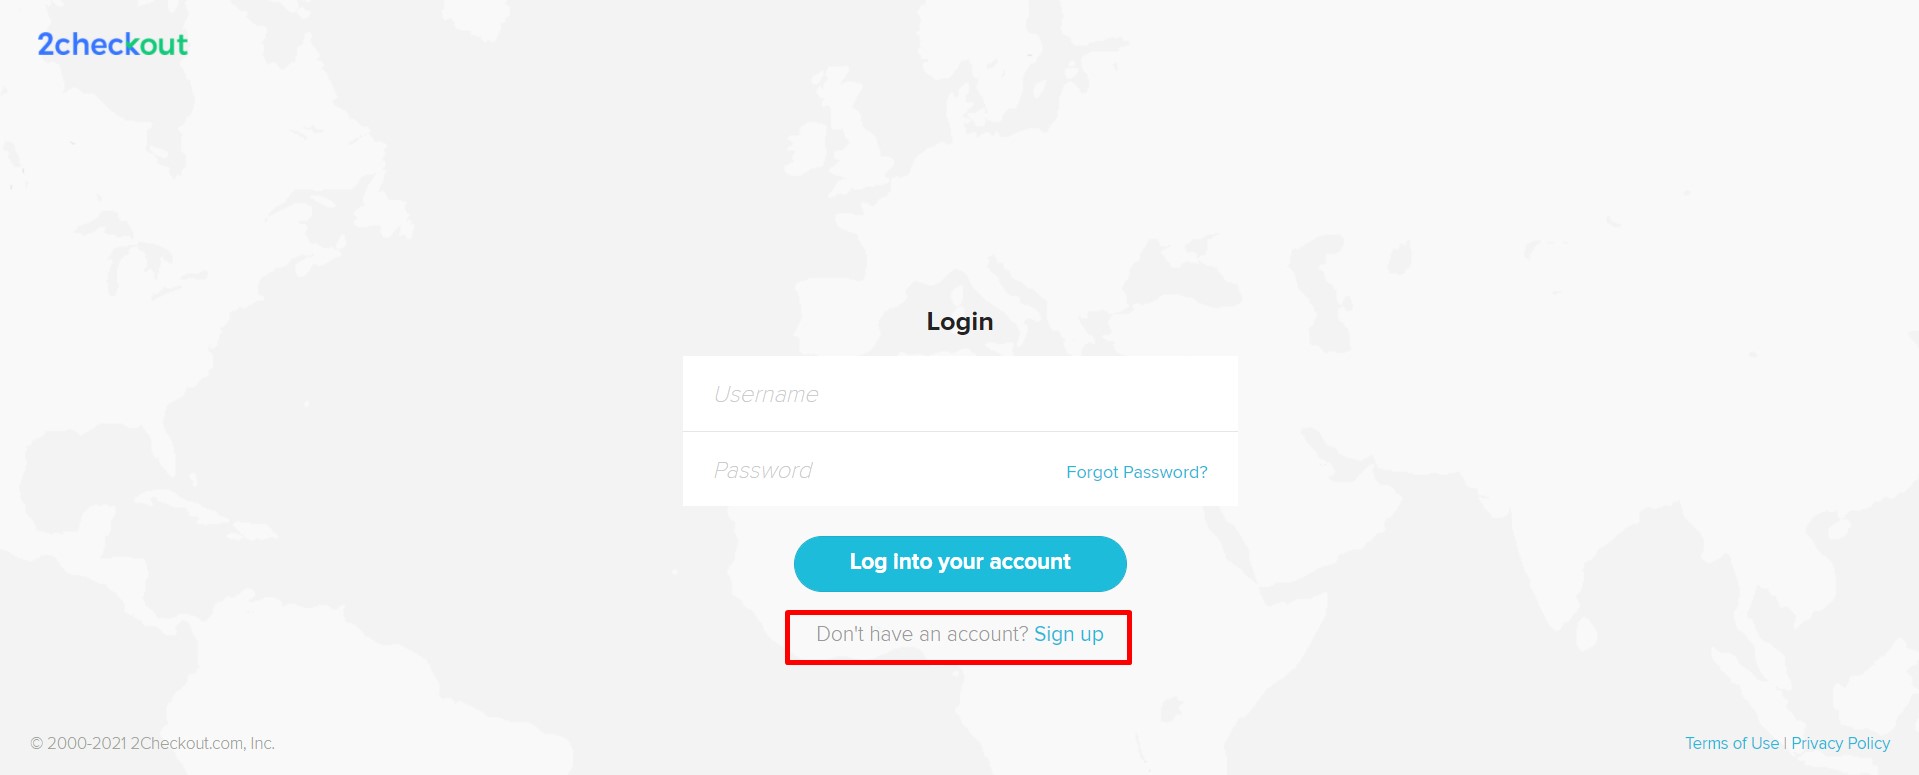
Before starting adding 2Checkout to Shopify, you must have accounts of both platforms. Therefore, let’s sign in to your 2Checkout account and get the Account number as well as the secret word.
These two elements can be found in the INS Secret word option, which is in the “Webhooks & API” section of your integrations.
Step 2: Log in to Shopify
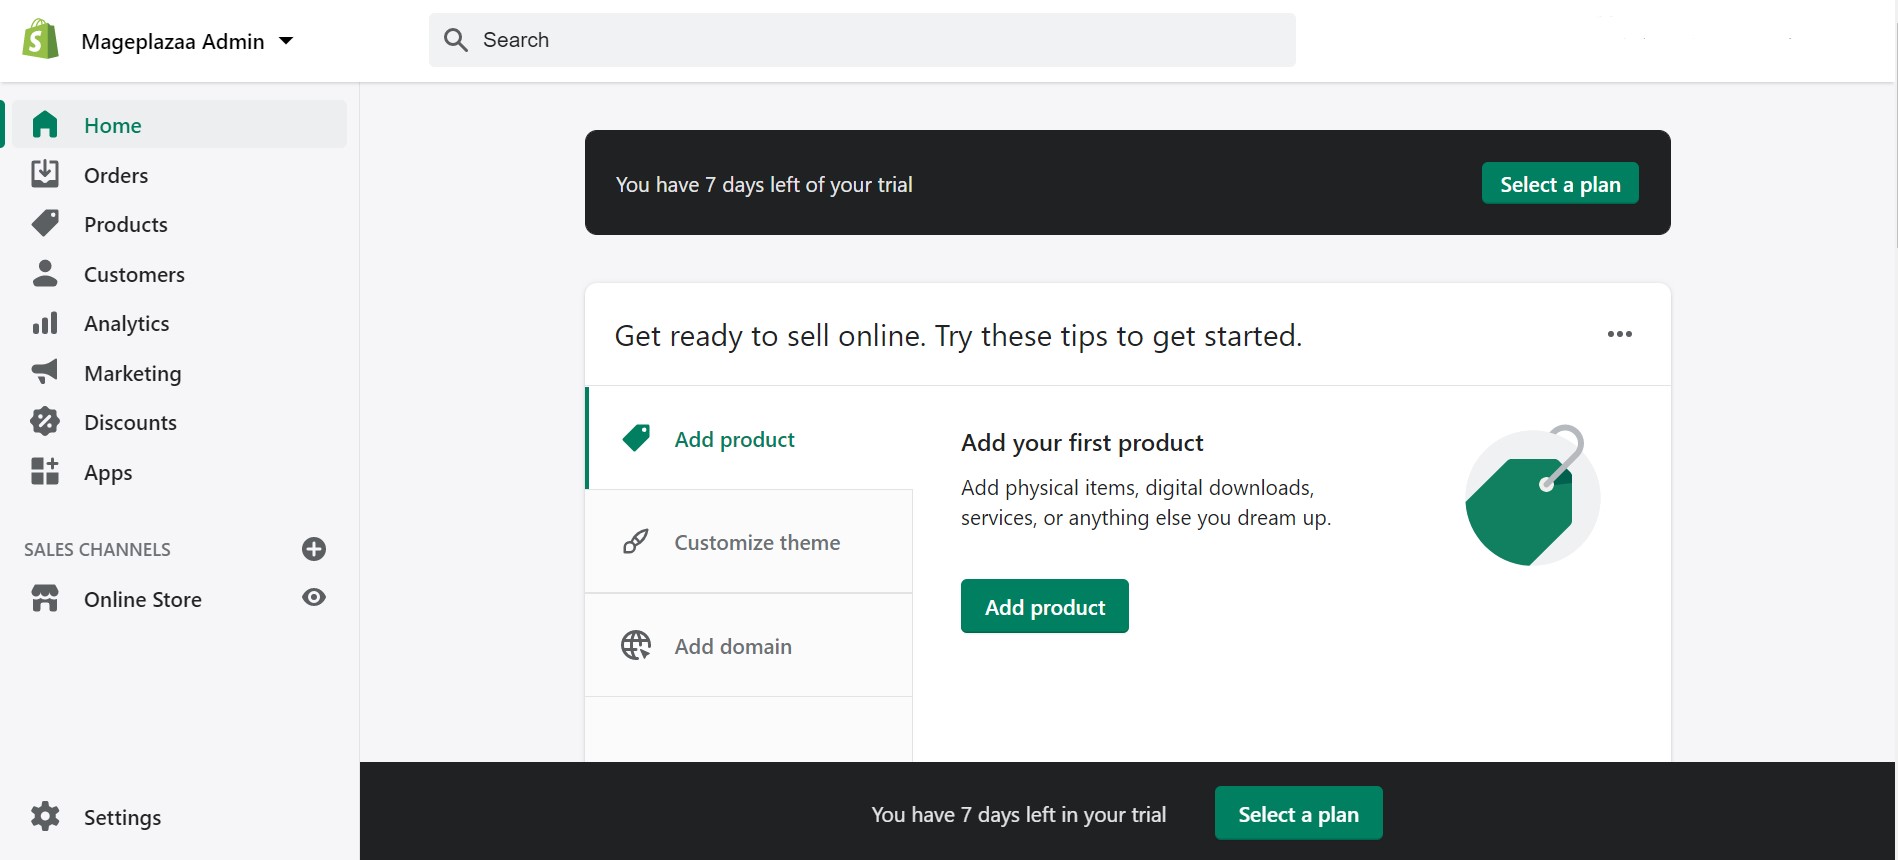
Then, log in to your Shopify account to go to the Admin screen.
Step 3: Go to Payments

Next, navigate to the Setting area and click on the Payments option.
Step 4: Click on 2Checkout
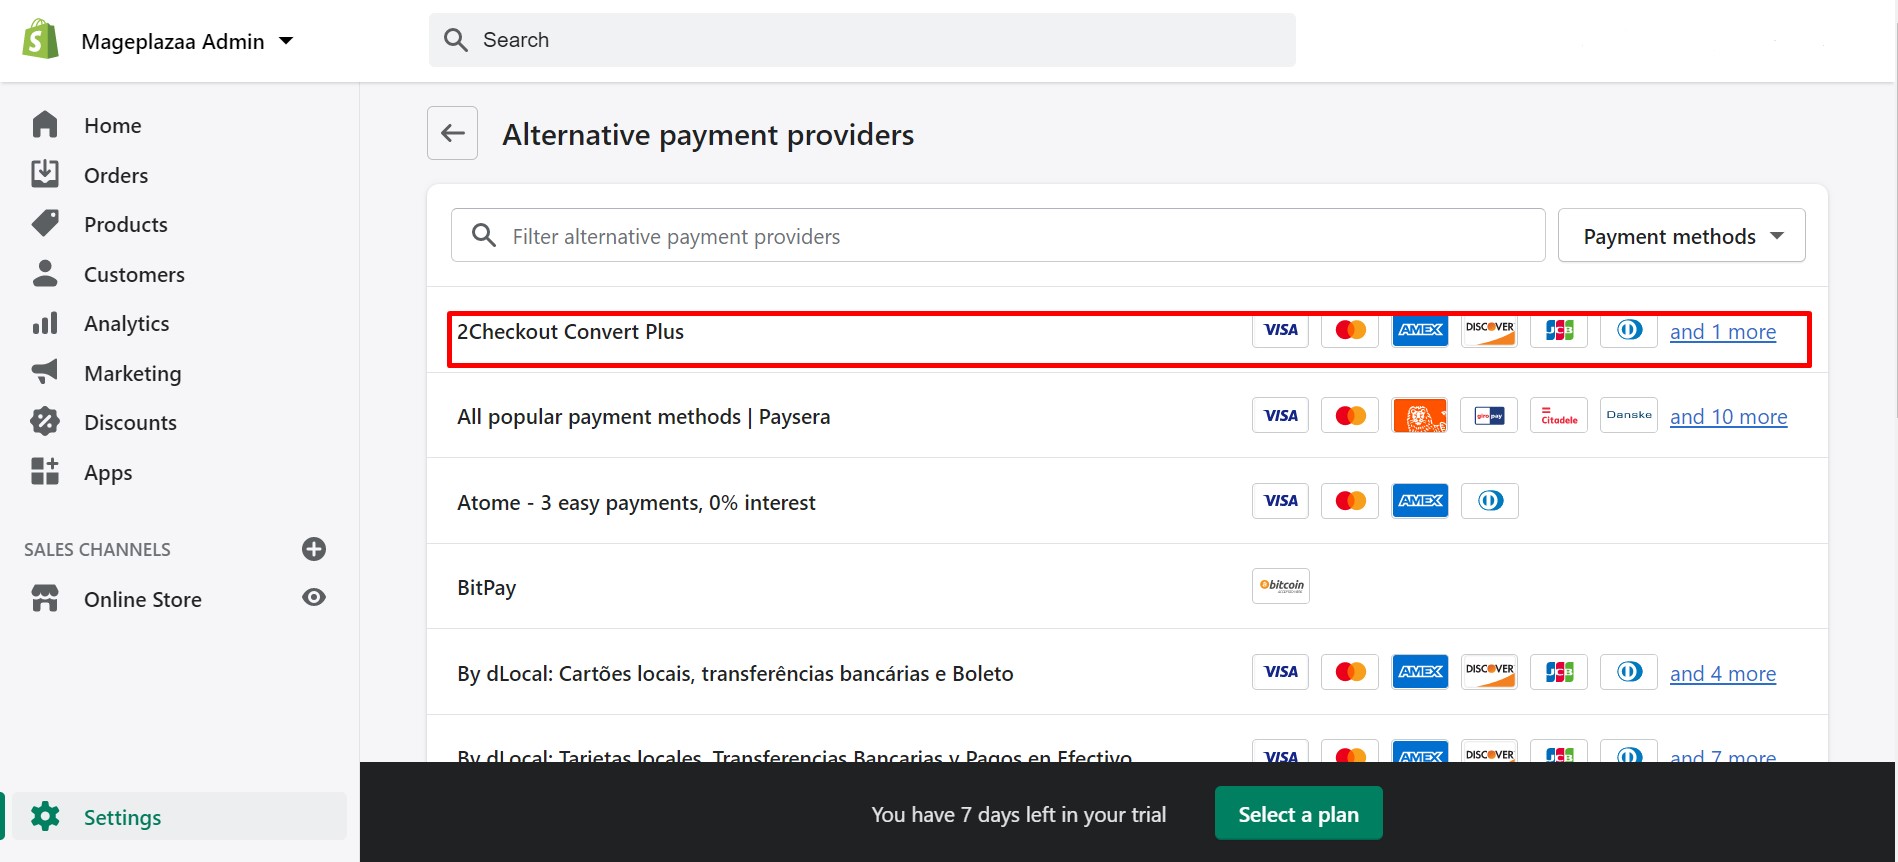
Now, you need to connect two platforms by going to the Select a Credit Card Gateway option. Then, continue to go to the drop-down selector and choose 2Checkout.
It’s time you use the account number (SID) and the secret word getting from Step 1 to fill in the requested sections here.
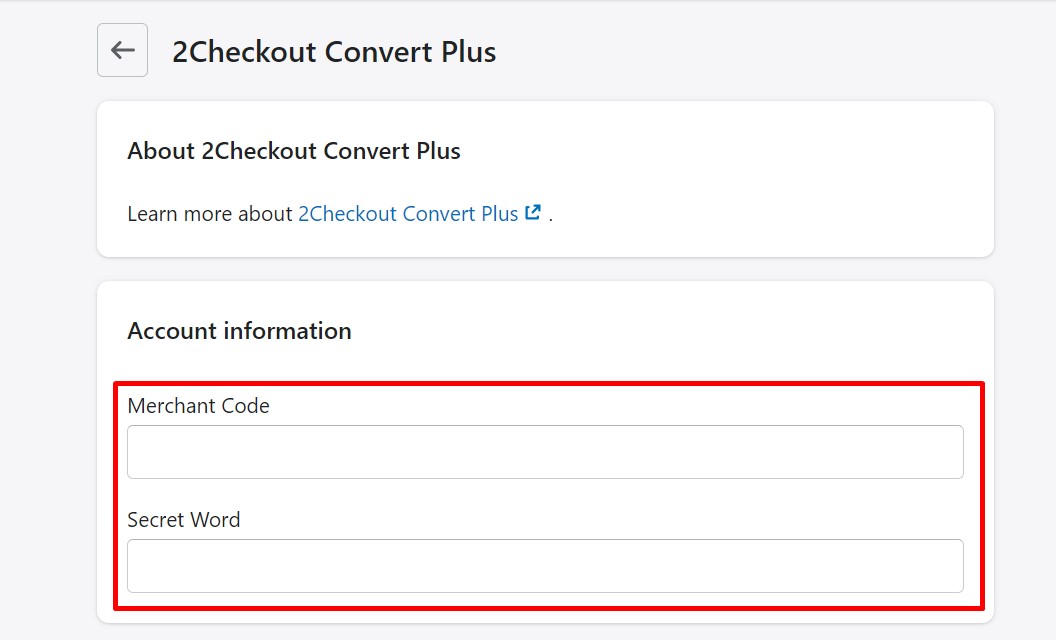
Then, click on Activate to save your changes.
Step 5: Sign back in 2Checkout
The process is not completed yet. You will need to go back to your 2Checkout account and sign in again.
Step 6: Go to Webhooks & API Section under Integrations
You’re now at the dashboard of 2Checkout, go to the Integrations section and click on the Webhooks & API section.
Step 7: Redirect URL and save
In the final step, let’s look at the Redirect URL section and check the Enable Return After Salesection. In terms of the Approved URL area, simply leave it blank. When it comes to the Return Method section, let’s click on Header Redirect.
Next, remember to click on the Save button. How you have added 2Checkout to your Shopify store successfully.
Summary
Being one of the best global payment gateways for Shopify users, the 2Checkout platform has numerous interesting features. This solution is best suited for businesses with small budgets in monthly sales. In this post, we have given you the benefits of using 2Checkout as well as a step-by-step guide on how to add 2Checkout to your Shopify store, which, in fact, is rather simple.
If you have tried 2Checkout before, be free to give us your opinions about how it works or whether you like it or not. Also, remember to share this post with your friends and visit us for more if you find this interesting.
Thank you and good luck with your eCommerce stores.


