As you might not know about, Custom Colors are one of the most import parts of Custom Design that is known as an amazing feature of WordPress.com Business and WordPress.com Premium.com plans.
Basically, it is created to make the update of your blog’s color easier with just several clicks. With Custom Colors, you can simply opt for color palettes, refine with your color picker, view the color suggestions or use any background patterns.
In this article, you will be shown on how to add Custom Colors to your site on WordPress.
To add Custom Colors to your site
Get started
Before buying, everyone can see the Custom Colors. In fact, Custom Colors are available for themes having Custom Colors support.
In order to check which theme possesses Custom Colors support, the first thing you need to do is to activate themes and head to My Sites -> Customize. A note will be present on the page if this theme supports Custom Colors or not.
Select a palette
Whenever you can see the palette you want to give it a try, all you need to do is to press on this color and apply it to your live preview located on the left. If you want to see more, click on More and Back to see all of the available color palettes.
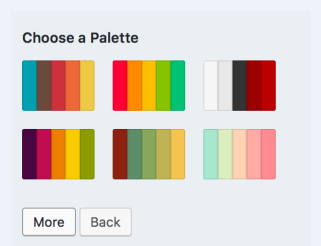
Take note that color palettes are given by COLOURlovers.
Modify colors
If you want to change colors, you can select any color you want to change. You can see a circle having X inside indicates that your current theme does not set this color for that region. In addition, the Default button can revert back to your theme’s colors.
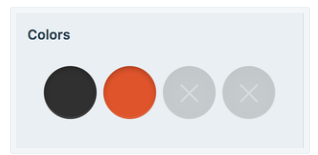
In case you want to check which kind of colors are matching to which kind of areas in your themes, you can opt for a color circle and its role will be present as below:
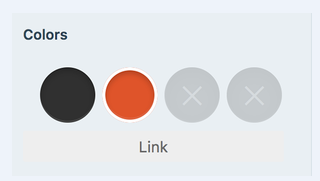
Color suggestions
Color suggestions are also available. Click on each color located in the color grid to check and see customized color suggestions.

Color picker
In order to open the color picker, you can choose a color in your current palette, then head to the link saying pick your own color.
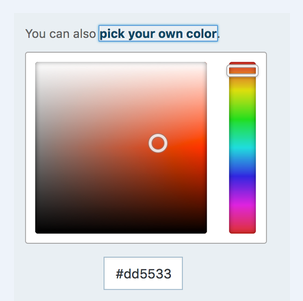
Your color picker also contains a safety net for accessing. When you want to opt for a link color which Is the same as your background color, this color picker can add contrast to make your text become readable.
Every color in the site consists of a code. As color becomes active, its Hexadecimal color code also appears under your color picker. In order to add the color code, you can enter this into your filed and click on your tab key.
Background patterns
Regarding your background patterns, they can be loaded depending on the background color of your last chosen palette. Choose More and Back button to get scrolled through all of the background patterns available.
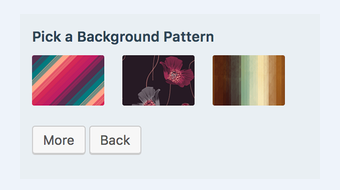
If your current theme owns background picture support built in, you can view a big rectangle located at the top of your colors panel. The Change button appears inside that rectangle. Click on that rectangle to apply your media manager to choose and post a background picture.
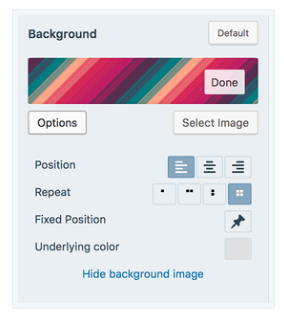
Next, you will see some background images options:
- Position manage where your first picture is located: right, left or center.
- Repeat decides if a picture appears once, repeats vertically or horizontally and so on.
- Fixed Position is that your pictures still remain fixed as you are scrolling.
- Underlying Color is when the colors loading behind your background images.
Save changes
If you preview the color changes before purchasing, Save button will help you save your changes; however, the Custom Design will not be present till you buy WordPress Premium or WordPress Business plan.
Conclusion
We hope that with our tutorial on how to add Custom Colors to your site on WordPress, you will feel more confident in using WordPress and discovering further interesting features of WordPress. Help us share this article if you find it helpful.


