
How to upload product using CSV file in Shopify?

People often recommend users to utilize Google Sheets to work with your CSV files on Shopify. As a CSV file can make things easier with faster importing speed CSV files, also less memory being consumed with many more benefits.
So, uploading products using CSV file in Shopify is the thing that almost every merchant should know and handle well. Basically, in order to do this, you must import the CSV file into the program, and then export the CSV file to your computer. In the meantime, there would be many steps and tips that you need to know to upload a product successfully.
That’s why this article is here to help you master this knowledge in importing products using CSV file in Shopify.
What is CSV file
Comma-Separated Values is what CSV stands for, which is known as a file format (.csv) for spreadsheets. CSV files are normally used for importing and exporting products, customers, inventory. And for orders and discounts, they are for export only.
People often utilize CSV in many cases. For example, while switching to Shopify from other eCommerce platforms, you are required to import a list of customer accounts. And even when you want to upload products by using a spreadsheet, CSV is really helpful.
At first, CSV files might seem intimidating for you. But don’t worry about that, when you have already understood all their formats and the way they work, you will be likely to keep using them for a variety of tasks.
To go more in details, a CSV file includes many entries, each represents a cell in a spreadsheet, and then there is one row for each line, and each comma indicates where one entry ends, and another one begins. Remember that special characters don’t always work correctly in CSV files that are exported, you must edit them with another spreadsheet program, and then re-imported into Shopify.
Import & export CSV Data to Google sheets
In order to export a CSV file from your Shopify admin, firstly, you must open as a .csv file in your computer’s native text editor. From here, you can freely use an alternative text editor to do this step, but we recommend you to use a spreadsheet program to view and edit your CSV files instead.
Read more: How to Import CSV Files into Google Sheets
Step 1: Log into your Google account
First of all, of course, you need to log in to your Google account.
Step 2: Click on the Blank option
Look on the Google Sheets page, and you need to click on the Blank option, which appears in the Start a new spreadsheet section.

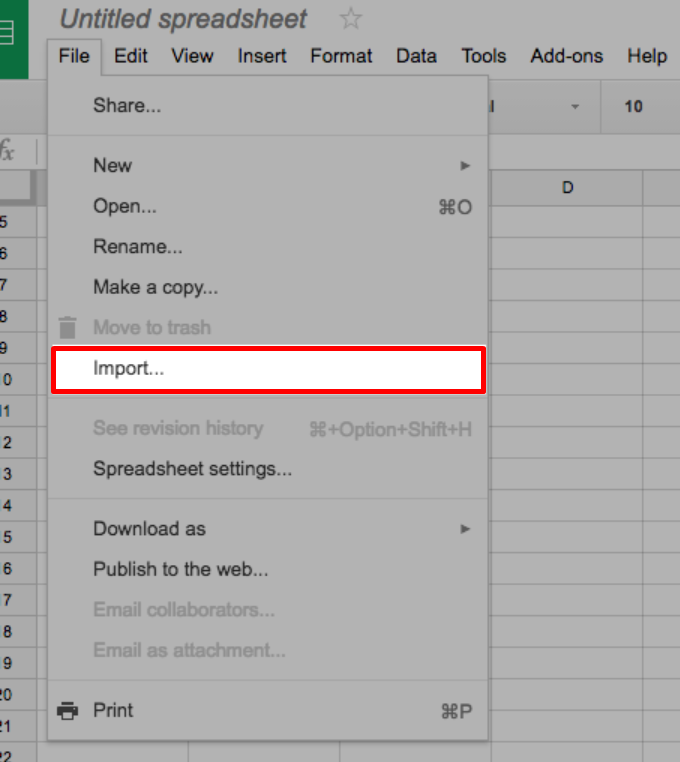
Step 3: Open the Untitled Spreadsheet page
After that, open the Untitled Spreadsheet page to direct to the File section, and then click on Import...
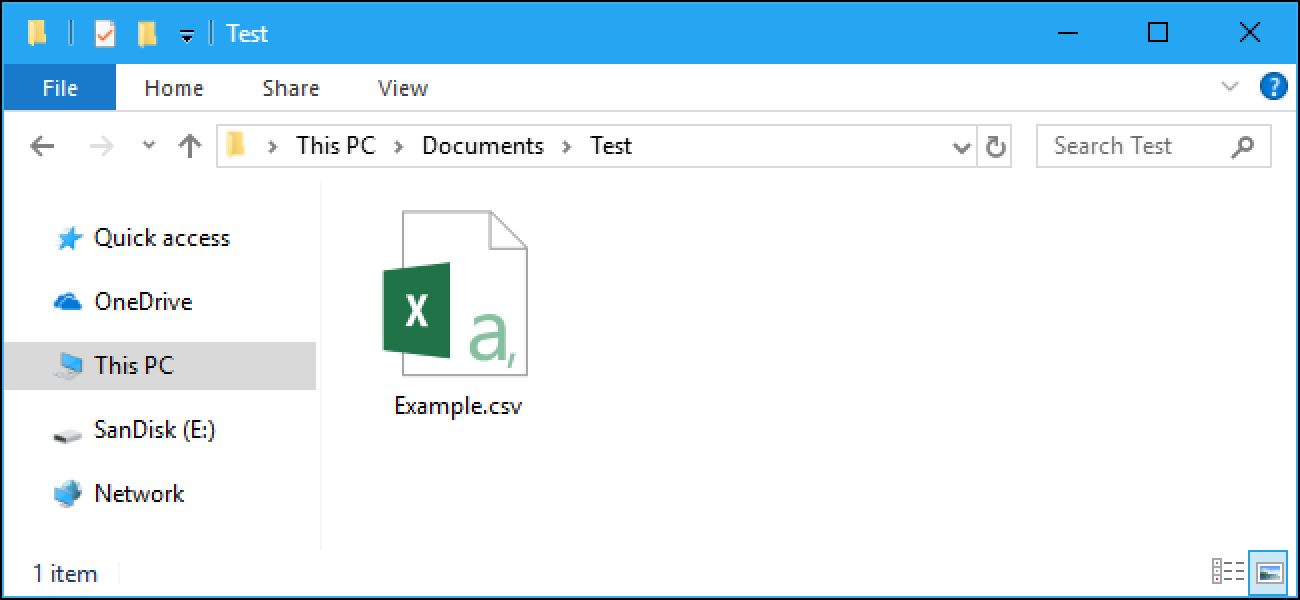
Step 4: Locate and select the CSV file
In this step, you will have to locate and select the CSV file that you want to edit.
Step 5: Choose sections in the Import file dialog
You will see in the Import file dialog, there are your preferred options under the Import action, Separator character, and Convert text to numbers and dates sections. Just select them.
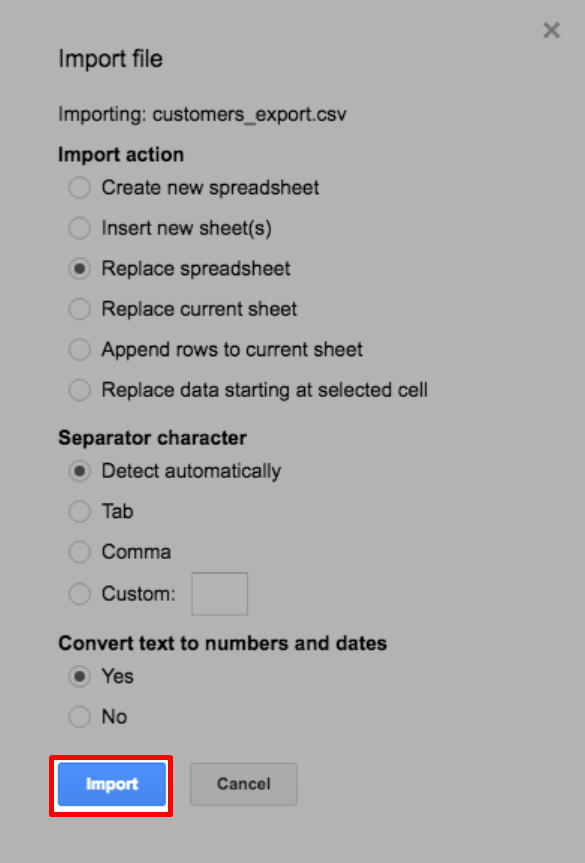
Step 6: Click the Import button
Simply click on the Import button.
That’s when you are done, and it’s time to edit your CSV and export it from Google Sheets as a .csv file. If you are still not clear about these steps, go for a step-by-step guide of Importing CSV Files into Google Sheets
Create a upload CSV file
Sample product CSV file
In order to create an upload CSV file, you need to get a sample CSV file first, which you can download and view it to use as a template.
With the sample file, you will have an example product and a couple of variants included. At the same time, the file that you import will also be likely to consist of many more products and variants. In case the sample file is used to create your own import file, just remember to remove all the example products.
With the Sample product CSV file, there is the Variant Inventory Qty column, which is designed to only used for stores that have a single location. In case you want to import or export inventory quantities and also use multiple locations, then you can choose to use the inventory CSV file.
After the Sample product CSV file, you need to decide whether it is a Simple product or the Product with variants:
Simple product
A simple product is the one that does not have variants. When you upload one product without variants, you need to enter all the fields for the product on the very first line, together with the URL for the first image. For the following lines, you just need to enter the handle and the URL for each additional image.
Product with variants
In case a product that has variants are being uploaded, you need to enter all the fields for the product on the first line, together with the URL for the first image. For the following lines, you only have to enter the handle. Simply skip the Title, Body (HTML), Vendor, and Tags columns as you only need to fill out the rest of the variants’ details and each image URL.
How to upload product with CSV file in Shopify
As a matter of fact, there are many outside sources like another Shopify store, a different eCommerce platform, or a supplier that can import CSVs into Shopify. Also, from your Shopify store, you can export a CSV, make changes, and then import it back into your store to update your products.
Tips for uploading product with CSV file
When a product CSV is uploaded in Shopify, you will have your product list in Shopify updates to match the CSV file. Before starting to figure out the way to upload product with CSV file in Shopify, you need to know some tips and notes in order to avoid flaws and failures while practicing.
- First of all, you need to create two copies of your CSV while updating products in order to edit one copy and keep the other as a backup product list.
- In case you import your CSV file is imported with errors in Shopify, it probably will overwrite your original products and they can’t be recovered. Plus, when you save a CSV, it doesn’t make a copy of your product images. So, save your images separately if you want to backup your images.
- Furthermore, you have to be sure that your CSV matches Shopify’s CSV file format for products. If there is any CSV file from another source, like an inventory list, it’s necessary to rebuild it in Shopify’s format. Otherwise, the import will fail.
- Next, if you’re using a CSV to move products from another store, then you need to upload your product CSV to your new store while your old store and products are still available on a publicly accessible website. Otherwise, links to your variants and product images won’t be imported.
- Lastly, you can’t use a CSV file to import products when you have a drop-shipping app like Oberlo. Using a CSV file on drop-shipping products causes errors such as broken product links, prices not updating, inventory out of sync, and orders not sent to the Oberlo app.
Tutorials for importing product with CSV file
Here come the tutorials for working with product CSVs that you want to import into your Shopify store:
Step 1: Open your Shopify admin
Of course, you need to start from your Shopify admin to import a CSV file.
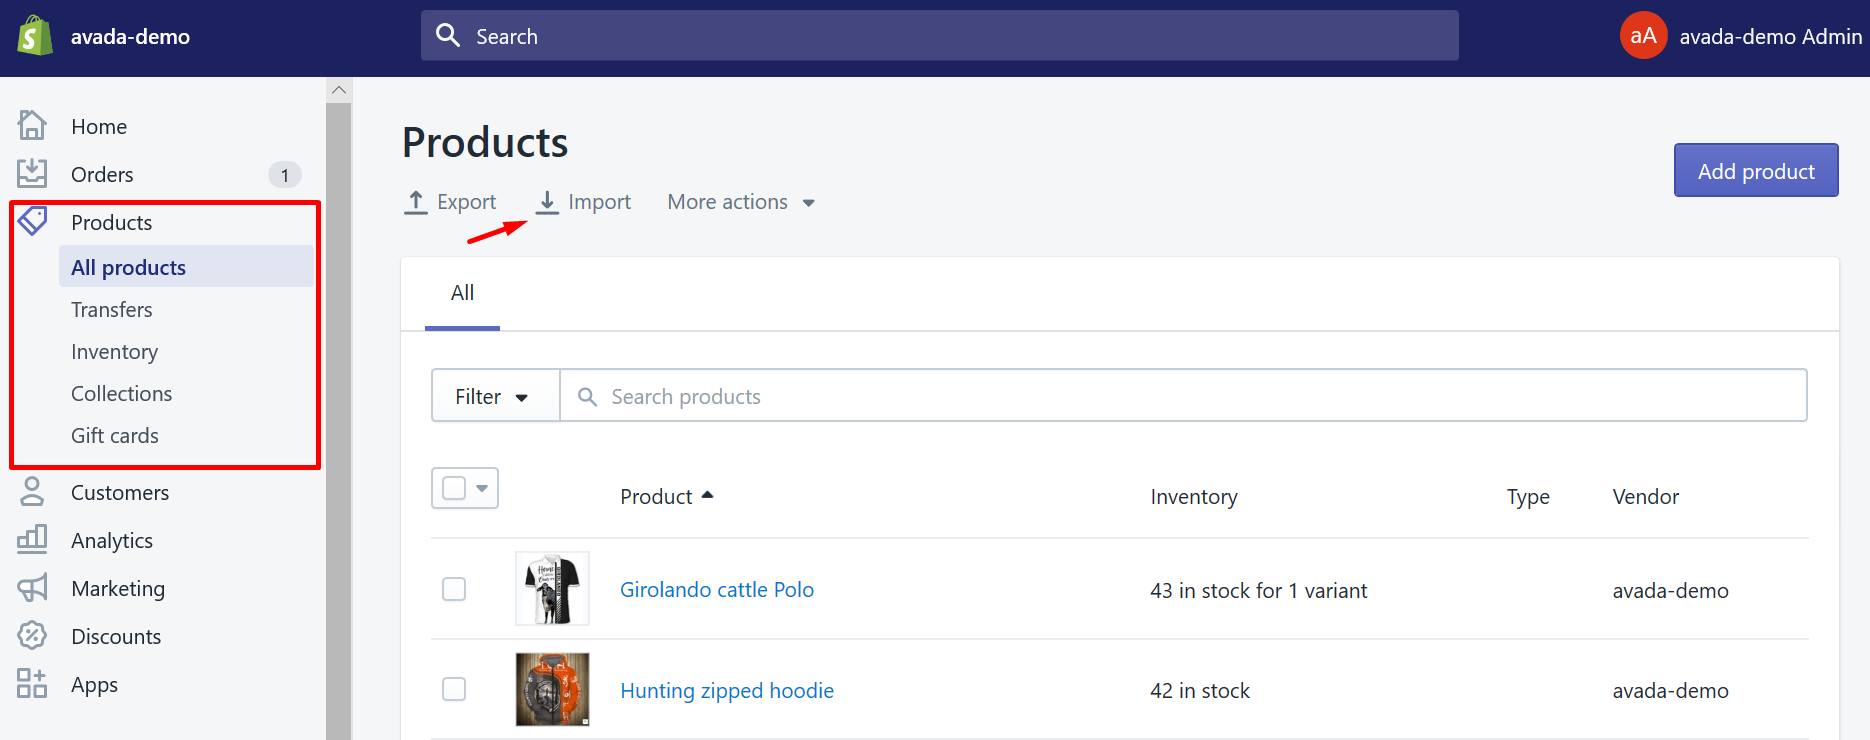
Step 2: Click Import in Products section
After that, just direct to Products. And hit a click on Import.
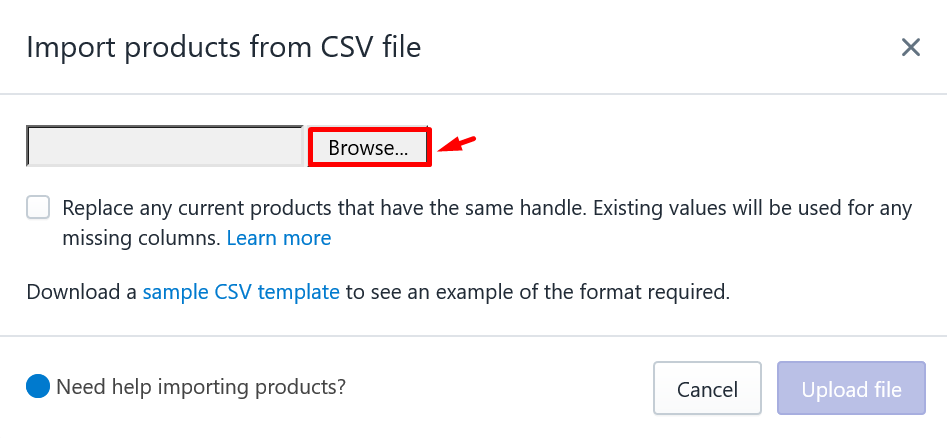
Step 3: Choose Browse…
After that, go for Browse....
Step 4: Open your CSV file
Find your file directory, locate your CSV file, and then click Open.
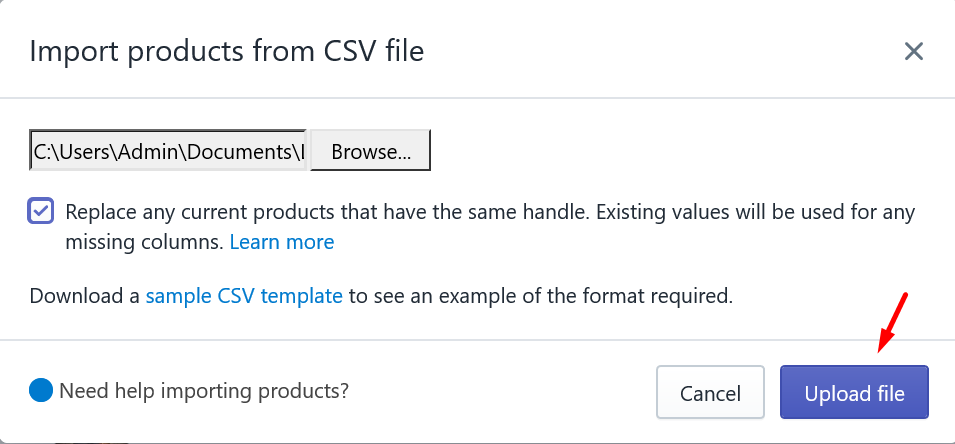
- If you want to update data for matching products with data from your CSV, click on the Checkbox
Step 5: Choose a product handle and a product title for your CSV file
In your CSV file, each product will be equipped with a product handle and a product title.
- With the product handle, customers will be able to see it in the URL when they go to the product online.
- With a product title, customers can see the actual title of the product. A product title can match the product handle or it can be totally different.
Step 6: Click Upload File
After that, click Upload file.
In this step, Shopify will show a preview of your first product, and you can check whether the information is correct or not. If the information is not correct, you can cancel the upload and edit the file, so it previews correctly. There are some common import problems presented here for you to check and fix your errors.
Step 7: Click Start Import
If the preview is correct, then click Start import.
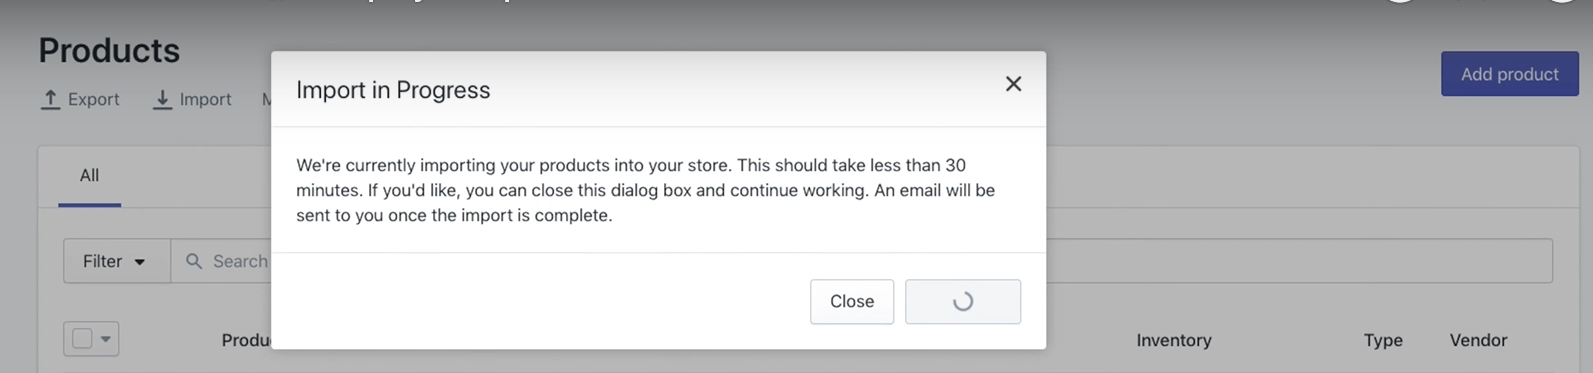
It will take you a few moments of waiting, depending on the size of the file.
Step 8: Wait for the confirmation email
You will receive a confirmation email from Shopify if your CSV file is successfully uploaded.
Upload product with CSV file with Shopify apps
Using apps to support you import product with CSV file is also a great idea as it can help you to manage your uploading more easily, like importing the whole package of products or example. Lucky you, we have listed out 22 Best Shopify Import Apps from hundreds of the Import reviews in the market here on our website to help you find the right one that suits your aims.
Conclusion
That’s all the thing that I want you to know about importing product using CSV file in Shopify. These might seem complicated at first, but I believe you will soon figure out and run things well with your Shopify store. If you still have questions, contact us and let us fix your problems right away.
Related Posts:
- How to Add New Product Using Shopify POS
- How to Make Products Available on Shopify Sales Channels
- Filter and Export Products List on Shopify
- Import CSV Files into Google Sheets on Shopify


