
How to Setup Shopify Shipping - The A-Z Guide

If you are running an eCommerce business on Shopify, shipping is one of the most significant parts that you should pay attention to as it is one of the most time-consuming and frustrating parts. As usual, you will have to use at least one platform to process orders, determine shipping costs, prepare labels, and deliver products. That whole process will definitely grow more sophisticated over time, which wastes a lot of time and effort. Fortunately, setting up Shopify Shipping helps you handle this part in the most convenient and quick way.
Therefore, we would like to bring you instruction from A to Z to set up Shopify Shipping to support you in simplifying the fulfillment process. This article will not let you down, so follow it carefully.
Related Posts:
- Configure Your Default Package Dimensions on Shopify
- Show Calculated Shipping Rates at Checkout on Shopify
- Disable Shipping for Digital Products on Shopify
What is Shopify Shipping?
Shopify Shipping is like a shop that offers many different types of products in shipping. It will help sellers with their process in moving orders from received to shipped. On this platform, you will be taken care of calculation shipping rates, choosing your own rate, creating shipping labels, and also sending packages, etc.
Shopify Shipping is going to provide you with three membership plans, each comes with different shipping features to meet various needs. You have to pick one of these three plans:
| Features | Basic Shopify | Shopify | Advanced Shopify |
|---|---|---|---|
| Shopify Shipping discounts rates | Good | Better | Best |
| Print shipping labels | ✓ | ✓ | ✓ |
| Display calculated rates at checkout | ✓ | ✓ | ✓ |
| Shipment tracking | ✓ | ✓ | ✓ |
| Automatic customer email notification | ✓ | ✓ | ✓ |
| Ship date (U.S. only) | ✓ | ✓ | ✓ |
| Signature confirmation | ✓ | ✓ | ✓ |
| Third-party calculated rates | - | - | ✓ |
How does Shopify Shipping work?
As I have mentioned above, Shopify shipping can help sellers to process their the order easier. Even more, you will be able to print shipping labels, packing slips, and many more.
In detail, when your customer places an order, and you want to ship it to them. You will need a shipping carrier to be the company that picks up your package and then delivers it to your customer. For example, UPS and DHL are the two common shipping carriers that physically deliver packages to your customer’s address. In the US, Shopify Shipping works with UPS, USPS, and DHL.
You are allowed to access all the services of these carriers as well. Also, you can totally keep tracking your package updates depending on the carrier that you choose. Each shipping carrier will provide you with multiple shipping methods depending on your needs. You are able to provide your customers with two methods, for example, one that offers normal delivery, one can be the one that guarantees the delivery within a fixed time or else.
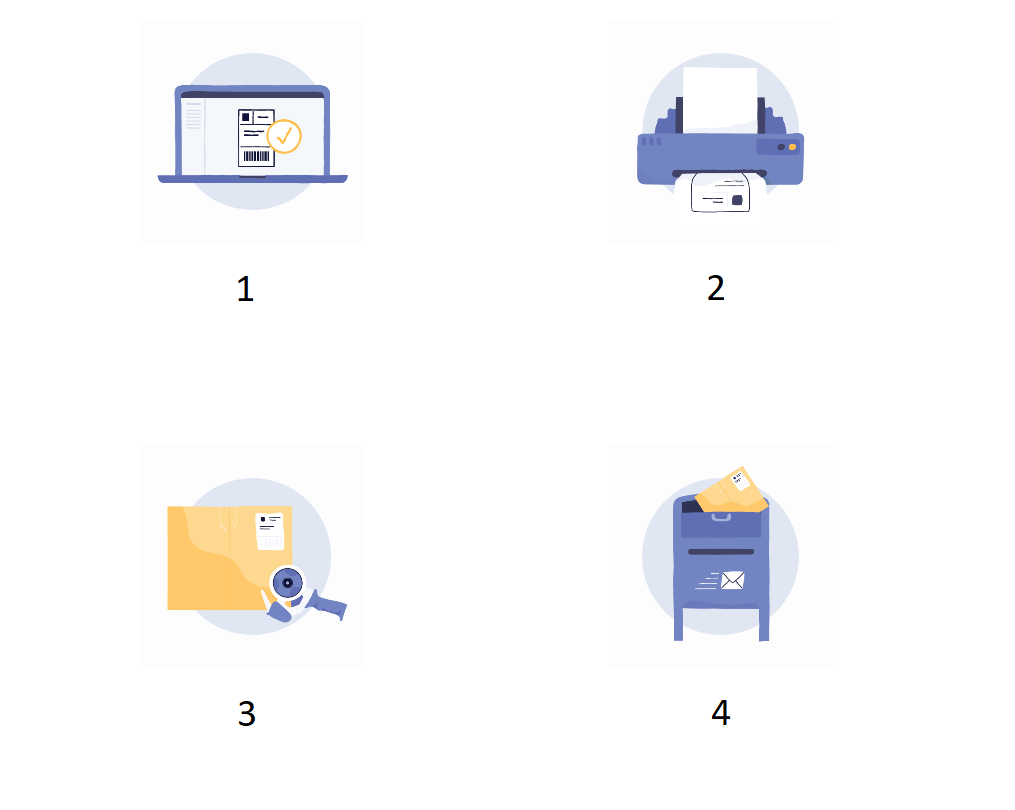
How to use shipping label for orders
Guide to use shipping label
In order to use shipping labels for your orders, follow these four steps:
-
Firstly, you need to purchase a shipping label in your Shopify admin or the Shopify app, or you can just go from an order’s Fulfillment page to do this.
-
Secondly, it’s your job to download and print the shipping label. From this step, you can utilize a desktop printer, or a supported label printer would help.
-
Thirdly, from the outside of your package, affix that label. You can use tape or packing sleeve instead if you aren’t using labels.
-
Lastly, simply bring your package to any post office, and you are done.
Shopify supported printers
As mentioned above, there is Shopify supported printers that is set to print your purchased shipping labels in your Shopify admin or the Shopify app. There are two options that I recommend you to use:
-
Dymo LabelWriter 4XL, or The Dymo LabelWriter 4XL, is created to connect to your computer through USB. This label printer is available on the Shopify Hardware Store, which can be used on both Mac and Windows computers.
-
Brother QL-1110NWB, or The Brother QL-1110NWB, is a label printer that supports USB, wi-fi, and Bluetooth connectivity. It is available on the Shopify Hardware Store, and also compatible with Mac and Windows computers, and iOS devices.
In case there is no label printer provided for you, you can use a desktop printer instead to print your shipping labels, and then affix them to your packages using a plastic sleeve or packing tape.
Add calculated rates to zones
Display calculated shipping rates to your customers at checkout is available on Shopify Shipping, and you should pay attention to that. Because when you are running a new business and having limited resources, you can utilize passing on the exact rate to decrease the costs.
In your Shopify admin, when you are eligible for Shopify Shipping, then calculated shipping using USPS or Canada Post is included. After that, the shipping costs will be calculated automatically by the carrier right when your order is placed. As a result, your customers would be able to see the real-time rates during their checkout.
In order to display your calculated rates at checkout, follow these steps:
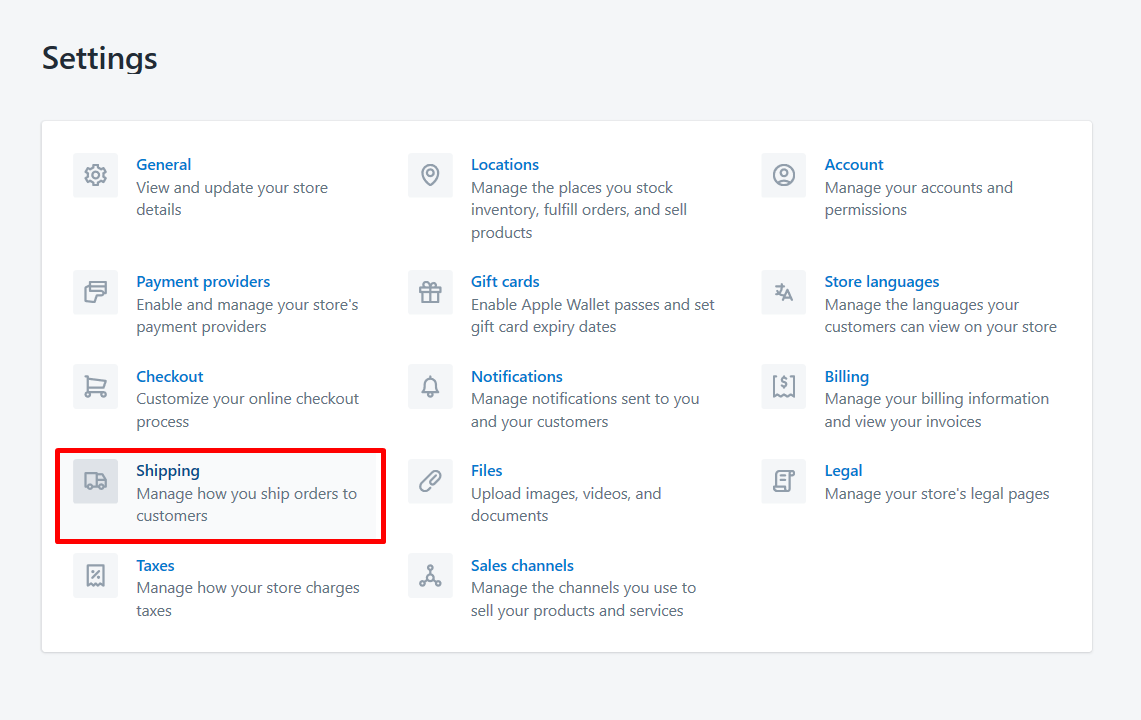
Step 1. Open Shipping
Log in your Shopify account, then navigate to your Shopify admin. Click Settings and then choose to open Shipping.
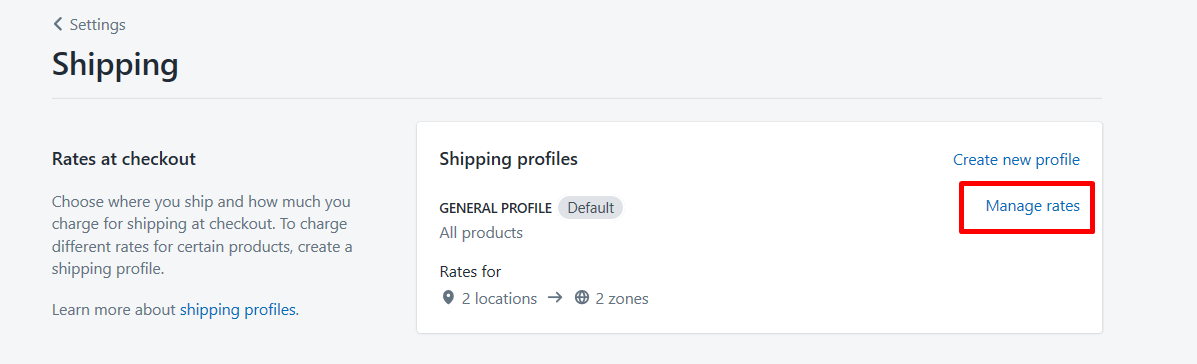
Step 2. Click Manage rates
In the Rates at the checkout section, you will see the Manage rates button next to the shipping profile that you want to input your shipping rates. Click it.
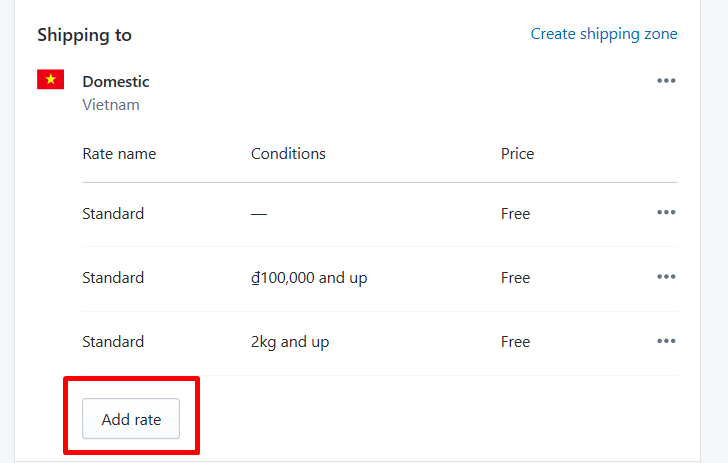
Step 3. Click Add rate
Next, click the Add rate button, which is next to the zone where you want to add a rate.
Step 4. Choose Use carrier or app to calculate rates
From here, you can choose the Use carrier or app to calculate rates that you want to use.
Step 5. Choose the shipping service
There will be a drop-down menu for you, then just select the shipping service that you want to add calculated rates for.
Step 6. Pick the shipping methods
After that, pick your own shipping methods from the shipping service that you would like to offer as options for your customers at their checkout.
Optional steps
- You can choose to automatically offer any new services that the shipping service makes available or not.
- You can insert any handling fee that you’d like to be included in the calculated rate.
Step 7. Click Save
Yes, don’t forget to click Save to finish your work.
Billing schedule
In the Billing schedule, the cost will be billed through your Shopify account after when you purchased a shipping label. At the same time, the shipping bills will be charged separately from your Shopify subscription. Specifically, when a shipping label is voided, its cost will be refunded to the credit towards future label purchases, which will not be reimbursed directly to your Shopify account. After that, your account will be charged when you are about to reach a billing, which is decided by your current Shopify plan.
Conclusion
On the whole, using Shopify Shipping in a smart way can help you step closer to the success of your Shopify store as you can more time to spend on other parts of your business. Why don’t you practice setting up your own Shopify Shipping now?
I really hope this article will help you to understand the workings of the Shopify Shipping, how to set it up clearly from A to Z. If there are any troubles, please let us know. Our support team will try their best to help you resolve your problems.


