
How to Optimize the Logo Size in Shopify

When it comes to selling online, it’s undoubtedly essential to make your store look better. The visuals can decide whether customers visit and stay with your store or not. Among multiple visual elements, the size of images is what every online merchant should look at to make the best use of Shopify images.
In today’s post, we will guide you on how to optimize the logo image of your Shopify store. Also, we will bring about alternative options for you to resize these images, as well as some tips to maximize the quality.
Now, let’s deep into it!
Official Shopify logo size
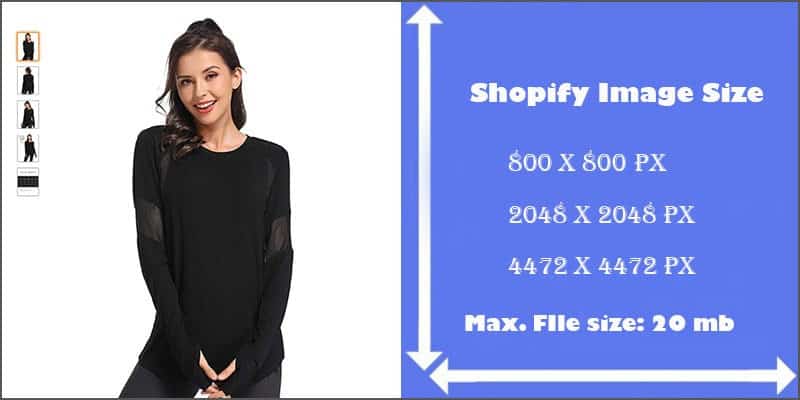
In general, the biggest image size allowed by Shopify is 4,472 by 4,472 pixels, with a size smaller than 20 megabytes (20 MB). In terms of logo images, the largest Shopify logo image size is 450 pixels x 250 pixels. It doesn’t mean your logo image must be exactly 450 pixels by width and 50 pixels by height. The sidebar’s width is 250px, so you should let your logo image be smaller than that.
It’s still possible to have a bigger logo image than Shopify allows, which we will show you later. However, in this situation, your site’s loading time will be slower, and your UX will be hindered. That’s why we mention the official Shopify logo size before learning how to optimize them. We suggest your images should not exceed the permitted size.
How to optimize the logo size in Shopify theme settings
Optimizing the logo size in the Shopify theme settings doesn’t take you a minute. With some basic steps below, you can easily resize your logo image as you wish.
Step 1: Go to Admin
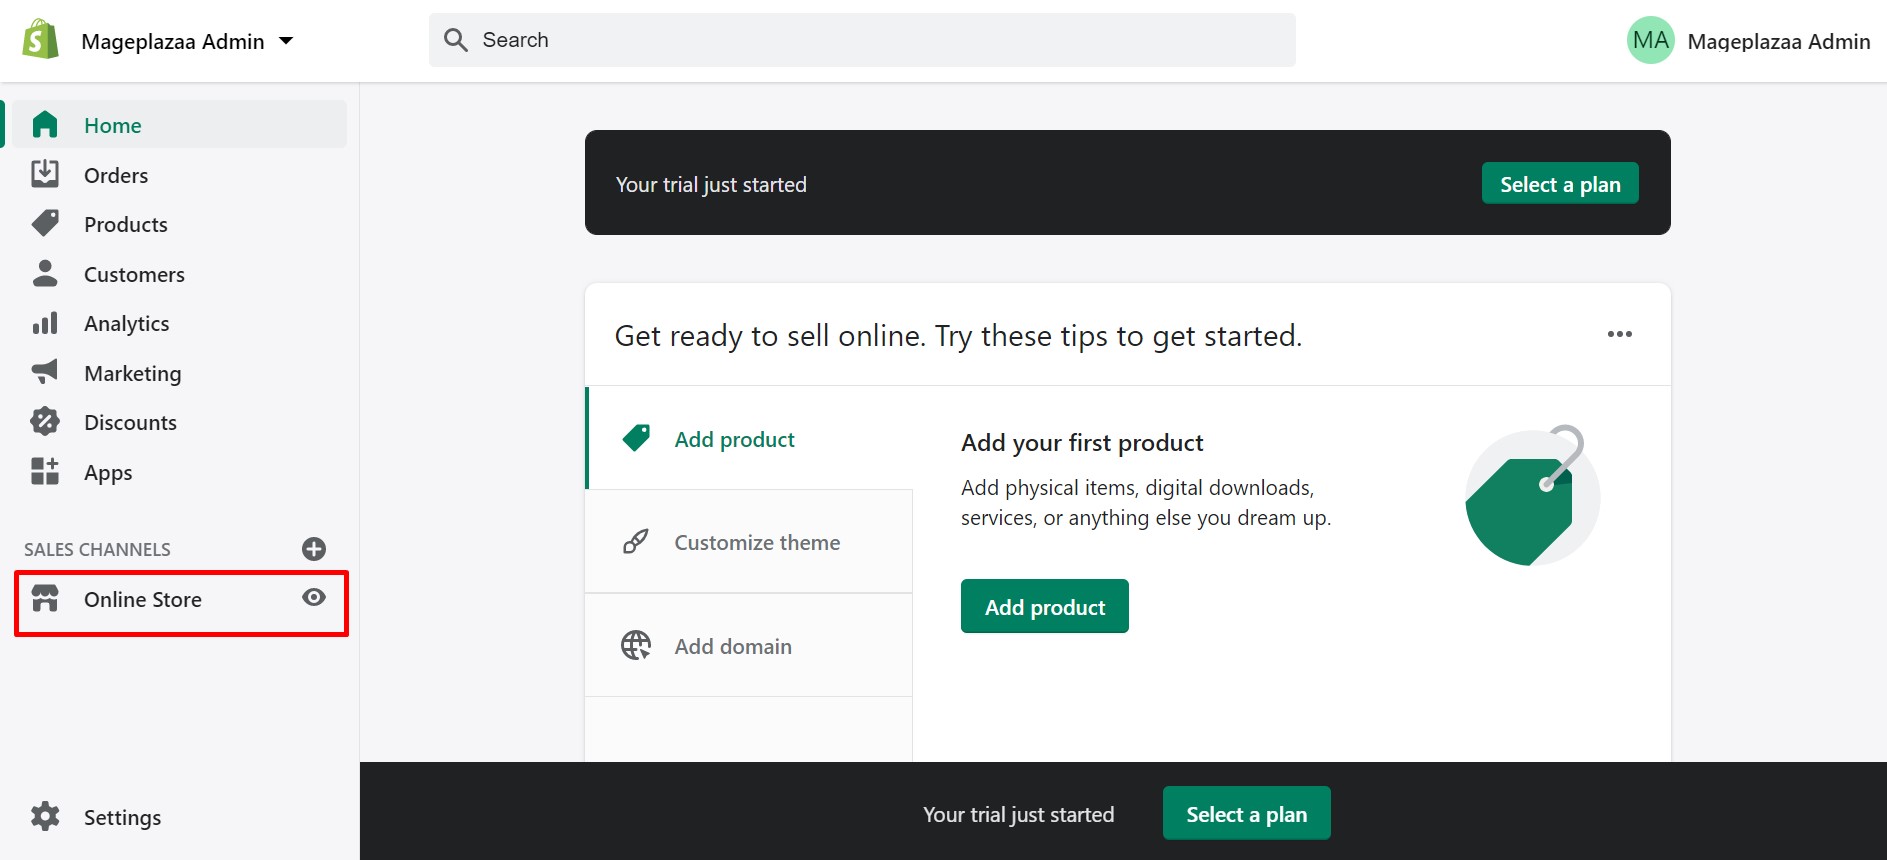
First of all, log in to your account and click on Online store, which is on the left side of the screen.
Step 2: Click on Themes
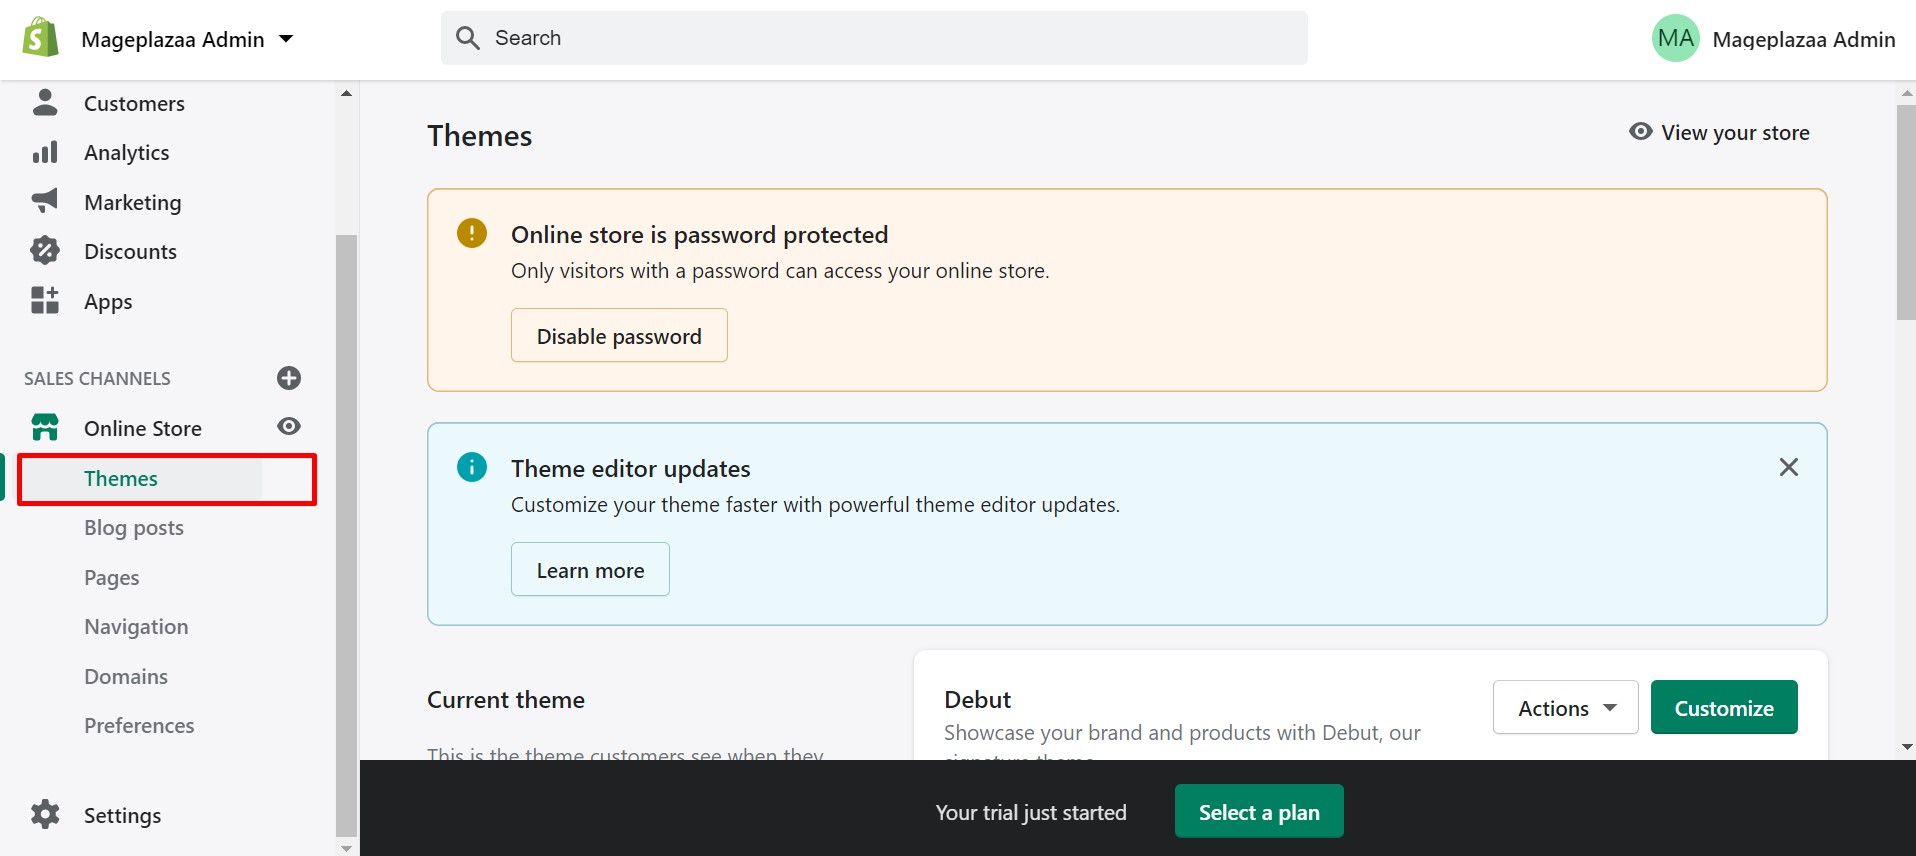
Then, click on the Themes option, which is the first one appearing on the drop-down.
Step 3: Go to Customize
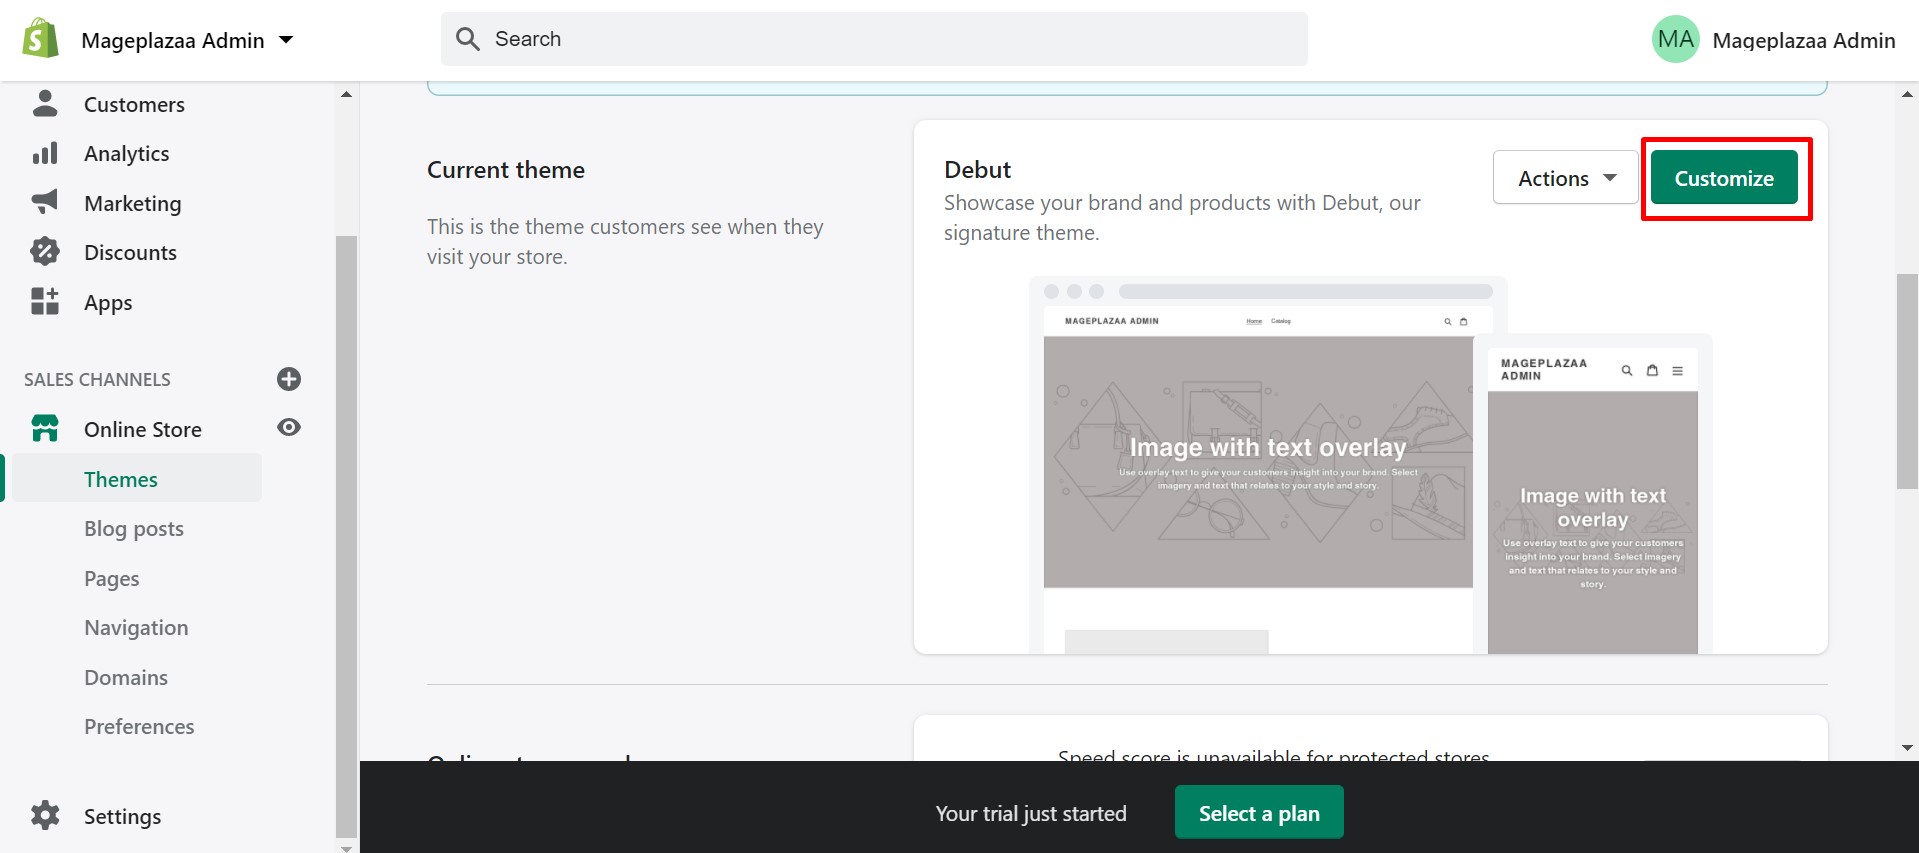
On the new page displayed, find the Customize section that is next to the Actions button. Then, click on this green button.
Step 4: Go to Header
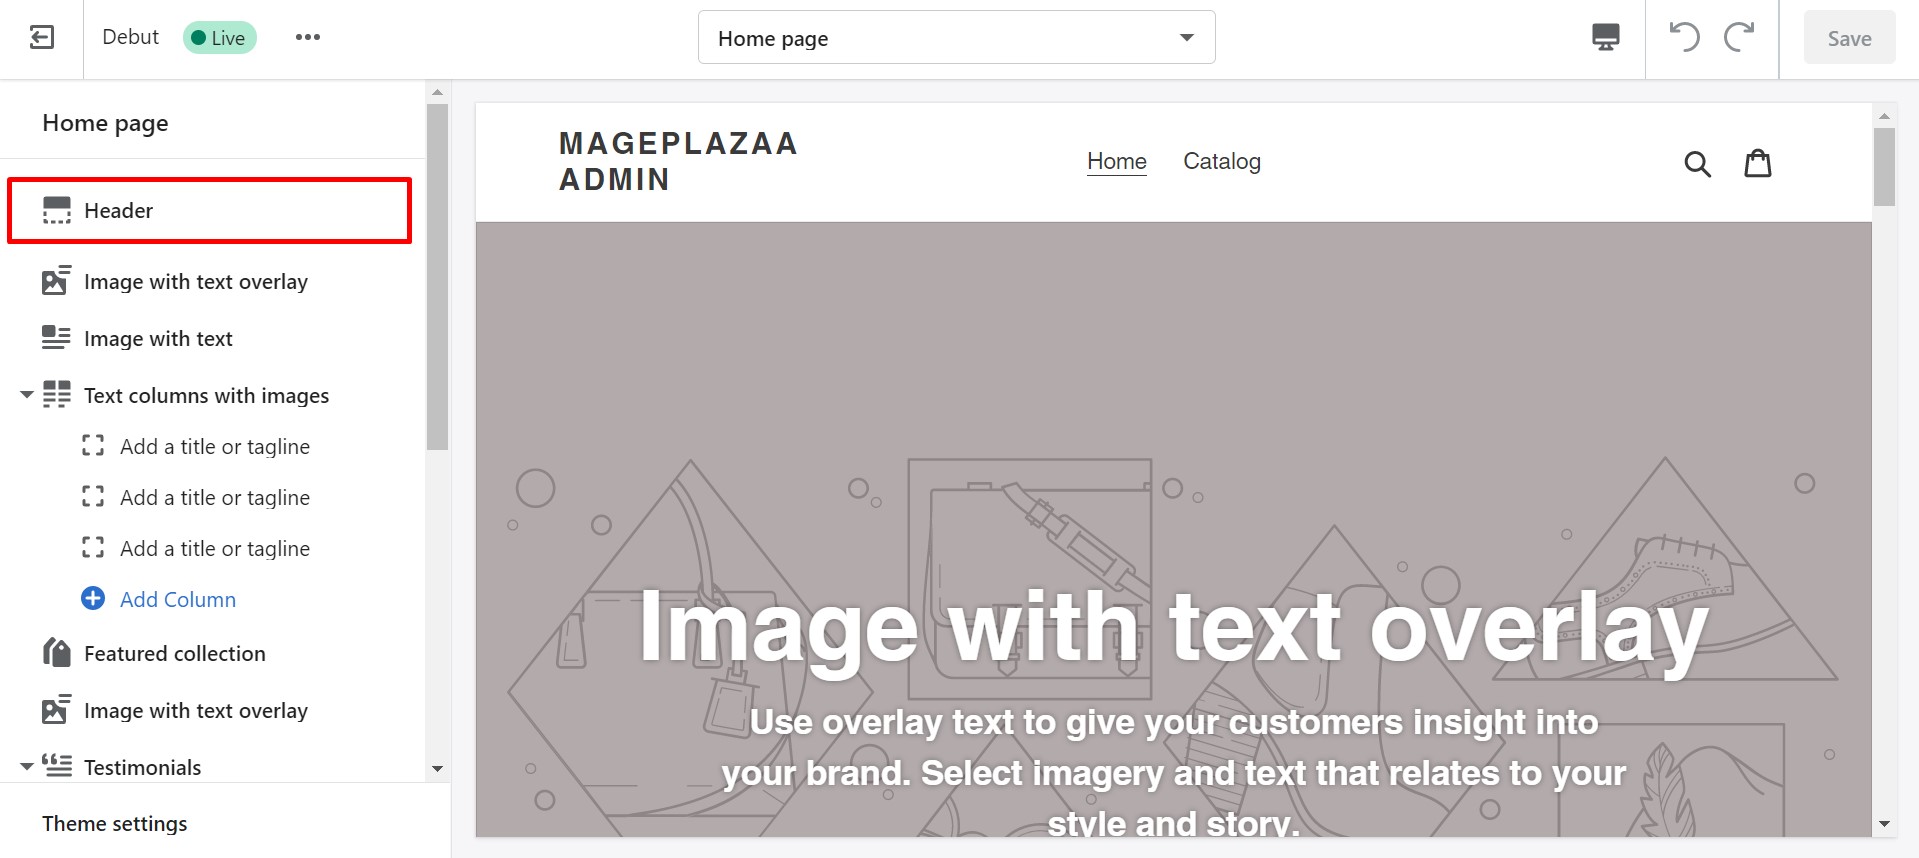
Now you will be directed to a page when you can customize your current theme. In order to optimize the logo size, you should click on the Header section.
Step 5: Custom logo width or logo height
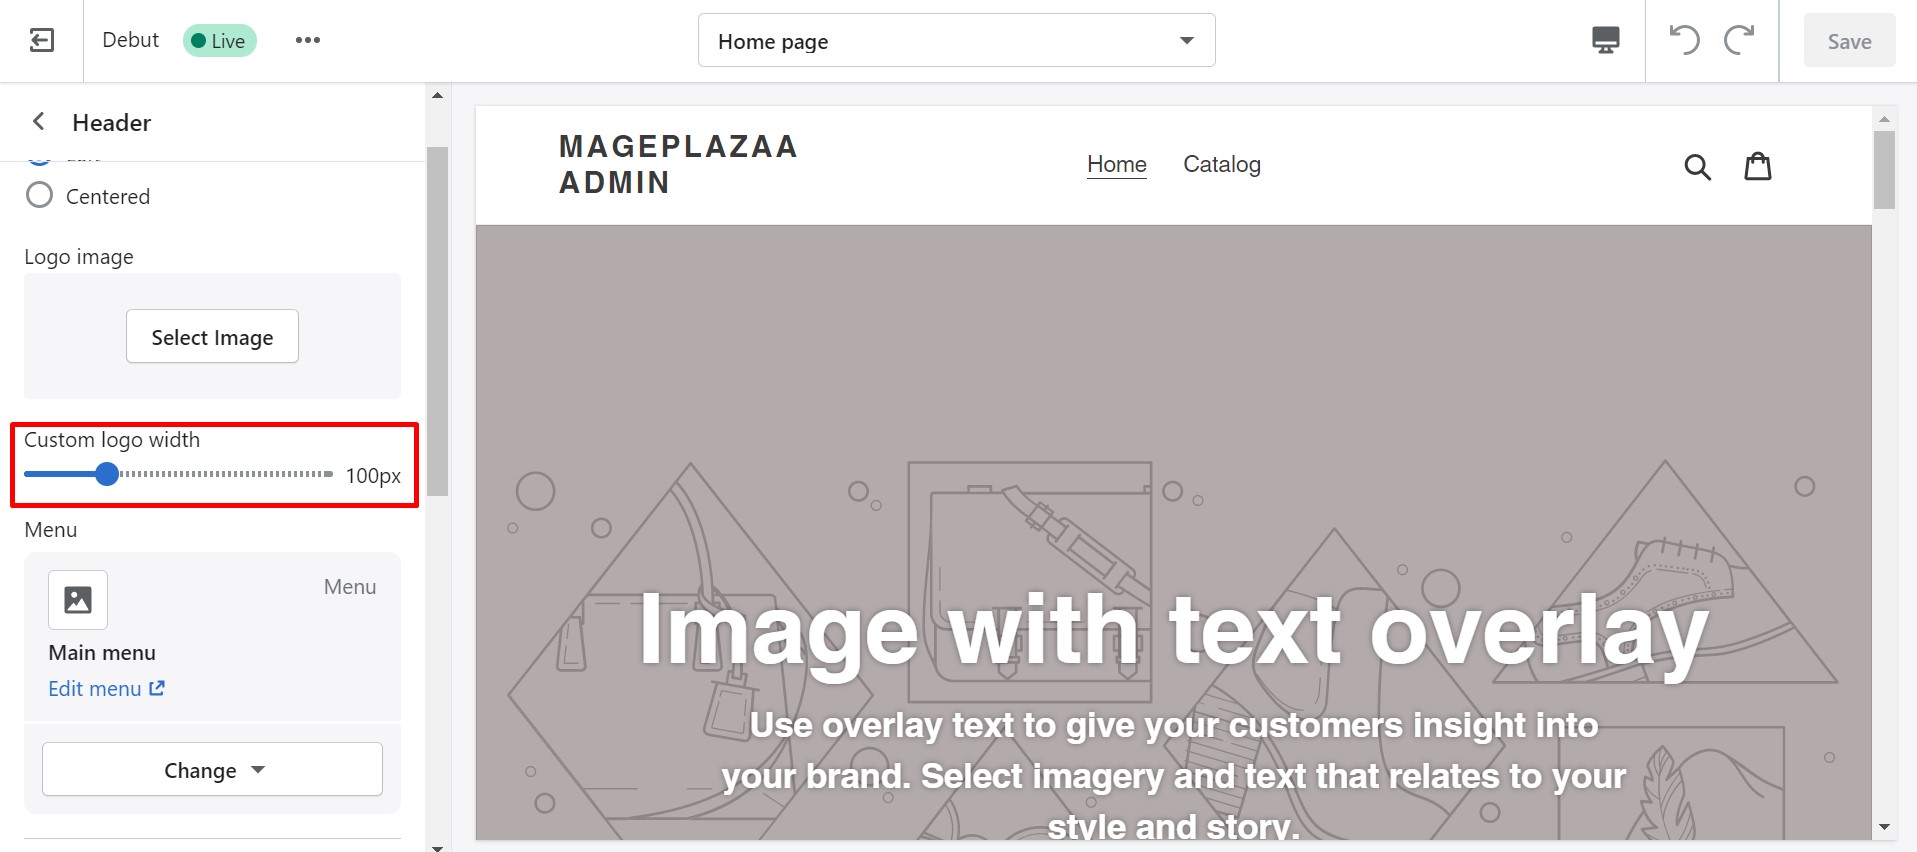
Now, you can see the area where you can upload your image and set it as your logo. You can resize the image according to the allowed size of Shopify and upload it directly without changing anything. Or, you can upload your logo image and its Custom logo tool to resize the logo width or the logo height.
Then, remember to save your changes.
How to make the logo bigger in Shopify?

As we mentioned earlier, you can also make your logo bigger than what Shopify allows if you want. However, keep in mind that if the logo image is too big, it can directly slow down your page’s loading speed and even overlap with other header elements on smaller screens. The width of the sidebar is fixed, so we highly recommend you should follow the size permitted by the platform.
Before making your logo bigger, let’s check it to make sure there is no extra whitespace. Also, if you are using a free theme from Shopify, you can rely on its Support team to help you with this task.
In case you still want to handle it yourself, we have introduced here how to make your logo bigger with different Shopify themes.
Debut Theme
First, open the file named theme.css.liquid or theme.scss.liquid. Then, copy and paste the following code on the bottom of the fine.
Code:
.site-header__logo-image img {
    max-width: 500px !important;
    width: 500px;
  }
If you want to make the logo bigger on the mobile version, here’s the code you should paste:
Code:
@media only screen and (max-width: 749px) {
  .site-header__logo-image img {
    max-width: 500px !important;
    width: 500px;
  }
}
The size doesn’t have to be 500 pixels so replace it with the size you want and save the changes.
Minimal theme
Open the theme.scss.liquid file and paste the following code on the bottom of the file.
Code:
.site-header__logo .logo__image-wrapper {
  max-width: 555px;
}
In terms of the mobile version, you should copy and paste the below code:
Code:
@media only screen and (max-width: 749px) {
  .site-header__logo .logo__image-wrapper {
    max-width: 55px;
  }
}
Type in your wanted size and save. Remember that the number in the logo width section in the theme settings is equal or larger than the number you plug in the code.
Narrative Theme
The process is a little bit different. Here you should open the theme.css.liquid and copy the following code on the bottom of the file.
Code:
.site-header__logo-image {
  width: 500px;
  height: auto !important;
}
@media only screen and (max-width: 749px) {
  .site-header__logo-image {
    max-height: none;
  }
}
Code for mobile version:
@media only screen and (max-width: 749px) {
  .site-header__logo-image {
    width: 500px;
  }
}
Then, you should open the header.liquid file to find
{%- capture image_size %}x{{ section.settings.logo_max_height }}{% endcapture -%}
and replace it with:
{% assign image_size = '"original"' %}
Finally, save your change.
Brooklyn Theme
You also have to open the file named ‘theme.scss.liquid’ and paste the following codes on the bottom of the file.
.site-header__logo img {
  max-width: 500px !important;
  width: 500px;
}
@media only screen and (max-width: 749px) {
  .site-header__logo img {
    max-height: none;
  }
}
Mobile version’s code:
@media only screen and (max-width: 749px) {
  .site-header__logo img {
    max-width: 500px !important;
    width: 500px;
  }
}
Supply Theme
Open up ‘theme.scss.liquid’ and here’re codes you need to copy and paste on the bottom of the file.
.header-logo .header-logo__image, .header-logo__image img {
  width: 500px !important;
  max-width: 500px !important;
}
Mobile version’ code:
@media only screen and (max-width: 749px) {
  .header-logo .header-logo__image, .header-logo__image img {
    width: 500px !important;
    max-width: 500px !important;
  }
}
Venture Theme
Similarly, you will have to open the file named “theme.scss.liquid’ and paste the codes below on the bottom of the file
.site-header__logo img {
  max-width: 500px !important;
  width: 500px;
}
Mobile Version’s code:
@media only screen and (max-width: 749px) {
  .site-header__logo img {
    max-width: 500px !important;
    width: 500px;
  }
}
Simple Theme
You need to copy and paste the codes on the “theme.scss.liquid” file.
.site-header #HeaderLogoWrapper {
  max-width: 500px !important;
}
Mobile version’s code:
@media only screen and (max-width: 749px) {
  .site-header #HeaderLogoWrapper {
    max-width: 500px !important;
  }
}
Express Theme
First, you need to edit the ‘theme.min.scss’ file by opening it and paste the following codes on the bottom of the file.
.header__logo-image {
  max-width: 500px !important;
  width: 500px;
}
Mobile Version’s code:
@media only screen and (max-width: 749px) {
  .header__logo-image {
    max-width: 500px !important;
    width: 500px;
  }
}
Then, you also have to edit the file named ‘header.liquid’.
Open it up, find the code
{% capture image_size %}{{ section.settings.logo_max_width }}x{% endcapture %}
and replace it with:
{% assign image_size = '"original"' %}
Boundless Theme
You should open up the ‘theme.scss.liquid’ file and paste the following code on the bottom of the file.
.site-header__logo img {
  max-width: 500px !important;
  width: 500px;
  max-height: none;
}
Mobile Version’s code:
@media only screen and (max-width: 749px) {
  .site-header__logo img {
    max-width: 500px !important;
    width: 500px;
    max-height: none;
  }
}
Remember to replace the “500 pixels” with the size you want and click Save with all the themes.
5 Best tools to optimize the logo size in Shopify
Google Pagespeed
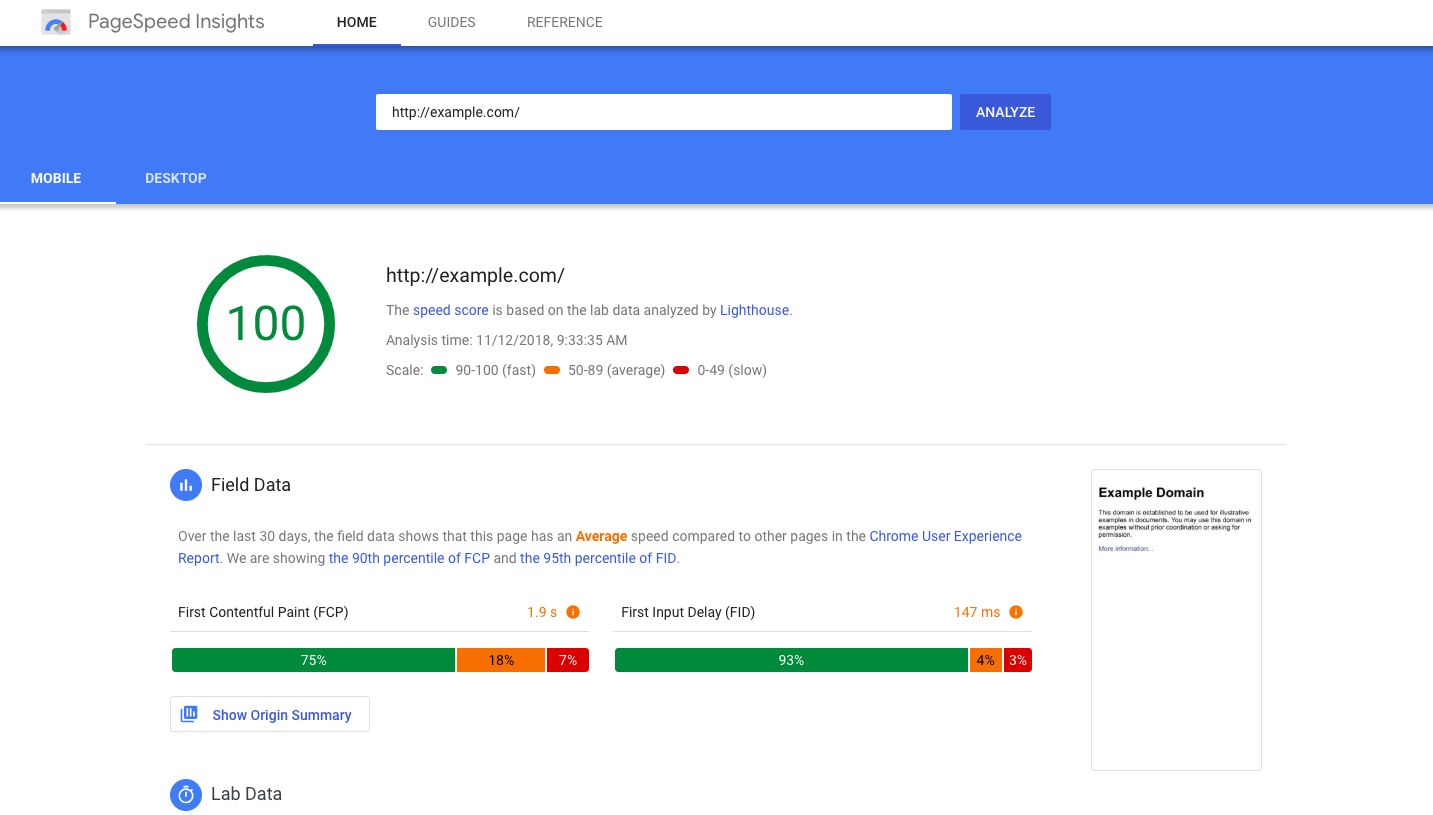
This is one of the best page speed checking tools - Google Pagespeed. Every time you upload images on your Shopify store, you should test them out via the pointing out feature of Google Pagespeed. The oversizes of your images will make your page load more slowly, which leads to a reduction in the number of visitors. With the help of Google Pagespeed, you will know which images should be compressed or resized and optimize them right away to prevent them from slowing down your online store.
TinyPNG or Compress JPEG
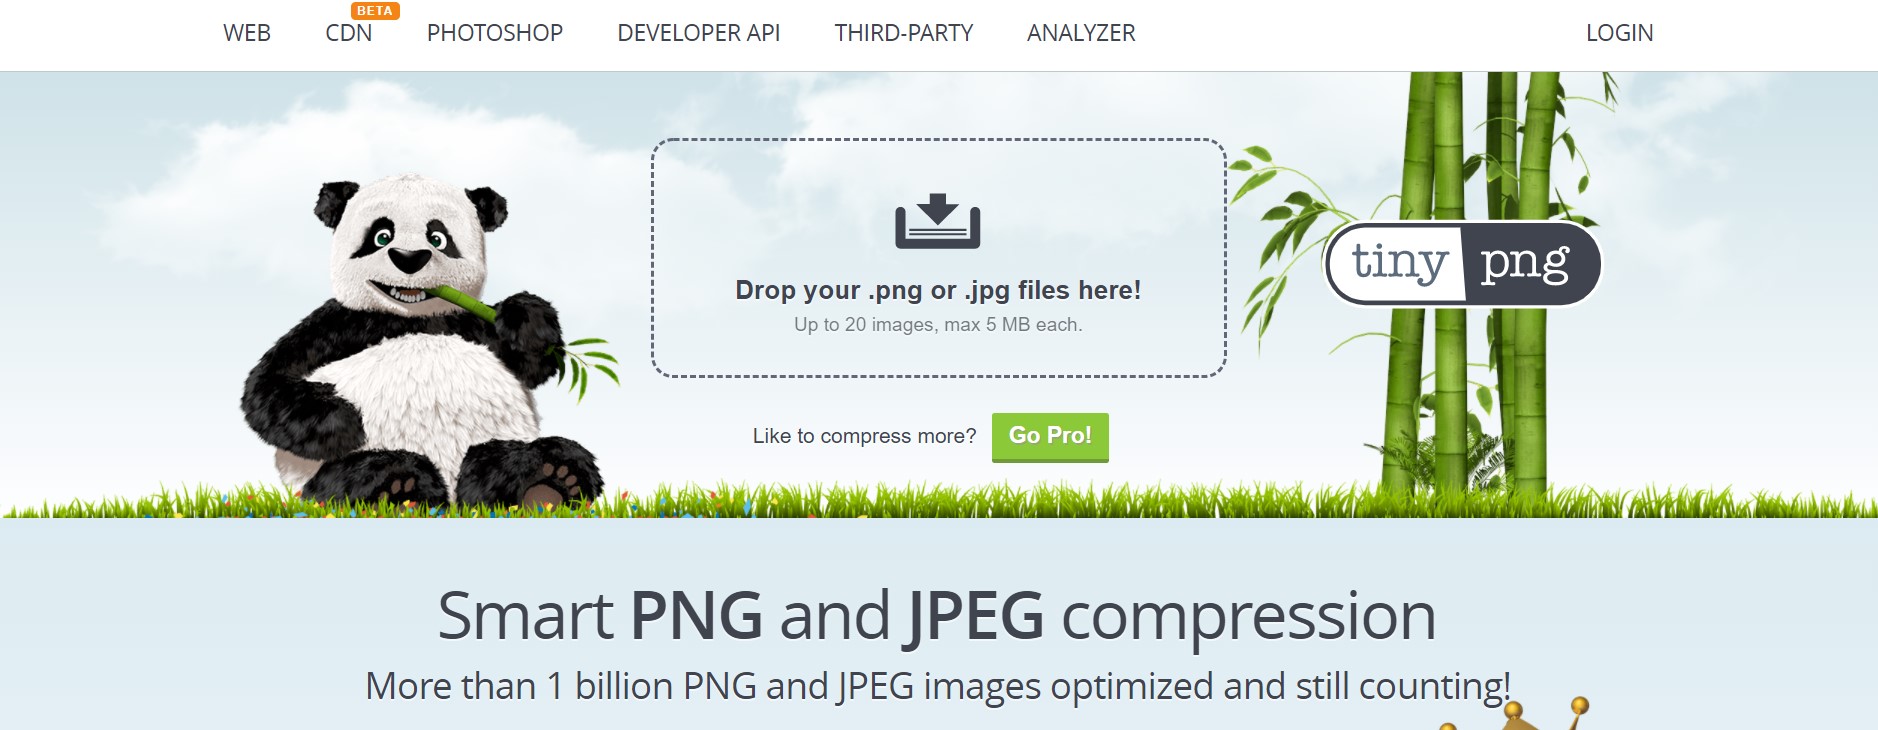
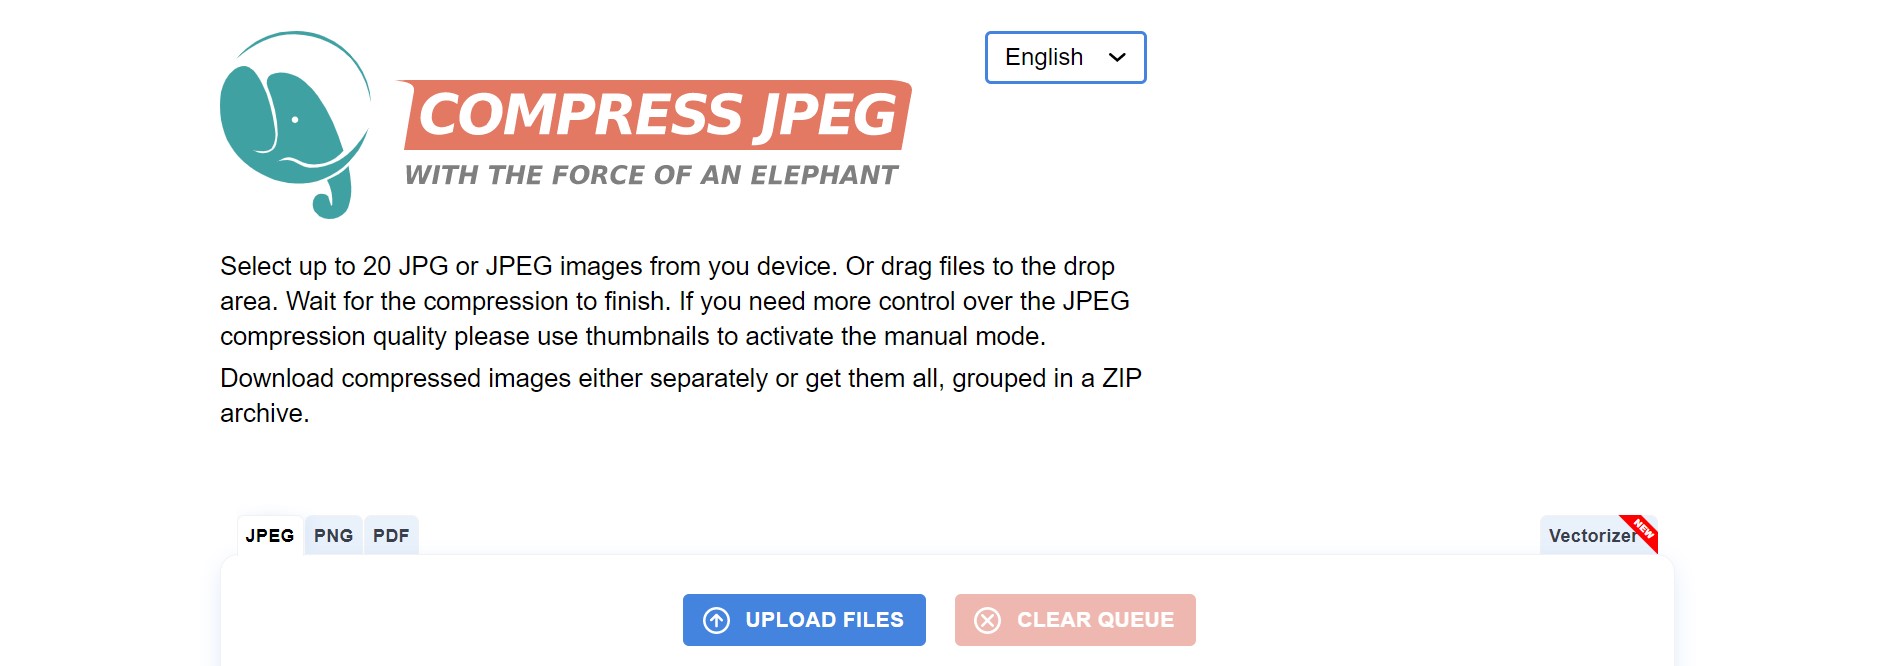
While Google Pagespeed lets you know which images should be resized, online image compressors will help you further compressing any images. The two best tools we recommend are Compress JPEG or TinyPNG. Each tool is suitable for different image types. Thanks to these compressors, your logo image size can be reduced from 50% to 100% while the quality still remains acceptable. If you upload an image and see the error named “exceeds 20 megabytes”, these two tools can also help you.
Shopify image resizer tool
Shopify image resizer tool is also a good tool to help you optimize the Shopify logo image. Whenever you have to crop or adjust the dimensions of your images uploaded to the Shopify store to fit the allowed size, this tool will help you resize and compress the images. Noticeably, this tool is designed especially for Shopify users and enables you to upload up to six images at one time. Also, the tool is user-friendly, which is recommended for all Shopify users.
Photoshop
This solution is so familiar, right? If you know how to use Photoshop, we recommend you should rely on this to edit your images and make sure they have the correct dimensions before exporting and uploading them.
If you don’t, it’s still fine since resizing images on Photoshop is not as hard as you think. What you need to do is:
- Go to Photoshop
- Open the image you want to resize
- Go to File -> Export -> Save for Web (Legacy)
- Image optimization modal will be displayed and you can now change the dimensions as you wish
- Save your images
Crush Pics
With all the solutions above, you will have to download the compressed images, go back to Shopify to upload them and replace the old ones, which is sometimes time-consuming and complicated. So, we recommend an all-in-one app which is Crush Pics. Thanks to this app, the processes of compressing and replacing images are set automatically. You should simply install and set up the app. The app will do the compression any time you upload an image to your online store.
Tips to maximize your logo’s quality in Shopify
Prioritize the quality
Before making your logo images look better, they should be good first. You should have the highest-quality version of your logo. If they are designed by your team, it’s easy to get the original files. Those vectors with the file format of EPS or Adobe Illustrator are of high quality. Also, a high-quality JPEG, PNG, TIFF, or GIF can be used too.
This is the very first step to ensure your store’s visuals. In case you can approach the designers of your logo to get the original files, you can also rely on some sites like Fiverr or Upwork. With these sites, you can hire a design freelancer to convert the low-quality files into a vector ones. This process is called “tracing”. The price for hiring a skilled freelancer is quite reasonable. What’s more, you can make use of this file for longer purposes.
Compress all the images
That’s right. From the experiences of Shopify users, you shouldn’t use the original logo image sizes or dimensions since they are often huge. So, don’t forget to compress all of the images but still keep the quality high enough to ensure the pleasant shopping experience of customers. The more you compress, the faster your page is.
Remember the Shopify’s theme guideline and recommended dimensions
The guideline of your theme and allowed image sizes of Shopify are ideal. You should keep in mind these numbers to choose the sizes and formats that work best for your theme. Also, when having the ideal sizes and dimensions in hand, you can give it to your photographers or designers who are in charge of making your images. In this way, all of your images will surely be in the right size beforehand and the compressing process is no longer needed.
Get rid of the background
A transparent background is much more attractive and lighter than the one placed over a solid color or photographic background. When it comes to a logo of an online store, we recommend you remove the background.
In order to do this, you can use Photoshop or other image editing apps. The way to remove the background of an image using these apps is easy and can be found on Google or Bing. You can simply follow it, which takes only some minutes.
However, it becomes quite complicated if your logo is put on a photographic background. If you are not good at Photoshop editing, your logo may look like a mess. In this situation, again, you can approach a freelancer hired from Fiverr or Upwork to have her or him do it for you.
Choose the right format
The ideal format for logos is PNG which means Portable Network Graphic. The PNG format brings about the transparency that helps support the small details for letters and line art in logos. Therefore, we suggest you should convert your logos into the PNG format no matter what format they start in.
Remember the logo shape
When using Shopify themes, you are enabled to upload and use your custom logo. However, it depends on the size or shape of the space of the logo to decide whether the logo is acceptable or not. Normally, Shopify themes don’t restrict you from any size or shape, but they offer a maximum width and height for the logo. No matter what shape your logo is in, it must be equal to or smaller than the maximum height and width values.
Also, you can totally hire a freelancer or an image resizing service like what we introduced earlier to adjust your logo size.
Don’t make your logo “too colorful”
Nowadays, logos tend to be in as few colors as possible. Online merchants realize that multiple colors make their logos difficult to read and “not minimal” which is a trend today. Also, many colors in logos make their sizes larger. So, we recommend you should use a single-color version of your logo on your online store. This is even more reasonable when applied to Shopify themes with colored or photographic backgrounds. However, it also depends on the characteristics of your logos. If one color doesn’t let your logo make sense, you can consider reducing the number of colors.
Check the mobile responsiveness
This seems to be more important than what you think. Check your logo images on a mobile device to see how it looks or whether there are any mistakes.
Final thought
Visuals always plan such an important part in any eCommerce store. Whenever uploading an image on Shopify or other platforms, online merchants should spend time on image optimization.
Hopefully, our post has given you an in-depth guide on how to compress and optimize your Shopify logo images via the theme settings, coding, compressing apps as well as useful tips. If you have any questions or any other tips to make your images work well on Shopify, don’t hesitate to leave us a sharing note in the comment section below. Share this with your friends and visit us for more if you find it interesting.
Thank you!


