
How to Update Your Billing Period on Shopify

The billing period, also known as the billing cycle, is the interval between one bill and the next bill published right after that. The length of this period can be increased, however, you can not customize the specific day of the month to receive the bill on. As the default, the length of a billing cycle is set as 30 days. On the last day of a cycle, a bill will be issued, containing the information of the price you are charged, according to your Shopify plan.
Depends on your Shopify usage plan, it is possible to get a discount on the total subscription charges if you set up a longer billing period.
Note:
Shopify subscription charges could not be refunded under any circumstance. The detailed information could be viewed in terms of service section.
Below is the detailed instruction with illustrations on how to update your billing period on Shopify.
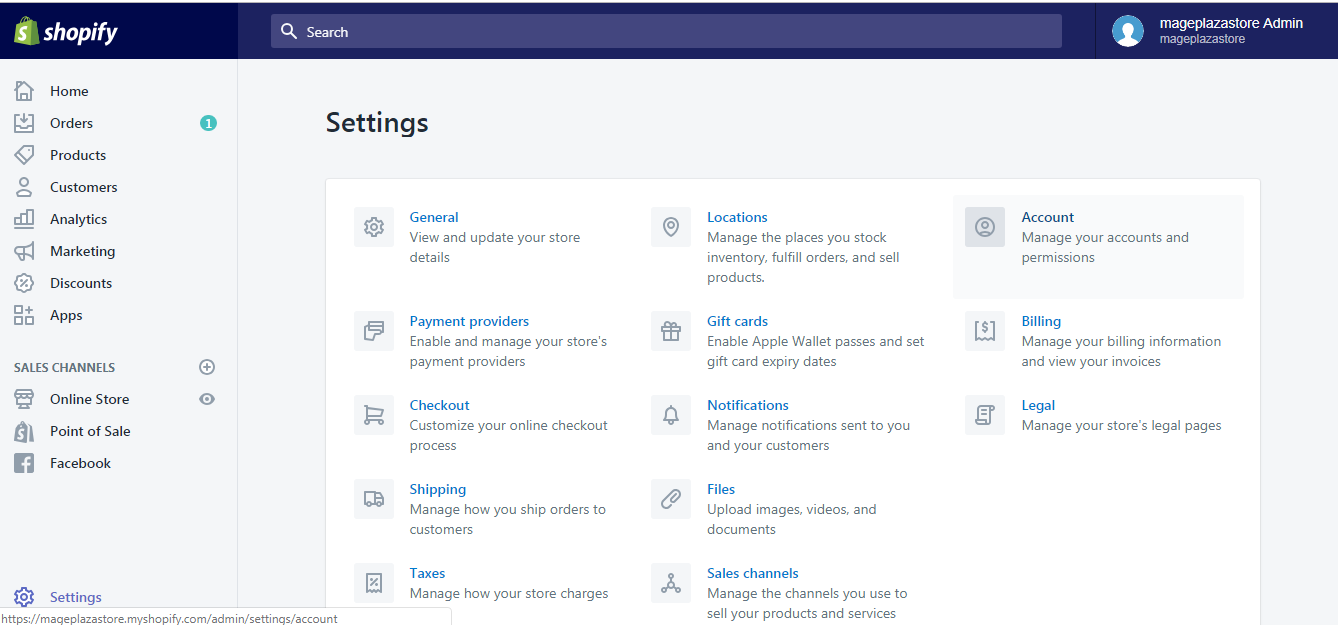
Step 1: Go to Account in the Setting section
After logging in your Shopify store admin account, from the Shopify homepage, go to the Setting section in the bottom left, then visit Account.
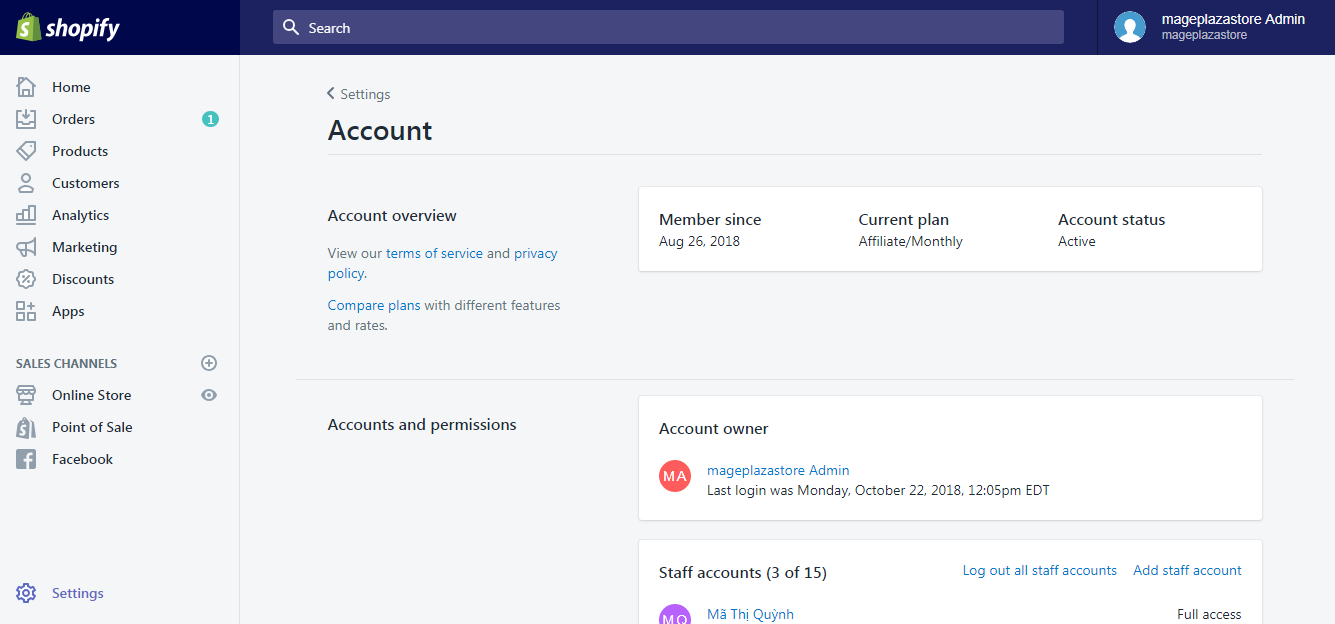
Step 2: Select Compare plans
In the Account section, you will see all of the significant information about your store account. In the first section, Account overview, on the left-hand side, click Compare plan.
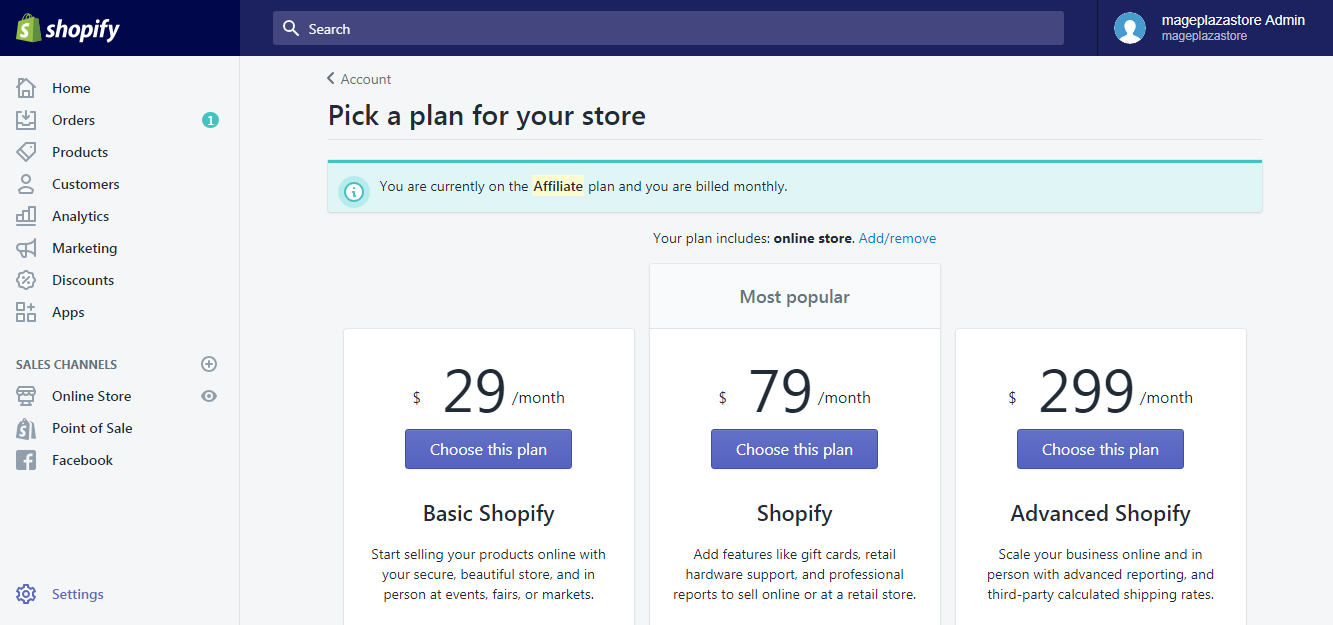
Step 3: Click the Change your billing period button
For those who don’t see this button, it means that the billing cycle for your current Shopify usage plan could not be increased.
Then, from the three plans available, determine which one your store is on and click the Choose this plan button.
Step 4: Select the billing period best fits your need
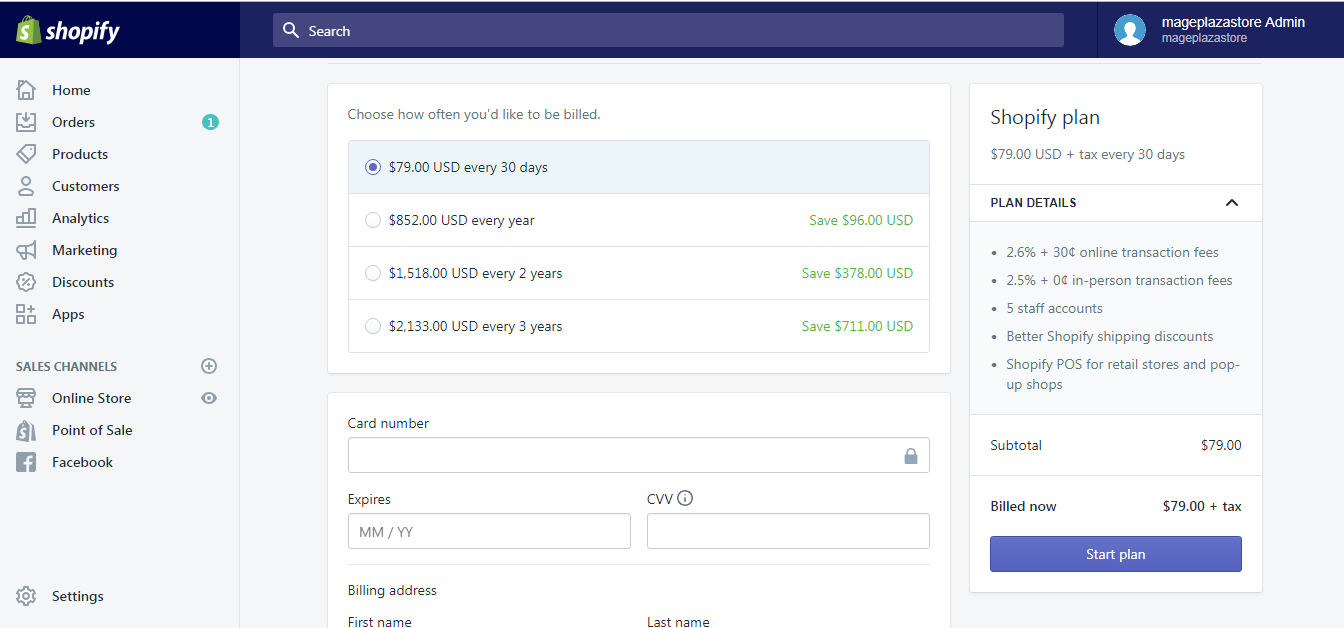
A new window will show to confirm your selected plan. In the first box, you are asked to Choose how often you'd like to be billed. Select the option you find the most suitable.
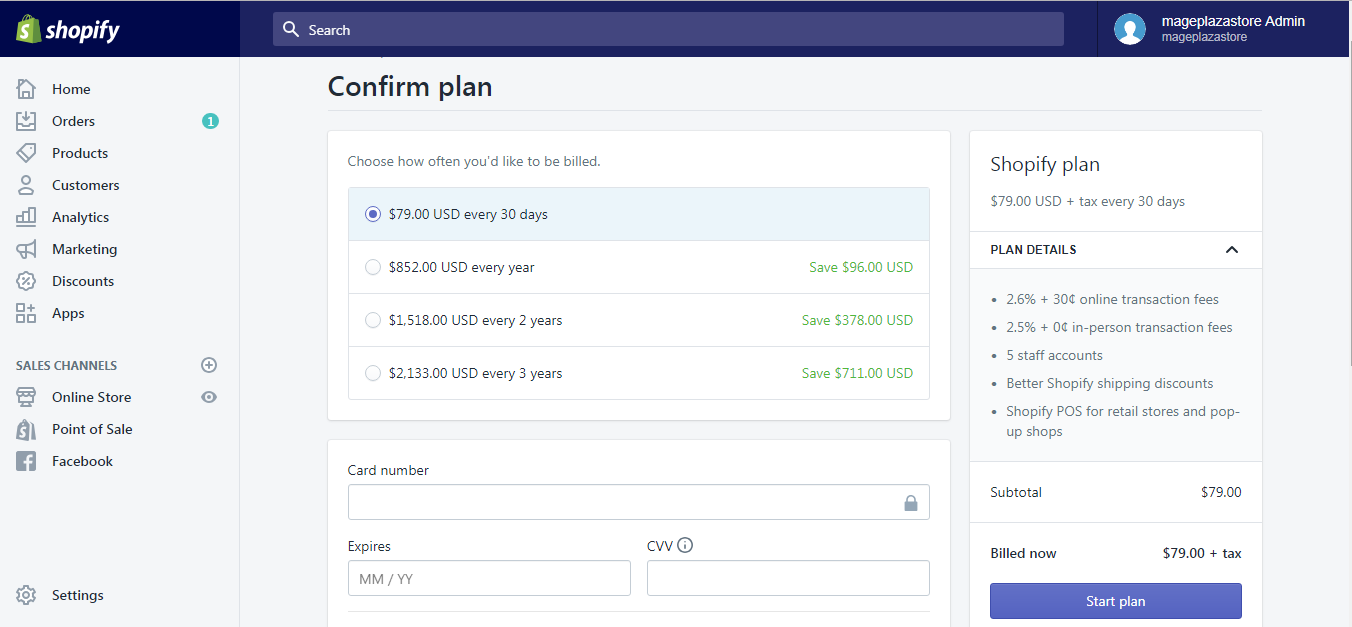
Step 5: Double check the information of your credit card
Fill in/Recheck the information required for the credit card you chose to make purchases from.

Note:
Once you confirmed your change, your current billing period will immediately end, marked by a final bill being sent to you. Any unused period that you have already purchased would not be refunded. The new billing cycle you just selected, in association with your new plan, will replace the old one right away.
Step 6: Click the Start plan button
Check all the selected options and information entered. Click the Start plan button in the right to confirm your update.
To update your billing period on iPhone (Click here)
- Step 1: Go to Account in the Setting section
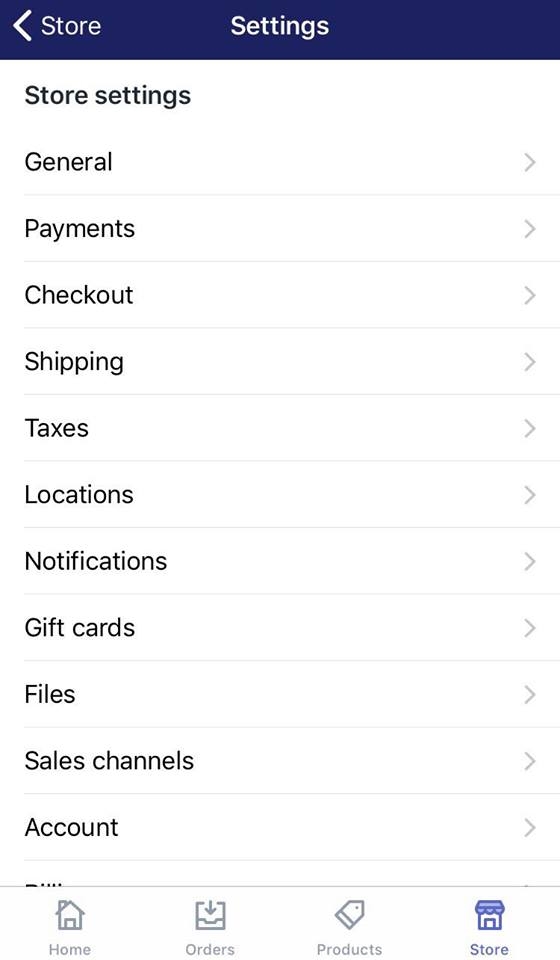
After logging in your Shopify store admin account, from the Shopify homepage, go to the Store section in the bottom right, then visit Settings. In Settings, swipe down and tap Account.
- Step 2: Select Compare plans.
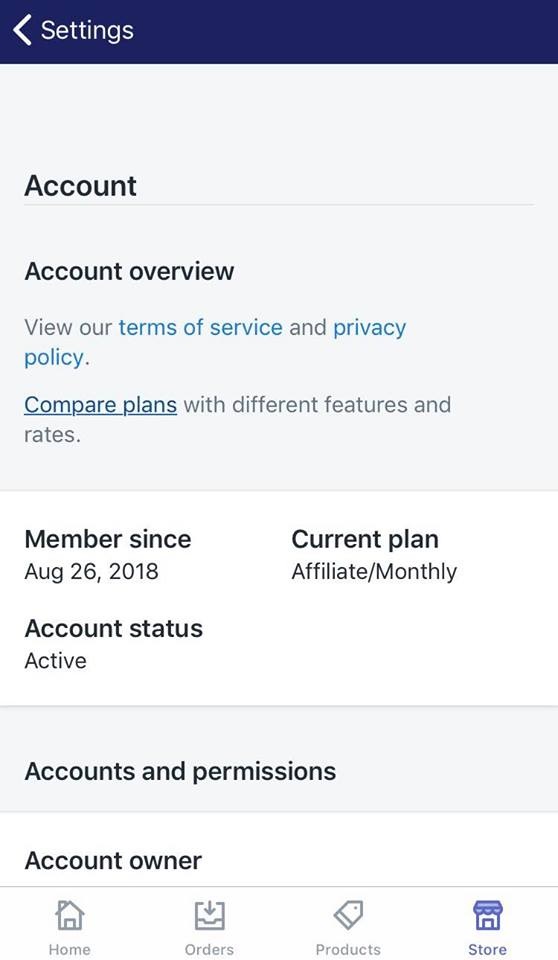
In the Account section, you will see all of the significant information about your store account. In the first section, Account overview, tap Compare plan.
- Step 3: Tap the Change your billing period button
For those who don’t see this button, it means that the billing cycle for your current Shopify usage plan could not be increased.
Then, from the three plans available, determine which one your store is on and tap the Choose this plan button.

- Step 4: Select the billing period best fits your need
A new window will show to confirm your selected plan. In the first box, you are asked to Choose how often you'd like to be billed. Select the option you find the most suitable.
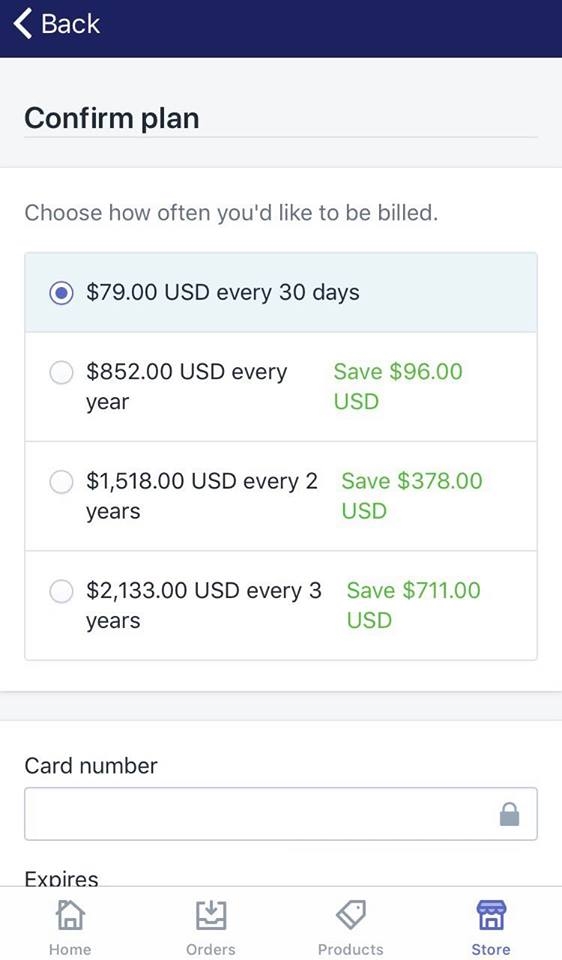
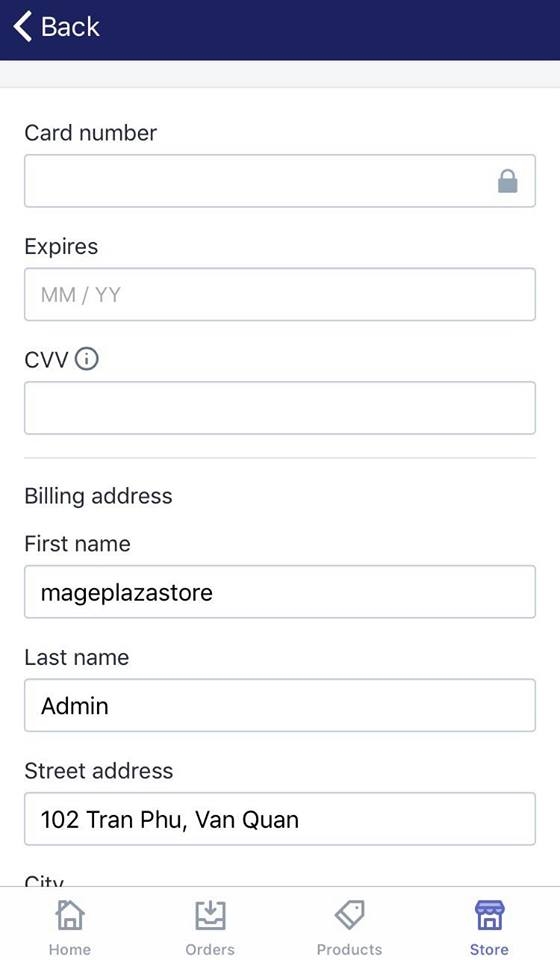
- Step 5: Double check the information of your credit card
Fill in/Recheck the information required for the credit card you chose to make purchases from.
Note:
Once you confirmed your change, your current billing period will immediately end, marked by a final bill being sent to you. Any unused period that you have already purchased would not be refunded. The new billing cycle you just selected, in association with your new plan, will replace the old one right away.
- Step 6: Tap the Start plan button.
Check all the selected options and information entered. Scroll down to the bottom and tap the Start plan button to confirm your update.

To update your billing period on Android (Click here)
- Step 1: Go to Account in the Setting section
After logging in your Shopify store admin account, from the Shopify homepage, go to the Store section in the bottom right, then visit Settings. In Settings, swipe down and tap Account.
- Step 2: Select Compare plans.
In the Account section, you will see all of the significant information about your store account. In the first section, Account overview, tap Compare plan.
- Step 3: Tap the Change your billing period button
For those who don’t see this button, it means that the billing cycle for your current Shopify usage plan could not be increased.
Then, from the three plans available, determine which one your store is on and tap the Choose this plan button.
- Step 4: Select the billing period best fits your need
A new window will show to confirm your selected plan. In the first box, you are asked to Choose how often you'd like to be billed. Select the option you find the most suitable.
- Step 5: Double check the information of your credit card
Fill in/Recheck the information required for the credit card you chose to make purchases from.
Note:
Once you confirmed your change, your current billing period will immediately end, marked by a final bill being sent to you. Any unused period that you have already purchased would not be refunded. The new billing cycle you just selected, in association with your new plan, will replace the old one right away.
- Step 6: Tap the Start plan button.
Check all the selected options and information entered. Scroll down to the bottom and tap the Start plan button to confirm your update.
Conclusions
The above instruction has shown you how to update your billing period on Shopify. I hope you find it easy to follow and applicable.
For more articles like this, visit us at our Help Center.
Related Posts:


