
How to Enable VAT Rates for Digital Goods on Shopify

Even though generally digital goods are free from taxes, you still need to know how to enable the VAT rates for digital goods because countries in European Union (EU) charge VAT for this kind of items. If you are selling these products to EU’s citizen, you need to apply the rates due to the location of your customers. To charge the VAT, you can automatically assign the value to each country in EU. After allowing the use of VAT, the system will create a collection that when any product in it is purchased, the VAT will be added in the bill of the customers automatically.
Related Posts:
- How to apply the digital goods VAT rates to a different collection on Shopify
- How to see the VAT rates you’re using on Shopify
- How to disable the VAT rates for digital goods on Shopify
- How to disable shipping for digital goods on Shopify
- How to sell digital downloads on Shopify?
To know how to enable the VAT rates for digital goods on Shopify, do not miss out this writing.
Step 1: Head to Taxes
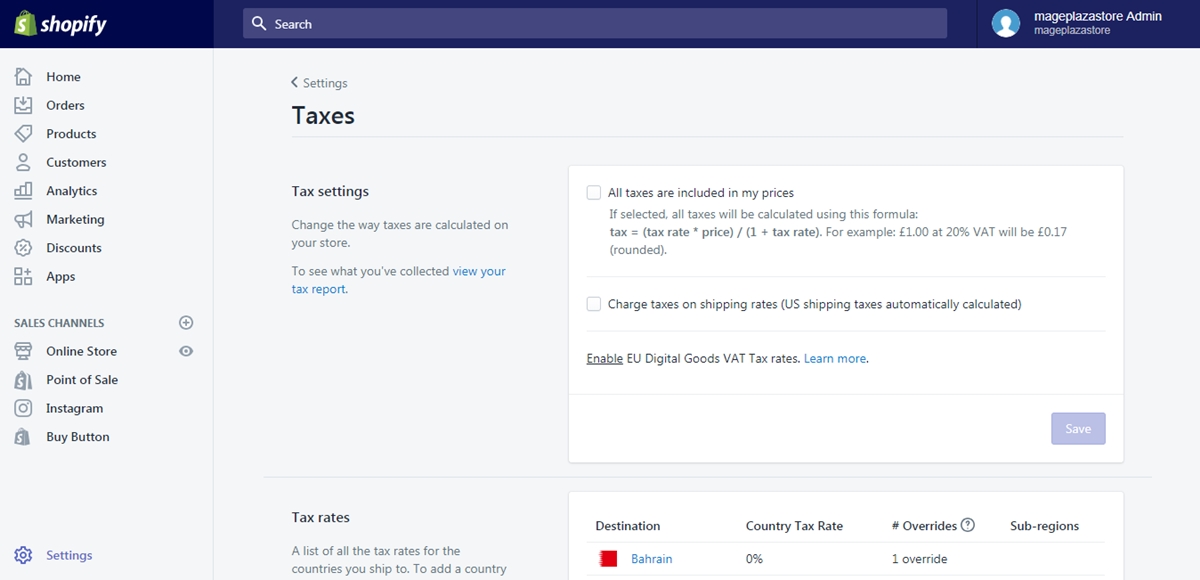
Sign in your account on Shopify and click on the Settings which has a gear icon beside it. After that, select the last option in the first column of Settings list, which means Taxes.
Step 2: Click on Enable
You will find two sections in the Taxes, including Tax settings and Tax rates. In the Tax settings, there is a phrase which is Enable EU Digital goods VAT tax rates with the Enable being underlined. Hence, press on the Enable to continue.
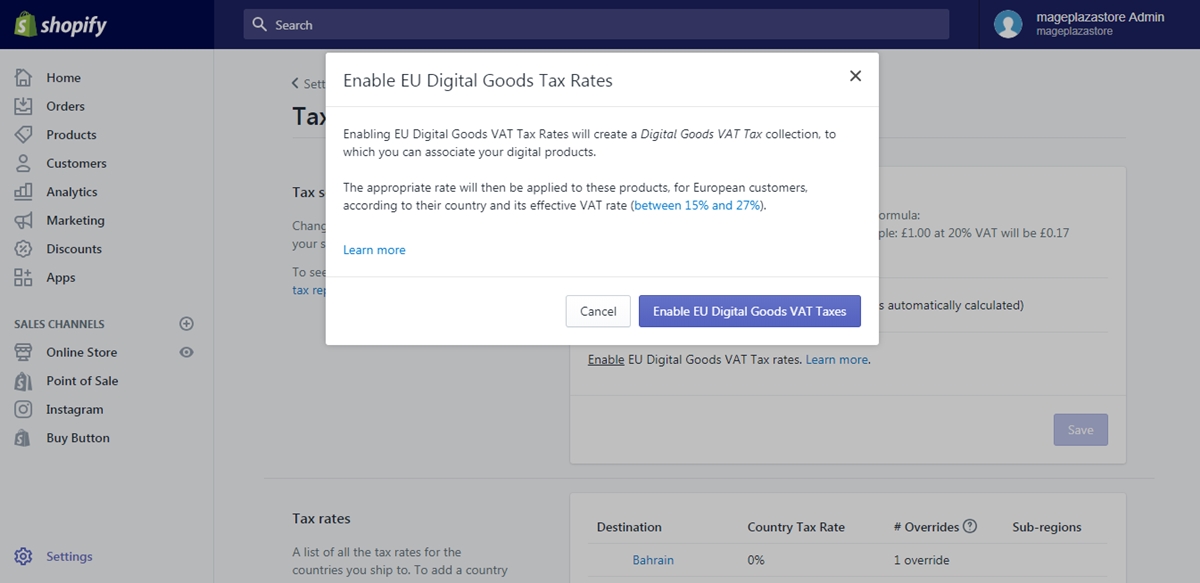
Step 3: Choose Enable EU Digital Goods VAT Taxes
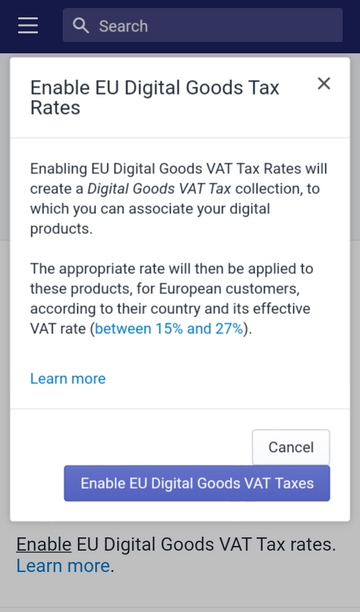
After choosing Enable, another dialog box will appear with the short description related to the setup. Read it carefully to get more information about VAT then click on Enable EU Digital Goods VAT Taxes button to activate the settings.
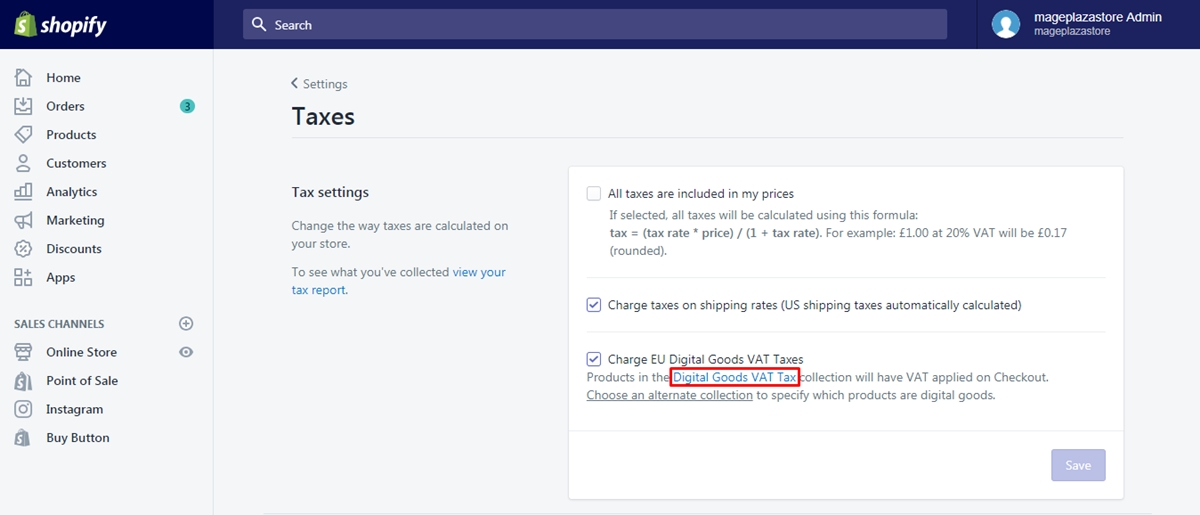
Step 4: Select Digital Goods VAT Tax
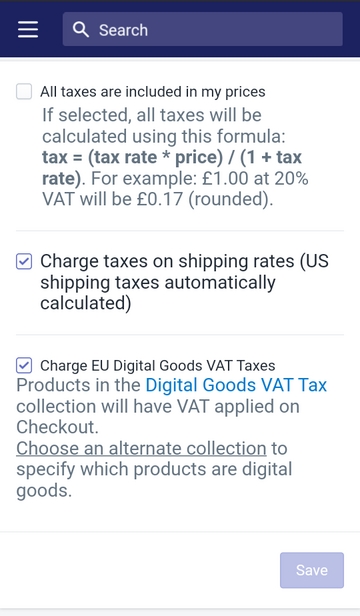
If you have activated the VAT, an option will be ticked which is Charge EU Digital Goods VAT Taxes. Below it, you can see the Digital Goods VAT Taxes in the blue color then select it.
Step 5: Add products to collection
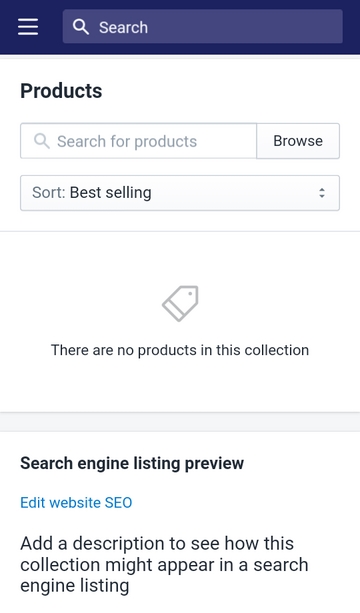
The website will direct to the collection Digital Goods VAT Taxes page that you need to scroll down until you see the Products section. Press on the Browse button and tick on the products you want in the list. Next, select Add to include the selected items in the collection and wait for the system to update.
To enable the VAT rates for digital goods on iPhone (Click here)
- Step 1: Go to Taxes
Get access to the Shopify app and select Store. After that, select Settings and Taxes respectively. Be noted that the Taxes is under the Store settings section of Settings then scroll down to find it.
- Step 2: Choose Enable
Press on the Enable which is underlined and painted blue near the end of the Tax settings section.
- Step 3: Tap on Enable EU Digital Goods VAT Taxes
The system wants to ensure your selection then you will see another box on the screen that you need to choose the Enable EU Digital Goods VAT Taxes button to move on to the next step.
- Step 4: Press on Digital Goods VAT Tax
You have already activated VAT for digital items then you have to create a collection of these products. Hence, tap on the Digital Goods VAT Tax below the Charge EU Digital Goods VAT Taxes checkbox.
- Step 5: Select Add products
It will move to the settings page for the collection named Digital Goods VAT Tax then scroll down to the Products section and fill in the search box the goods you want to put in the collection. If you are satisfied with the chosen products, choose Add to end the action.
To enable the VAT rates for digital goods on Android (Click here)
- Step 1: Go to Taxes
Open the app on your smartphone and go to Store at the bottom bar. Next, select Settings which is next to a gear icon. The list of options for Settings will appear that press on Taxes.
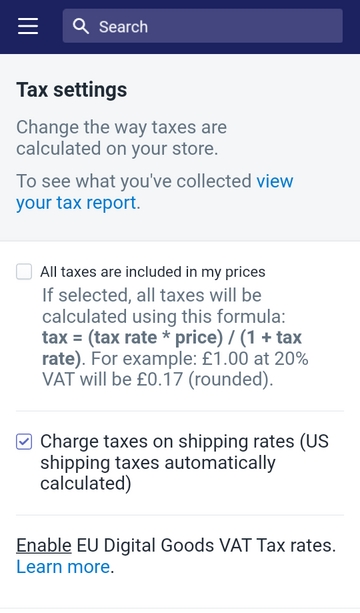
- Step 2: Choose Enable
At the end of the Tax settings, there is a sentence which is Enable EU Digital Goods VAT Tax rates with the first word is underlined then click on it.
- Step 3: Tap on Enable EU Digital Goods VAT Taxes
Another box will appear on your screen to ensure your selection that you need to tap on the Enable EU Digital Goods VAT Taxes button to confirm your choice.
- Step 4: Press on Digital Goods VAT Tax
The collection is already created then you have to adjust its properties by pressing on Digital Goods VAT Tax to direct to the collection editing page.
- Step 5: Select Add products
Find the Products section and search for the items you want to include in the collection then choose Add to complete.
Conclusion
To conclude, I have introduced to you the process of how to enable the VAT rates for digital goods on Shopify for both laptop and smartphone use. Photos are also included in this post that I hope it is clear enough for you to understand and apply these steps.


