
How to Crop Image on Shopify - A Step-By-Step Guide

There are cases that you do not want to show the full photo but only a part of it, to show the focus on an object for example. Another possible situation is that there are unexpected things included in your picture then you may want to crop it out. You can complete this by using other apps on your computer or on the internet. However, it will be more convenient to do it directly on Shopify. If you wonder how to crop an image on Shopify, follow this post to discover it.
Related Posts:
- Change Image’s Orientation on Shopify in 4 Easy Steps
- How to Resize an image on Shopify
- How to Enhance an image on Shopify
- How to Add a Product Image on Shopify
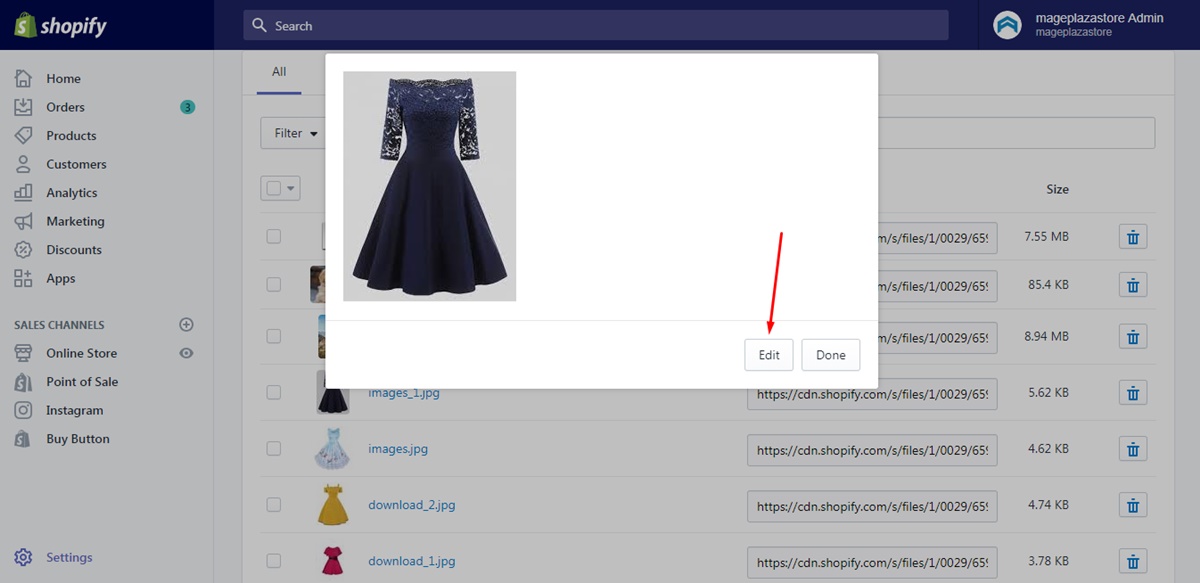
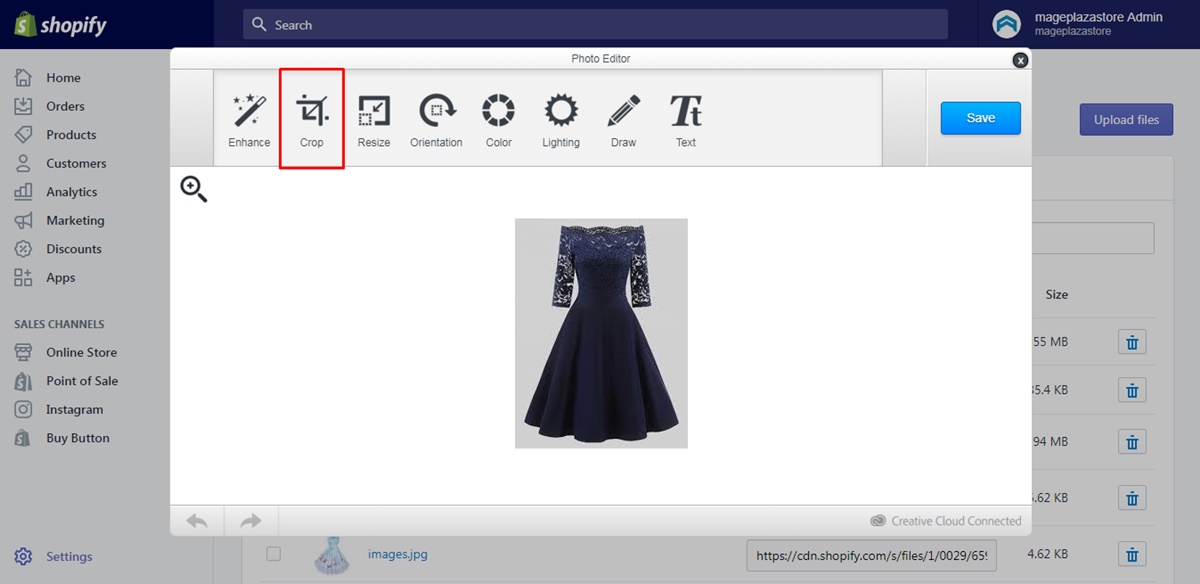
Step 1: Select Crop
Firstly, you have to log-in to your account on Shopify then go to Settings. After that, click on the Files on the second column of Settings and open an image from the list of all Files. Next, click on Edit and Crop respectively to start the adjustment.
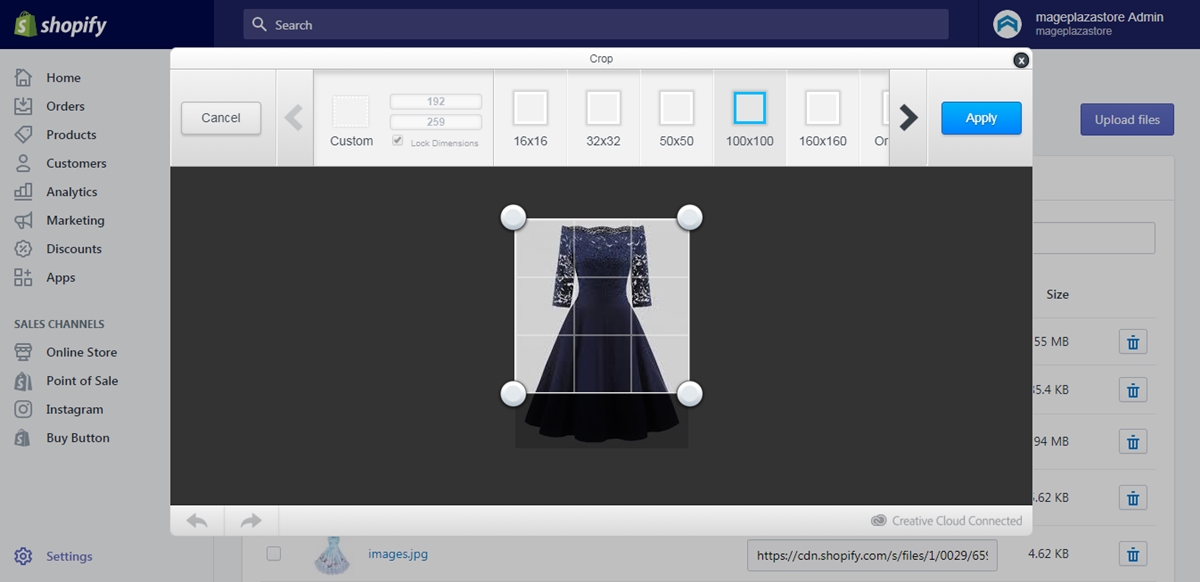
Step 2: Specify the size
In the Crop section, you can see there are many sizes for you to choose from.
- If you want to cut an image into a square, pick on from the provided, including 16x16, 32x32, 50x50, 100x100 and 160x160. Instead, you can press and drag the corners of the square to adjust its size. You can also select the area that you want to crop by moving the square position. For example, the picture below shows you the image of the 100x100 crop, the zone inside the frame will be included in the picture after cropping while the others will be removed.
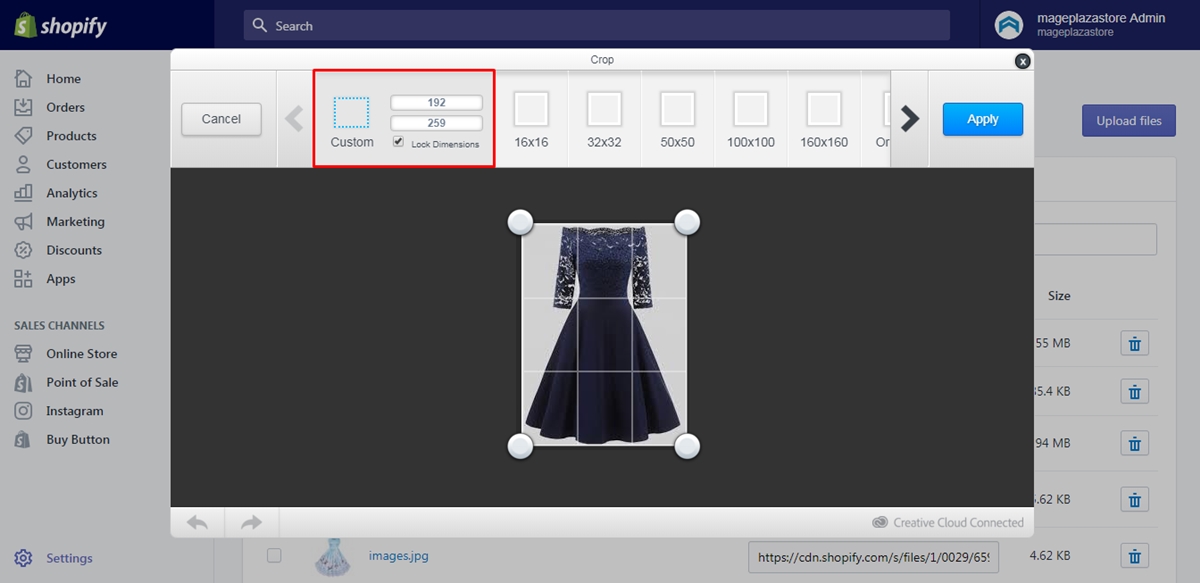
- If the shape you want to crop is a rectangle, click on the
Customand add the size you desire for width and height in the space. You can selectLock dimensionsto resize the rectangle without changing the aspect ratio. Moreover, similar to the square crop, you can drag the rectangle to the place that you want to cut.
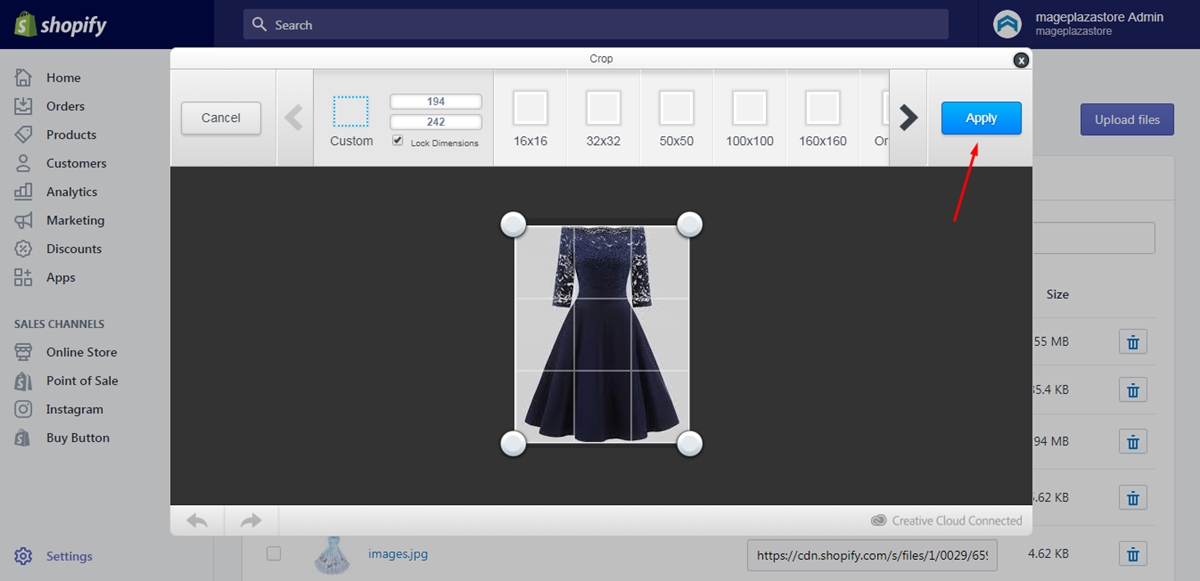
Step 3: Choose Apply
If you are satisfied with the size of the crop, click on Apply to see the full image after cutting down unnecessary part.
Step 4: Click Save
There is a note that the version you currently see in the Photo editor is just a temporary one which is the result of all adjustment you have made. If you want to keep this for later use, press on Save to help the system record the changes.
Conclusion
Overall, this writing has given you the instructions on how to crop an image on Shopify. By practicing these four steps, you can easily remove the part that you don’t want in the original picture. It won’t take much of your time then hope that you can apply it regularly. In other words, wish that this writing is informative and helpful to you, or at least you have a good time reading this topic. For more posts like this one, check out our Shopify tutorials.


