
How to Create a Manual Collection on Shopify

Unlike an automatic collection which the products that suit the condition will be added automatically, in a manual collection, you will have to choose a specific product and then add it to your collection by yourself. In addition, the number of products in your collection will always remain unchanged if you do not add product or remove any product.
Last time, I have shown you the way to create an automatic collection. But unfortunately, the automatic collection cannot be changed into a manual collection. Because of this, you have to create one and this is how we will do it.
How to create a manual collection
Step 1: View collection list
After you login in your Shopify account, choose Products. In this section, select Collections and all the collections that you have created will be displayed.
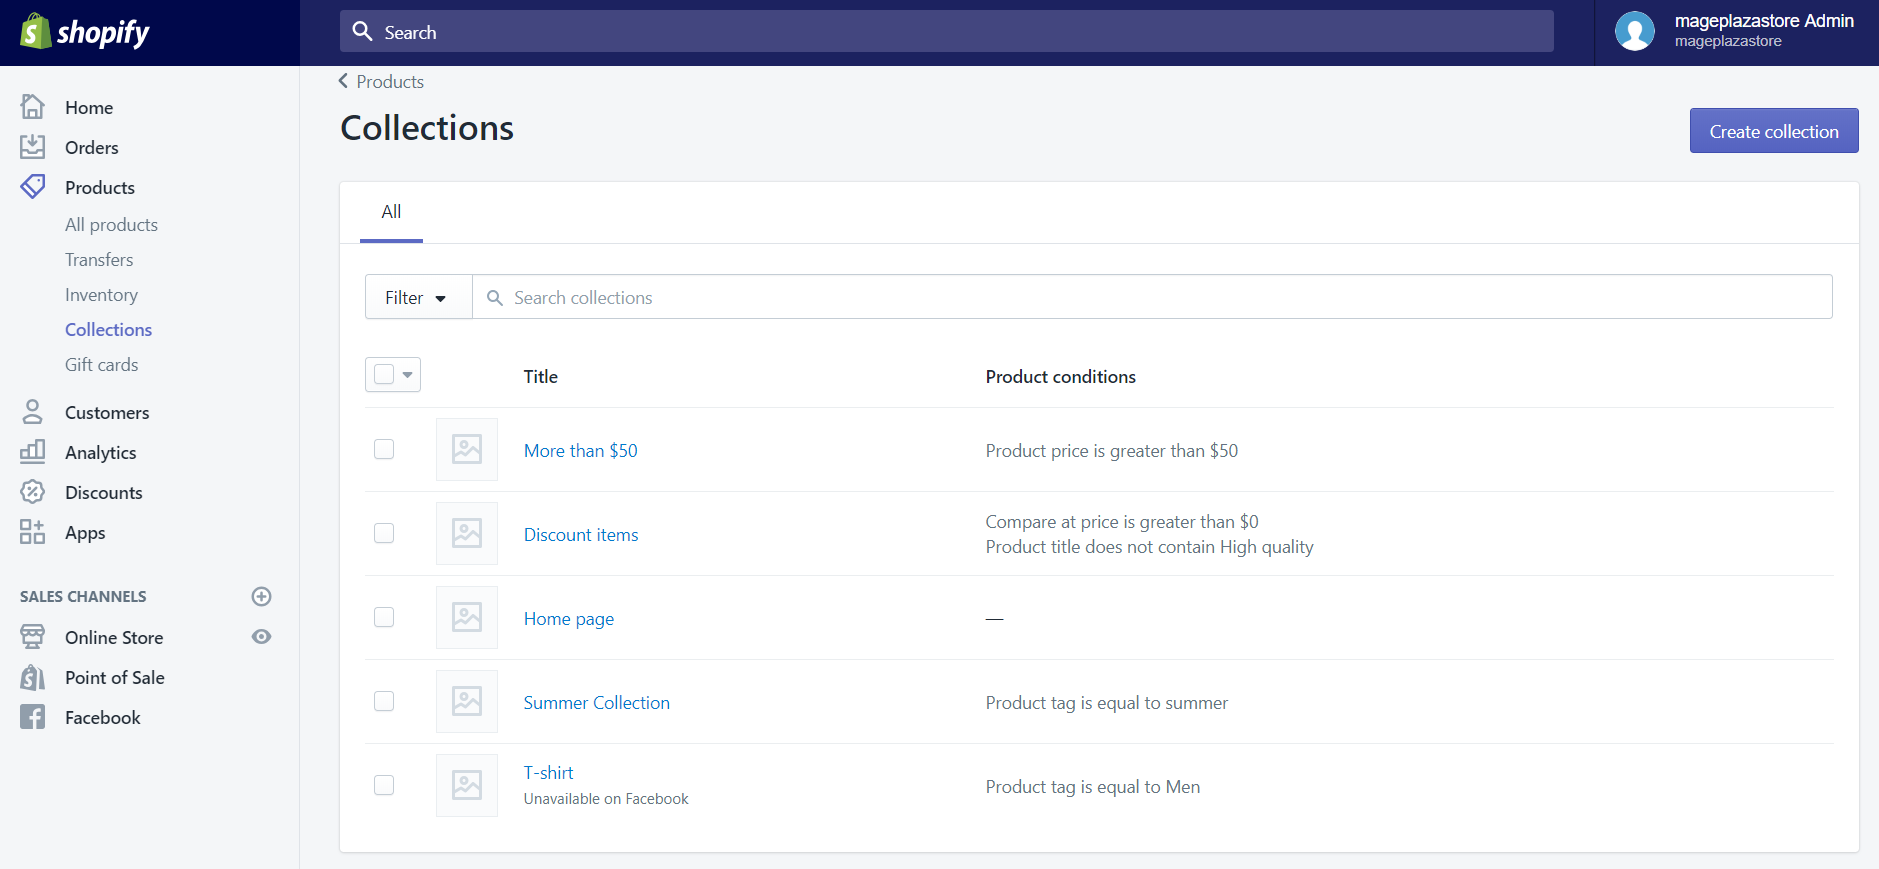
Step 2: Click Create collection
Click the Create collection button to create a new collection for your store.
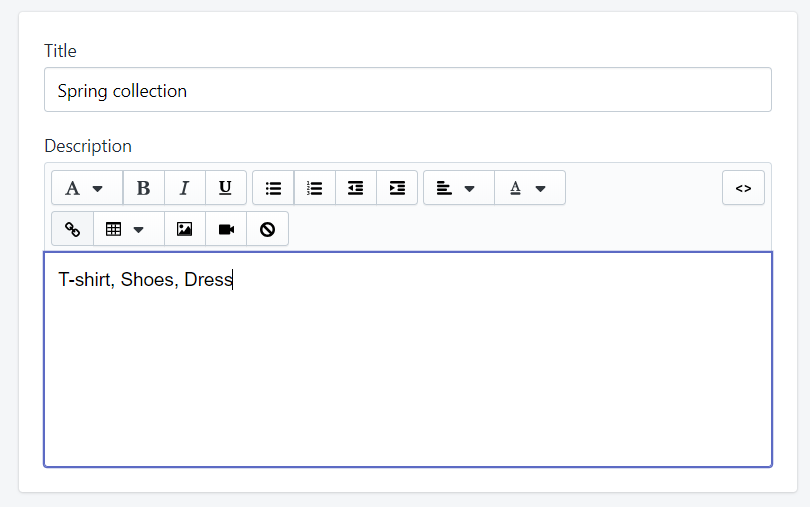
Step 3: Enter collection details
Before you can do anything else, you will first have to enter the title and description of your collection
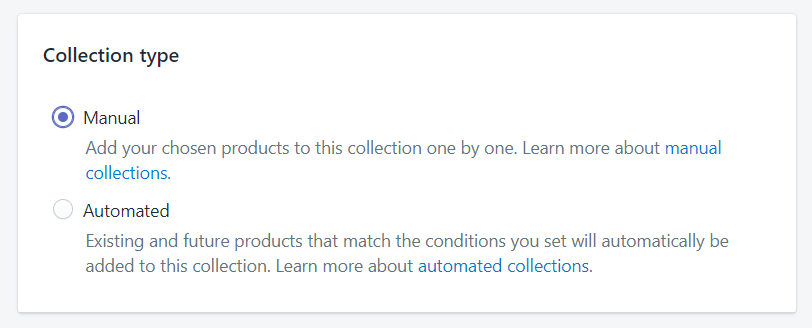
Step 4: Select Manual as Collection type
You will see two options in the Collection type, select Manual.
Step 5: Add new collection
After that, click Save so that your new collection could be added.
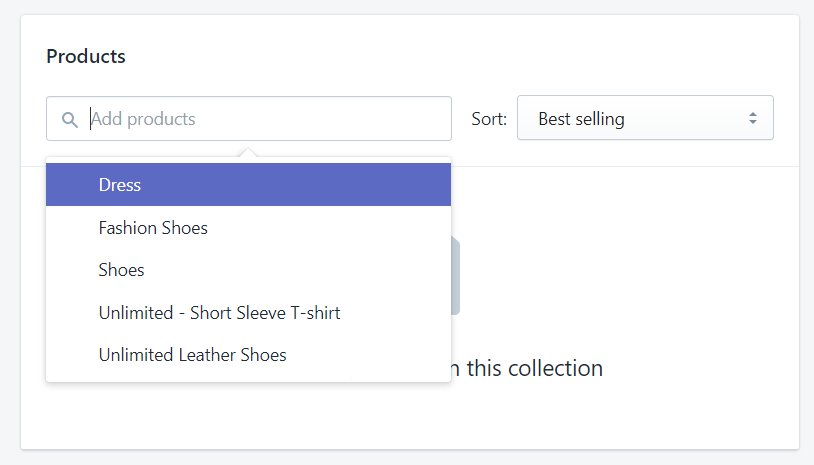
Step 6: Add product to collection
When your collection has been created, the next thing you will have to do is add some products to your manual collection. Click Add products to view your product list. Then from that list, you can choose several products to your collection.
Learn more:
- How to add a product to existing collections from its details page on Shopify
- How to add products to a manual collection on Shopify
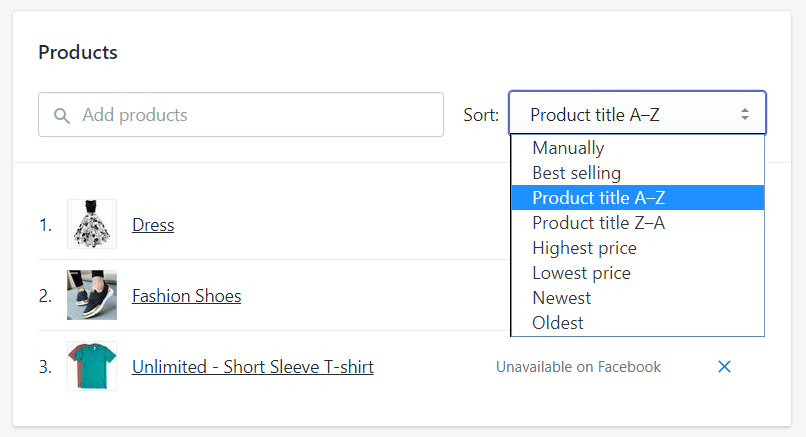
Step 7: Change product display order
You can change the display order of all the products in your collection by selecting one from the options in the drop-down list form the Sort section. For example, you can choose Product title A-Z to rank the product’s title from A to Z.
Learn more: How to change the display order of options on Shopify
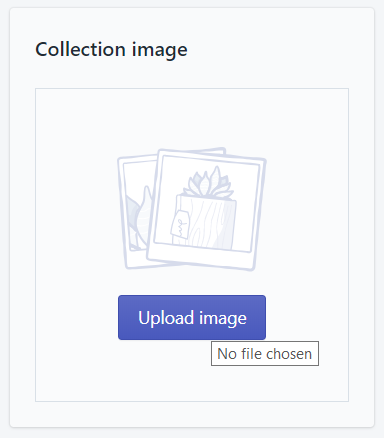
Step 8: Choose image for collection
Besides, you can also upload a specific image for your collection. To do this, in the Collection image section, click Choose image.
Learn more: How to change the featured image of a collection
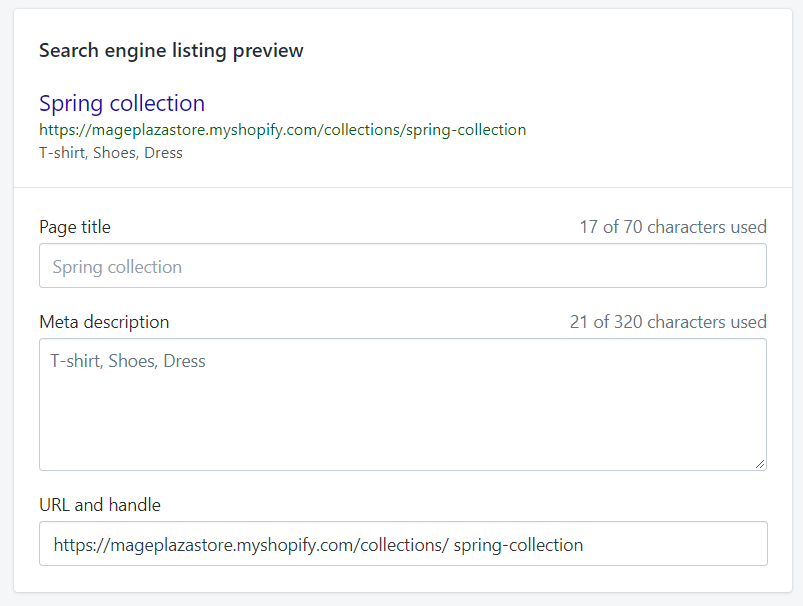
Step 9: Edit website SEO
In the Search engine listing preview section, you will see the preview of which your collection will be displayed when customers search for it. If you want to make some changes, click Edit website SEO. In here, you are allowed to edit every details, except for the URL and handle.
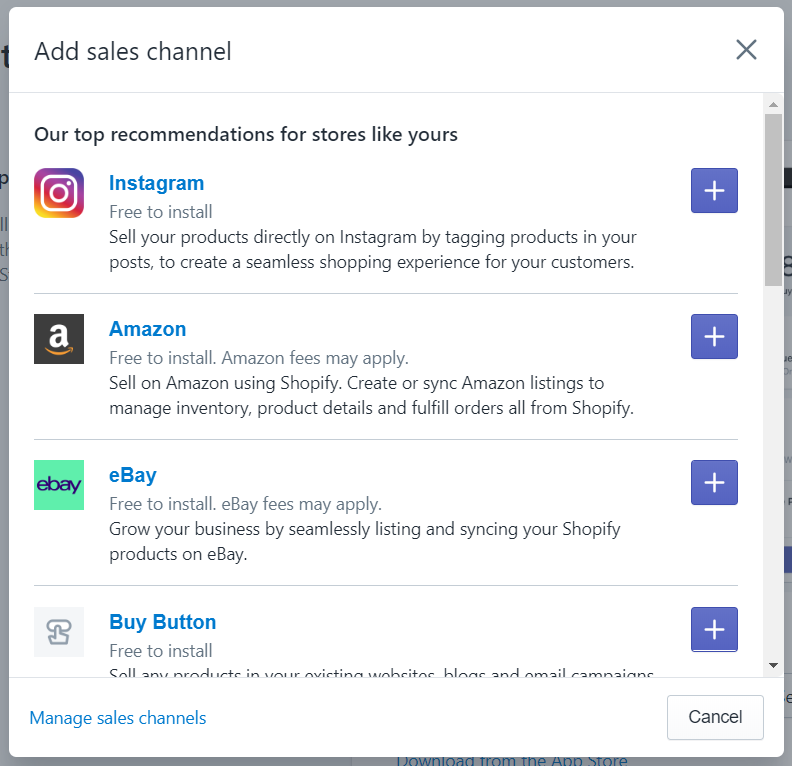
Step 10: Select sales channel for collection
You can select the channels where the information about your collection to be shown in the Sales channels section.
Step 11: Save Collection
Click Save to finish this process
Step 12: Add link to collection
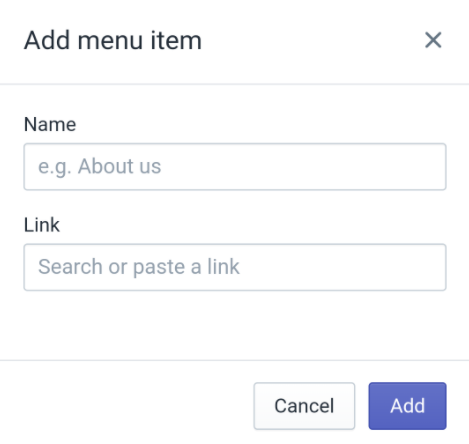
Also, in the Navigation section, you can add a link to the collection which will help your customers to find and view the collection that you have just added.
Learn more: How to add links to collections on Shopify
To create a manual collection on iPhone (Click here)
-
Step 1: First open your Shopify app. Then go to the
Productsection and selectCollections. -
Step 2: In the upper right corner of the screen, there is a
+button, tap it. -
Step 3: Edit the title and description for your collection.
-
Step 4: You can choose whether to add an image for your collection or not. If you want, you can tap the
image iconand select the image to upload. -
Step 5: Disabled the
Automatically select productsfunction. -
Step 6: In the
Sales channelssection, you can customize the channels to display or hide your collection. -
Step 7: To re-order the display order of the products in your collection, tap
Sorting. -
Step 8: In the
Productssection, you can select the products which will be added to your collection. -
Step 9: Finally, tap
Saveto finish adding a collection. -
Step 10: In the
Navigationsection, you can add a link to the collection to help your customers to find and view the collection easier.
To create a manual collection on Android (Click here)
-
Step 1: After you have opened the Shopify app. Go to the
Productsection and selectCollectionsto view all your collection.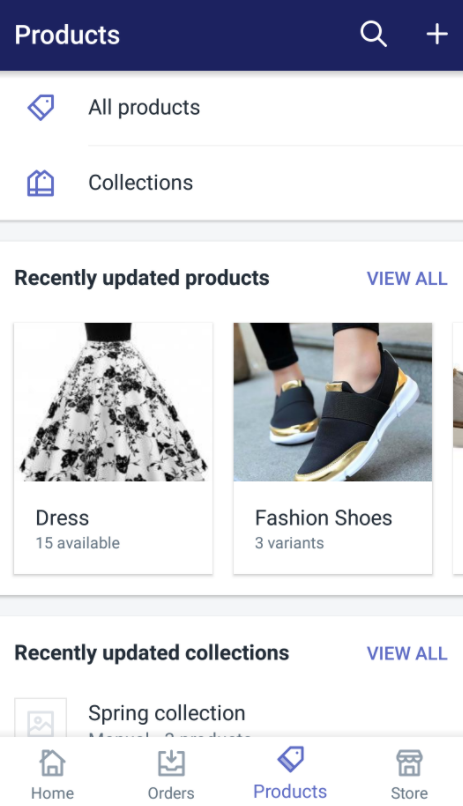
-
Step 2: There is a
+button right in the upper right corner of the screen, tap it.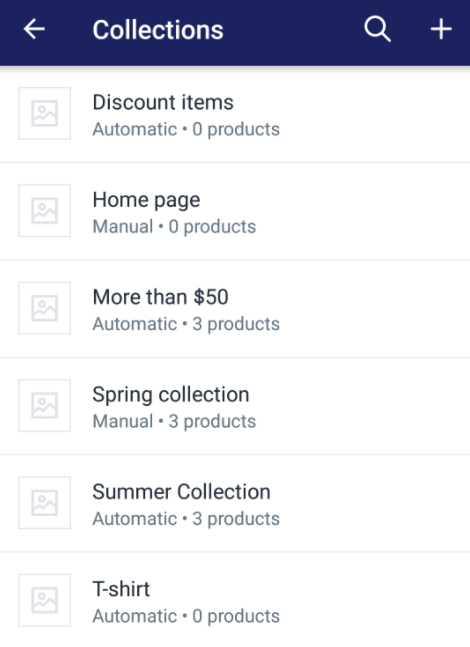
-
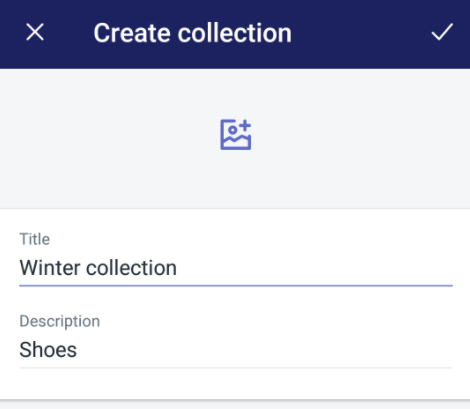
Step 3: You will need to enter the title and description for your collection in the text box.
-
Step 4: If you to add an image for your collection, you can tap the
image iconand upload one. -
Step 5: Remember to disable the
Automatically select productsfunction.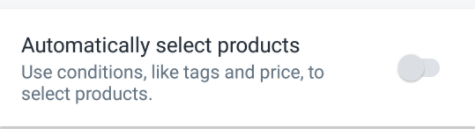
-
Step 6: In the
Sales channelssection, you can set the channels to display or hide your collection.
-
Step 7: To re-order the display order of the products in your collection, tap
Sorting.
-
Step 8: In the
Productssection, you can select the products which you want to add to your collection.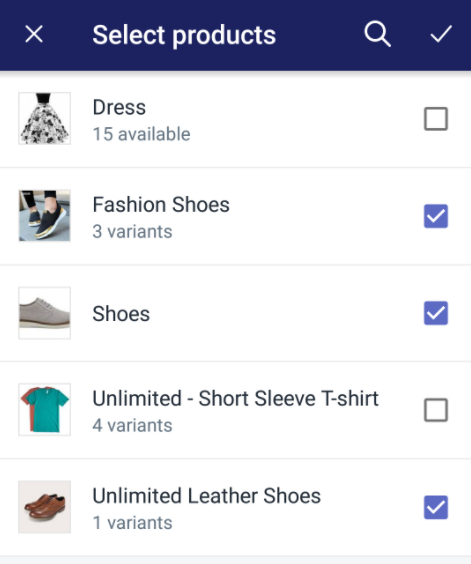
-
Step 9: Finally, tap the
check markto add a collection. -
Step 10: You can add a link to the collection in the
Navigationsection to help your customers to find and view your collection easier.
Conclusion
Above is the tutorial on how to create a manual collection on your Shopify store on Desktop, iPhone, and Android. Hoping that this information will be helpful for you and your crew.
Related Posts:
- How to make product available on your sales channel on Shopify
- How to remove products from a manual collection on Shopify
- How to set a date range for a report on Shopify -How to add products to a manual collection on Shopify
- How to add selection conditions for an automated collection on Shopify


