
How to Choose Product Images From the Rich Text Editor on Shopify

Choosing Product Images from the rich text editor to insert is another method to add images in your content. With this way, you can mobilize the picture storage once uploaded on Shopify before to be used again quickly and easily.
Related Posts:
- Best Shopify Image Editor Apps
- How to Change Text Colors With the Rich Text Editor on Shopify
- How to Insert Tables With the Rich Text Editor on Shopify
- How to Insert Links With the Rich Text Editor on Shopify
- How to Add a Product Image on Shopify
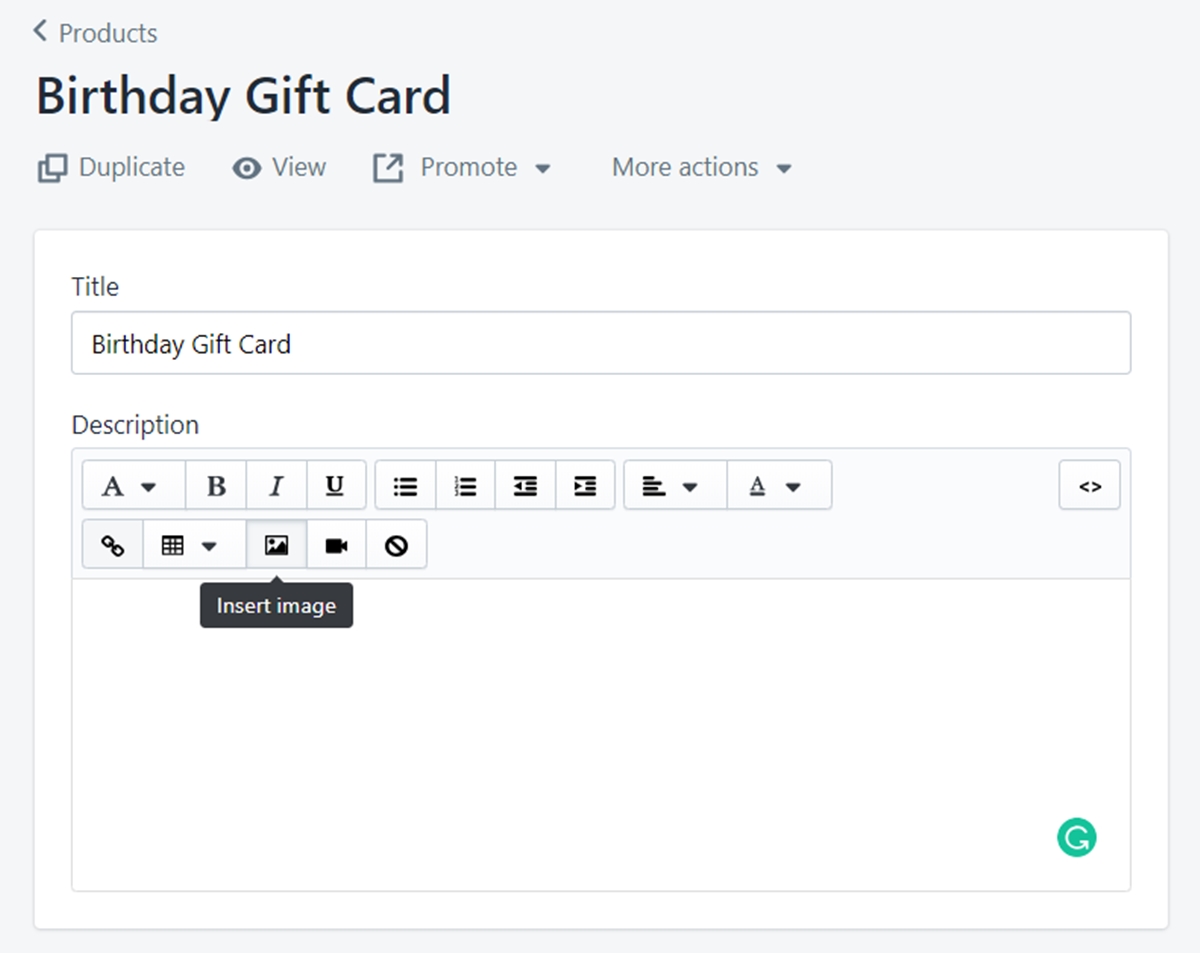
Step 1: Click Insert images from the rich text editor
From the rich text editor field, click Insert images to open the corresponding window for the sequence.
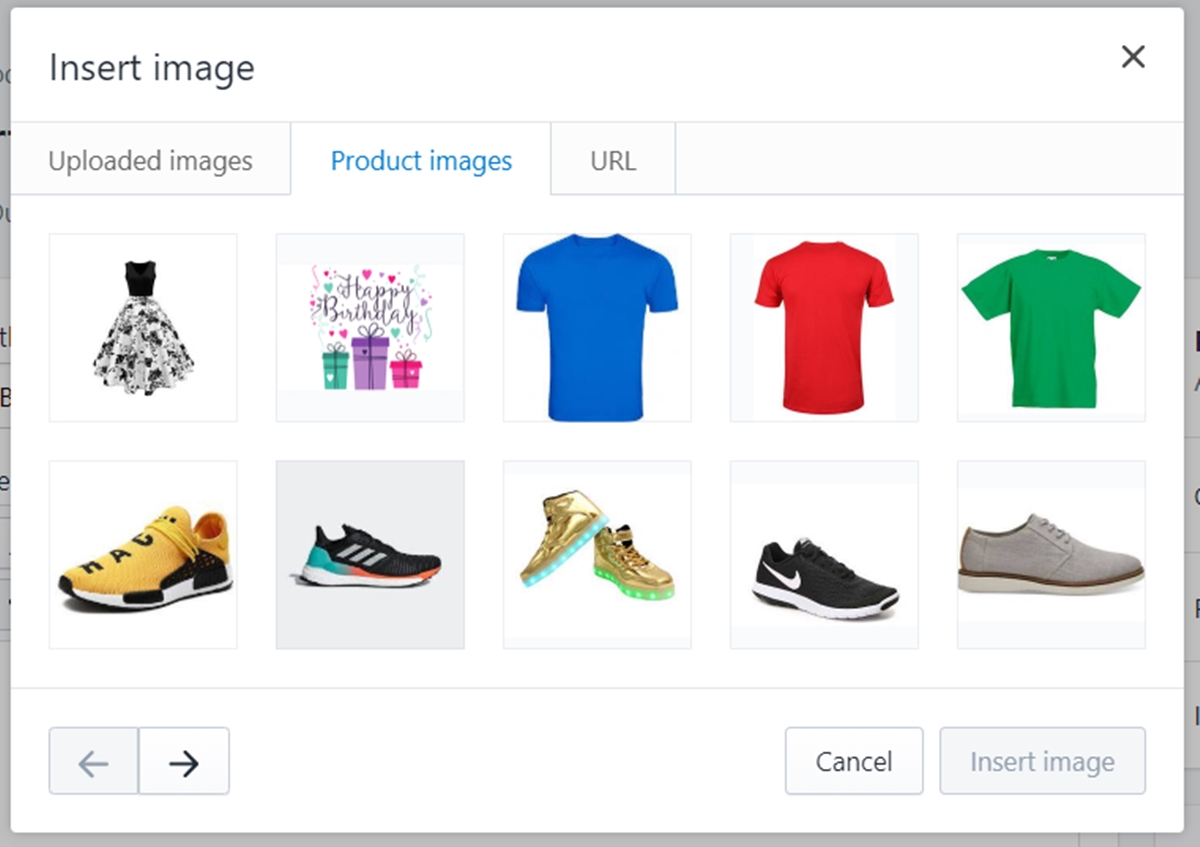
Step 2: Select Product images tab and click on the image you want
Make sure you are at the Product images tab. Click the specific image you want to include.
Step 3: Set the size of the selected image
In the Size field, you can determine the display size of your image. Otherwise, you can set Original to keep the true size without any changes.
Step 4: Click Insert image
Click the Insert image button at the bottom right corner of the window to confirm your sequence.
Summary
So that’s how to choose Product Images from the rich text editor. From now on, you can add pictures in your content without having to find or decide to upload the new ones. Therefore, before uploading a new picture, take a minute and think if you can find one you already have on your online store.


