
How to Change Your Plan on Shopify?

On Shopify, you don’t have to wait until the end of the plan you are currently on to sign up for another. If you are a beginner who is on a trial version and would like to sign up for a new plan, or if you are thinking about replacing the plan you are currently on with a new one, Shopify allows you to end your current plan and start a new one right from your Desktop.
Caution:
If you switch from a monthly plan (Shopify monthly or Basic Shopify monthly) to an annual plan, and the monthly plan you are on uses calculated shipping, then a new contract between your store and Shopify will be started, which means that your shipping carrier information will be reset and you will have to re-provide your account details for each carrier.
If you want to change your plan on Shopify, follow the instructions below.
Exclusive Offer: Get Shopify 33 days for just $1 + The Online Store Starter Kit
Start your 3-day free trial, and enjoy your first month of Shopify for 1$ plus the premium package designed especially for new Shopify merchants!
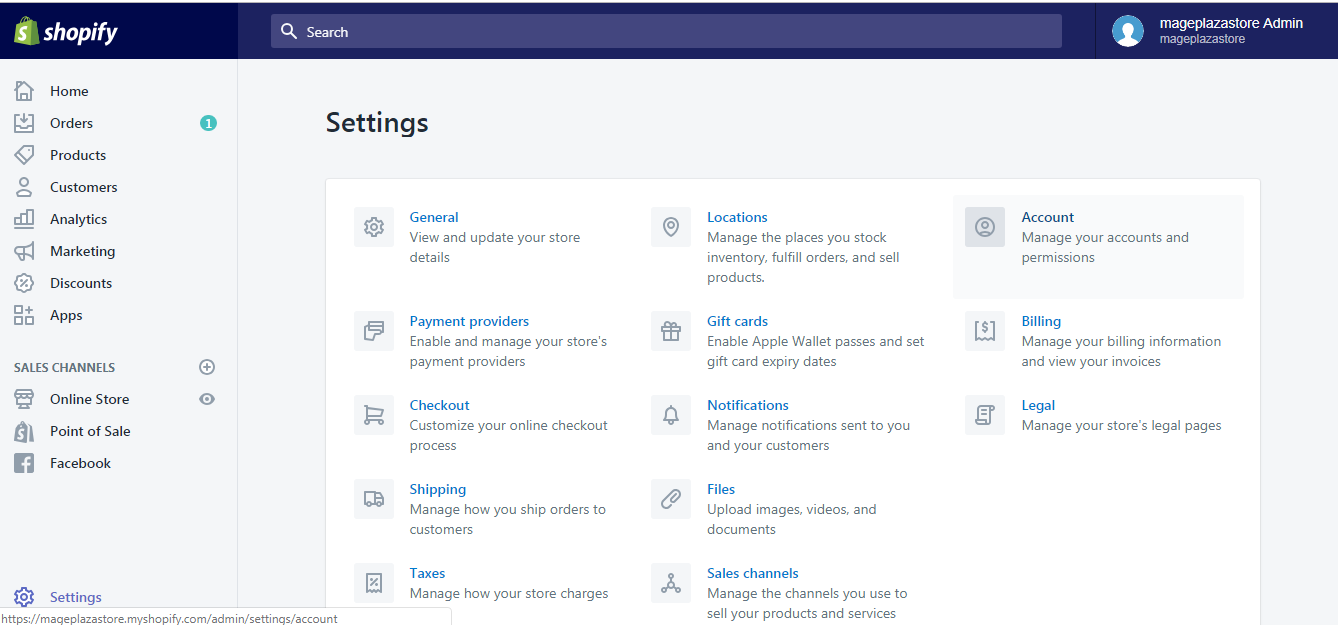
Step 1: Go to Account in the Setting field
From your Shopify store admin account, go to the Setting section with the cogwheel symbol, then visit Account.
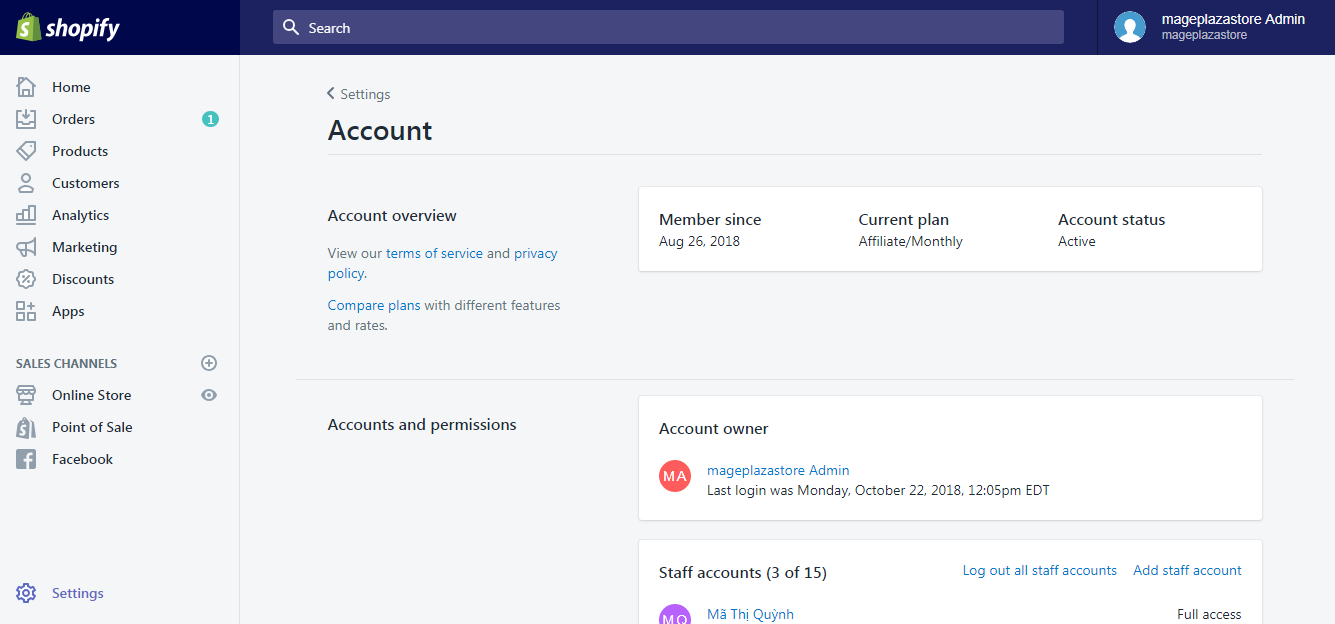
Step 2: Select Compare plans
In the Account section, all of the key information about your store account will be displayed. Under the first section, Account overview, click Compare plans.
Step 3: Click Choose this plan
From the plan options available, click the Choose this plan button of the one that best suits your need, such as Starter, Basic, Advanced, or Plus.
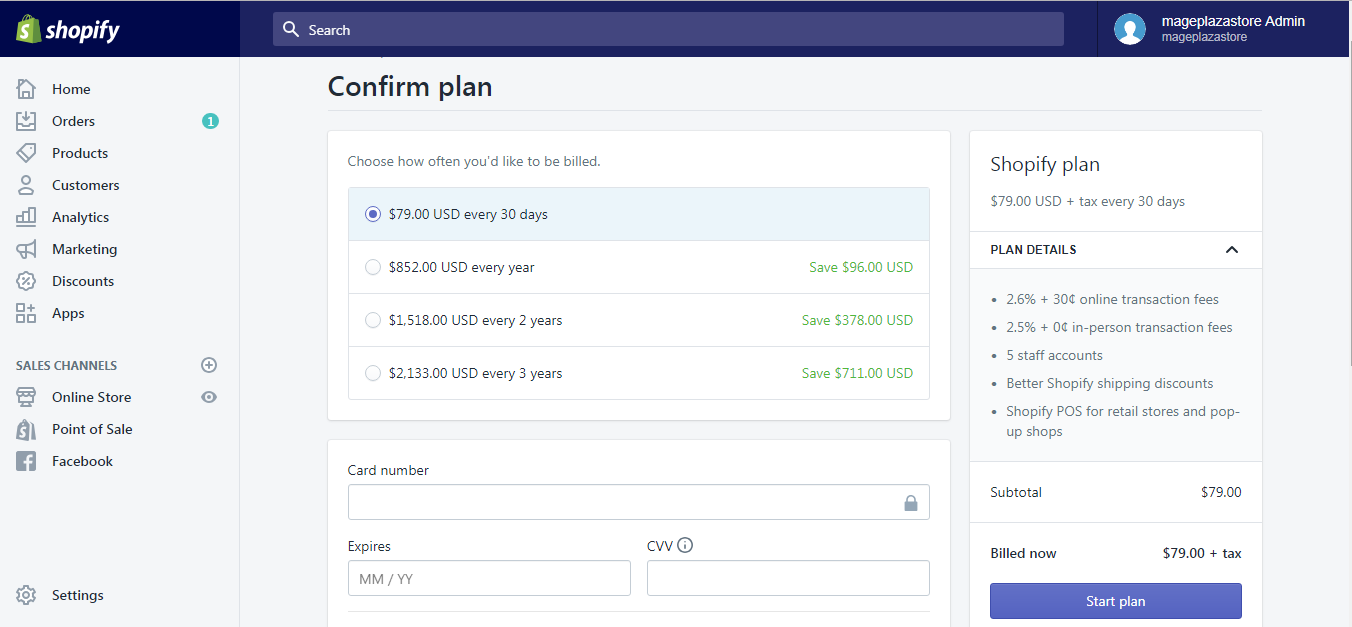
Step 4: Adjust your billing cycle to fit your new plan
Read through all the billing cycle options. Be conscious about the detailed information of the credit card fees you are agreeing to.
Note:
When changing your plan: If you don’t change the billing cycle, you will stick to the same bill, only your purchases will be adjusted. If you change the billing cycle, Shopify will close the bill issued for your current plan without crediting any unused period you have purchased, at the same time start the new billing cycle along with your new plan.
Step 5: Click Confirm changes
Double check all the information and click Confirm changes to save the update.
To change your plan on iPhone (Click here)
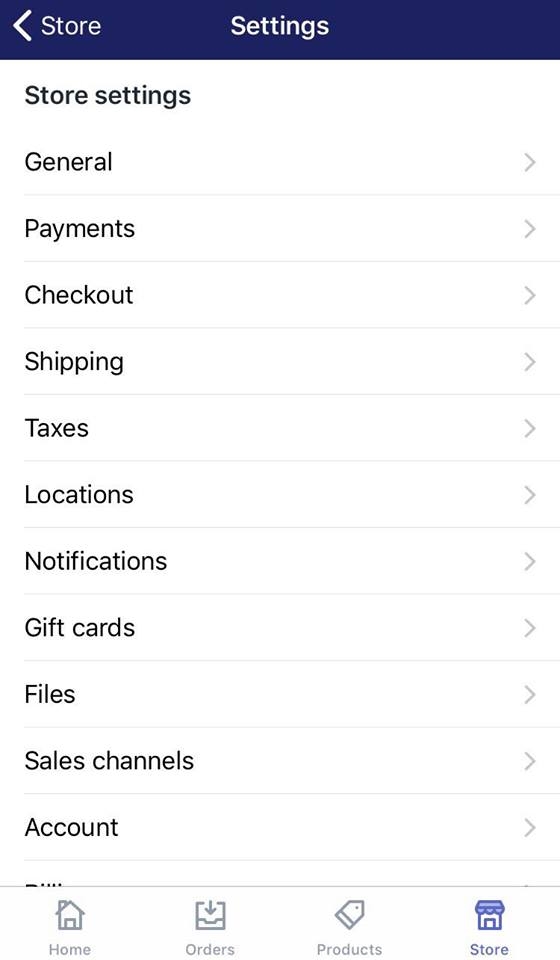
- Step 1: Go to Account in the Setting section
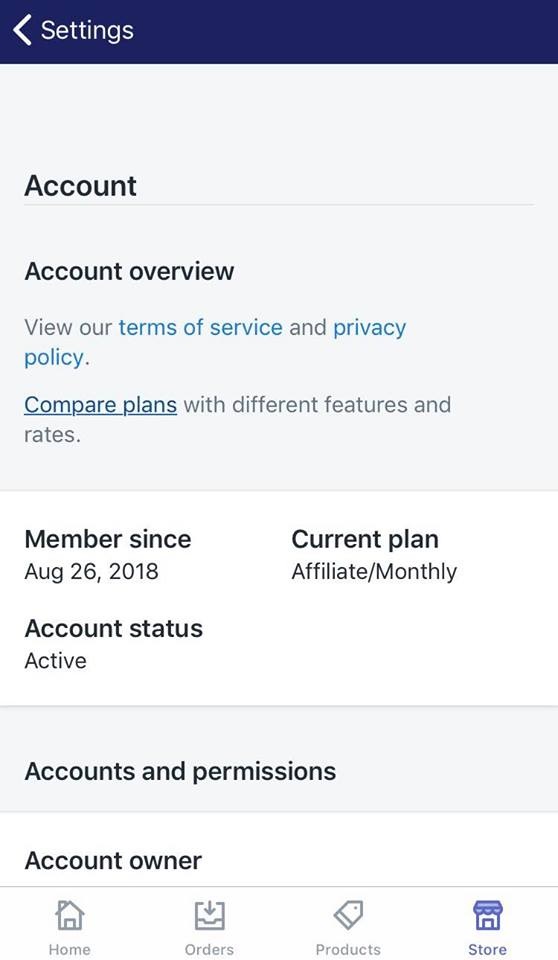
Open the Shopify app, go to the Store section in the bottom right, then visit Settings. In Settings, swipe down and tap Account.
- Step 2: Select Compare plans.
In the Account section, you will see all of the significant information about your store account. In the first section, Account overview, tap Compare plan.
- Step 3: Tap Choose this plan
From the plan options available, tap the Choose this plan button of the one that best suits your need.

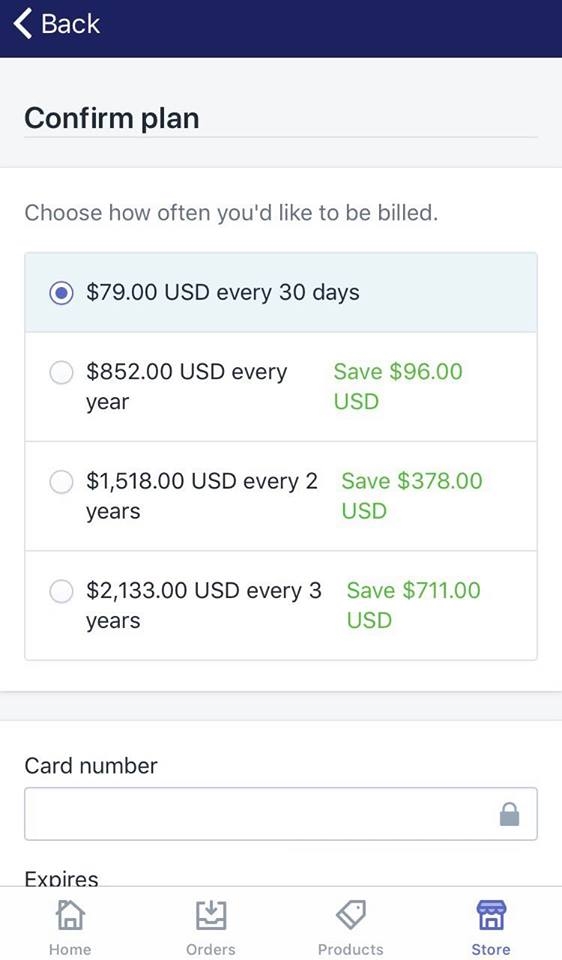
- Step 4: Adjust your billing cycle to fit your new plan
Read through all the billing cycle options. Be conscious about the detailed information of the credit card fees you are agreeing to.
Note:
When changing your plan: If you don’t change the billing cycle, you will stick to the same bill, only your purchases will be adjusted. If you change the billing cycle, Shopify will close the bill issued for your current plan without crediting any unused period you have purchased, at the same time start the new billing cycle along with your new plan.
- Step 5: Tap Confirm changes
Double check all the information and tap Confirm changes to save the update.
To change your plan on Android (Click here)
- Step 1: Go to Account in the Setting section
Open the Shopify app, go to the Store section in the bottom right, then visit Settings. In Settings, swipe down and tap Account.
- Step 2: Select Compare plans.
In the Account section, you will see all of the significant information about your store account. In the first section, Account overview, tap Compare plan.
- Step 3: Tap Choose this plan
From the plan options available, tap the Choose this plan button of the one that best suits your need.
- Step 4: Adjust your billing cycle to fit your new plan
Read through all the billing cycle options. Be conscious about the detailed information of the credit card fees you are agreeing to.
Note:
When changing your plan: If you don’t change the billing cycle, you will stick to the same bill, only your purchases will be adjusted. If you change the billing cycle, Shopify will close the bill issued for your current plan without crediting any unused period you have purchased, at the same time start the new billing cycle along with your new plan.
- Step 5: Tap Confirm changes
Double check all the information and tap Confirm changes to save the update.
Conclusions
Now that you change your plan on Shopify, you start a whole new period of your Shopify online store management with totally different experience. I hope the plan adjustment you just made would be the beginning of something bigger and better.
To make the most out of the myriad features offered to you on Shopify, visit our Help Center for similar articles.
Related Posts:
- How to change your billing address on Shopify
- How to change your credit card details on Shopify
- Shopify Plus Reviews In 2024
- How to end Shopify Free Trial
- How much is Shopify after a Free Trial


