
How to Attach an Order Tag on Shopify

When you run your shop, there will be a point that your shop is filled with a ton of orders and it is hard for you if you want to find the one you need. In this case, Shopify provides you with a solution to this problem which is to attach an order tag. This tag would help you in organizing your order and get to them quickly later.
This is an instructional writing on how to attach an order tag on Shopify. I ensure you that this guide is very helpful so you should read it carefully and follow the instruction.
Related Posts:
- Contact a Customer About an Order on Shopify
- View an Order’s Timeline on Shopify (on Desktop and Mobile)
- Manually Add the Order Status URL to your Email Templates on Shopify
- Add a Tag to your Order on Shopify
- Add an Opt-In for Order Updates on Shopify
How to attach an order tag
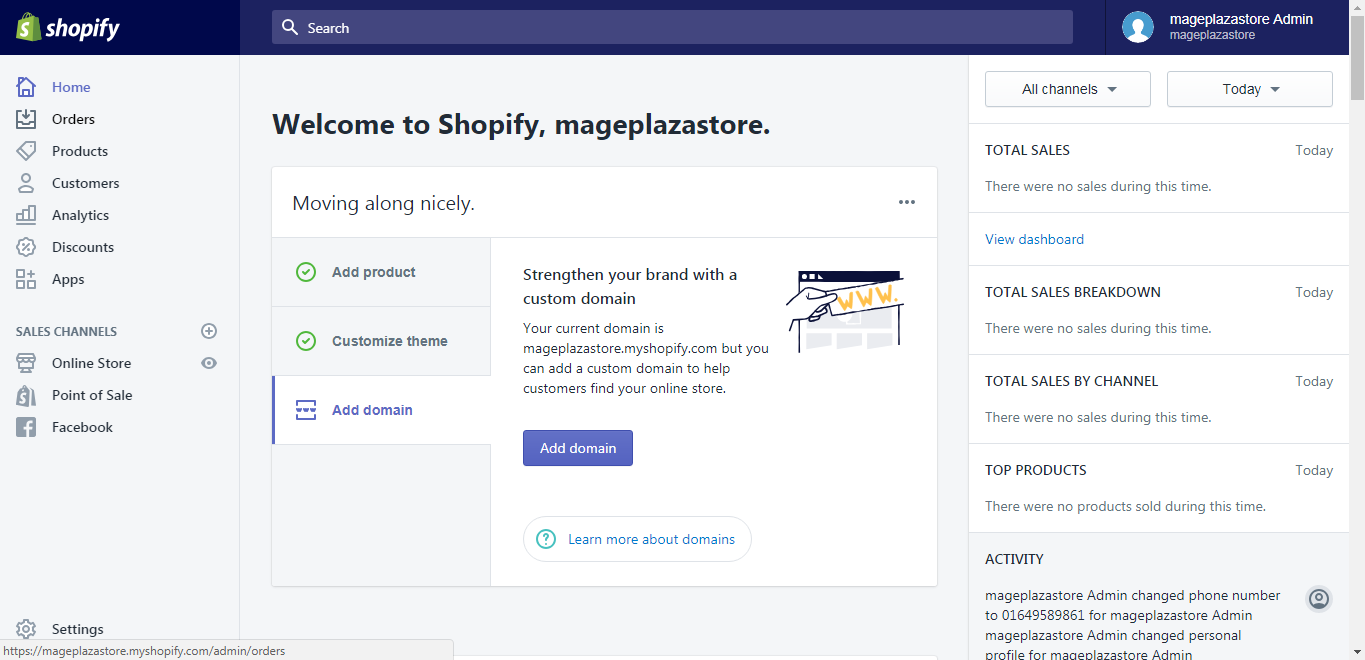
Step 1: Go to Orders
After you get to the admin page of Shopify, look at the screen and find the Orders button on the left screen. Click on that button to go to Orders.
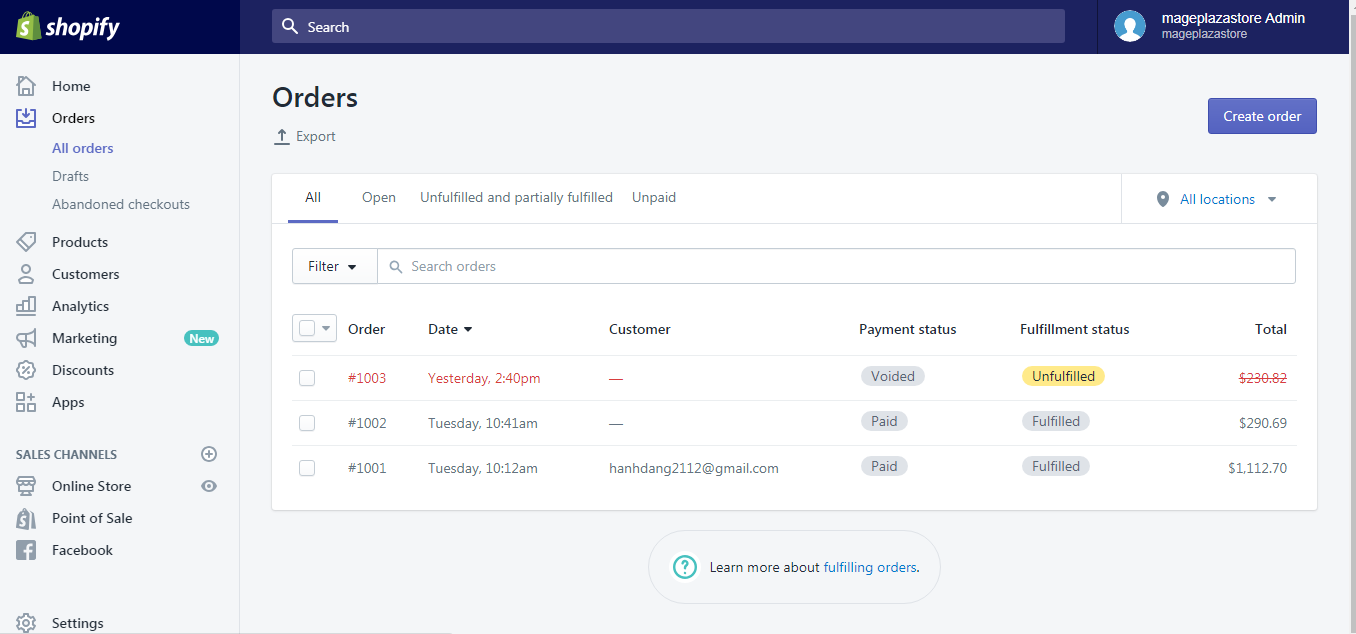
Step 2: Choose an order
After the step above, you will be automatically taken to the All orders page, from which you will choose an order and click on it.
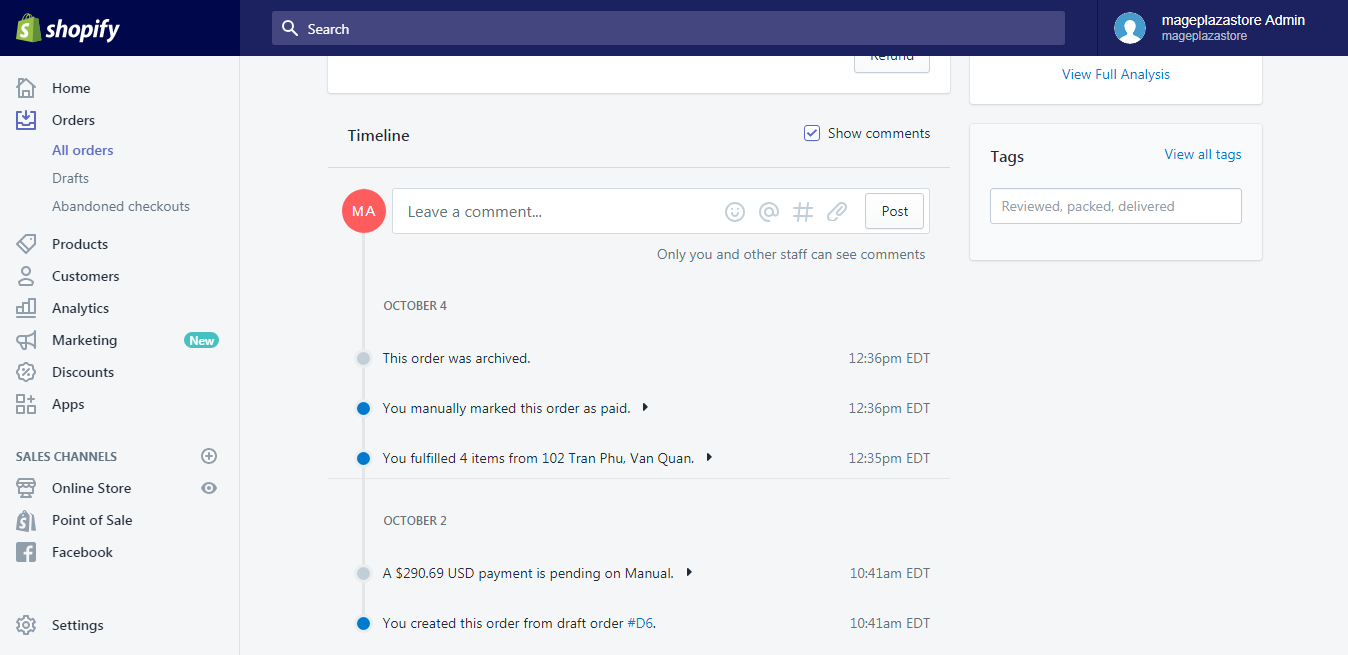
Step 3: Add tags
From the Order details screen, scroll down until you see a section named Tags. Fill the tags names in the box below that section.
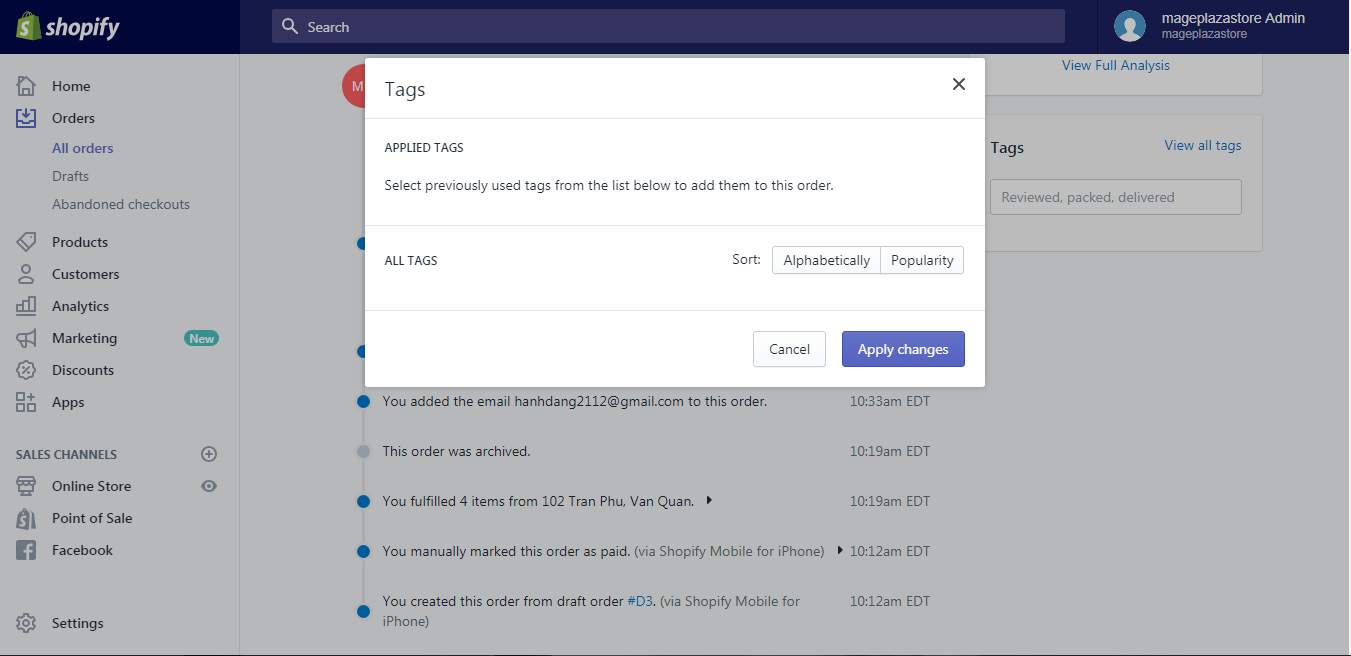
Step 4: Attach an order tag
If you have the tags before, you can hit on View all tags button and choose the tags you want to add. Then, to apply them to your order, click Apply changes.
Step 5: Saving
When you are satisfied with the changes, click Save to save all the tags to your orders.
To attach an order tag on iPhone (Click here)
- Step 1: Go to Orders
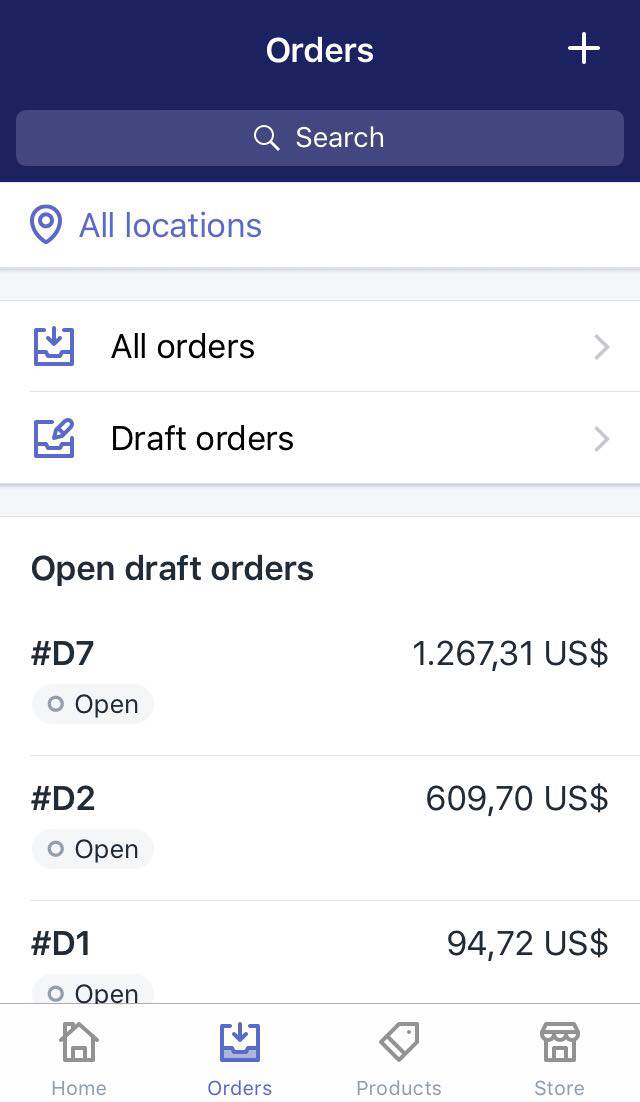
After you logged into your Shopify account in the app, find the Orders button on your home screen and tap on it.

- Step 2: Choose an order
After going to the Orders screen, continue by selecting All orders and all the orders will be display on the phone Screen. Choose an order you want to make changes to by tapping on it.
- Step 3: Add tags
Find the Tags field inside the Order details screen and enter the name tag in the Add tags box.
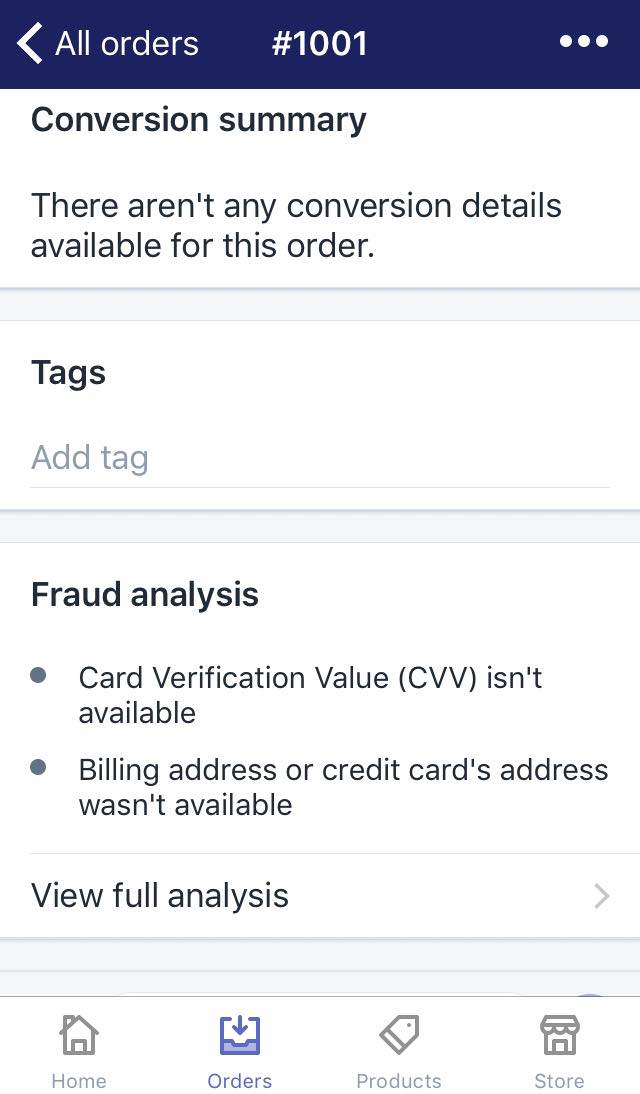
- Step 4: Existing tags
If you have had tags before, while typing the name tag, the system will suggest those old tags. If you want to add those, tap on it.
To attach an order tag on Android (Click here)
- Step 1: Go to Orders
After you logged into your Shopify account in the app, find the Orders button on your home screen and tap on it.
- Step 2: Choose an order
After going to the Orders screen, continue by selecting All orders and all the orders will be display on the phone Screen. Choose an order you want to make changes to by tapping on it.
- Step 3: Add tags
Find the Tags field inside the Order details screen and enter the name tag in the Add tags box.
- Step 4: Existing tags
If you have had tags before, while typing the name tag, the system will suggest those old tags. If you want to add those, tap on it.
Conclusion
In conclusion, the above is my writing on how to attach an order tag on Shopify. I hope this writing would help you with your problems. If you enjoy this post, there’s a good chance you’ll also enjoy our posts on orders on Shopify, so consider giving it a read.


