
5 Steps to Apply a Template to a Blog on Shopify

In my previous writing, I have introduced you on how to create a new blog template. However, that’s not the end, after creating a new blog template, you can actually apply that blog template to a particular blog post. The result when you apply a template to a blog is that all the post existing in the blog will be shown according to the template that you’ve set. This will aid in customizing your own blog so that you can attract more visitors to your blog as well as differ your blog from others.
Related Posts:
- How to add a logo to your email templates on Shopify
- How to assign the template to a product in Shopify
- How to generate a new product template including line item properties for non-sectioned themes in Shopify
- How to update the collection-template.liquid file in Shopify
- How to apply a class to your templates in Shopify Every image on each page be
- How to choose colors for your email templates on Shopify
Therefore, to help you get started with this, I am going to show you on how to apply a template to a blog with just some simple steps as the followings.
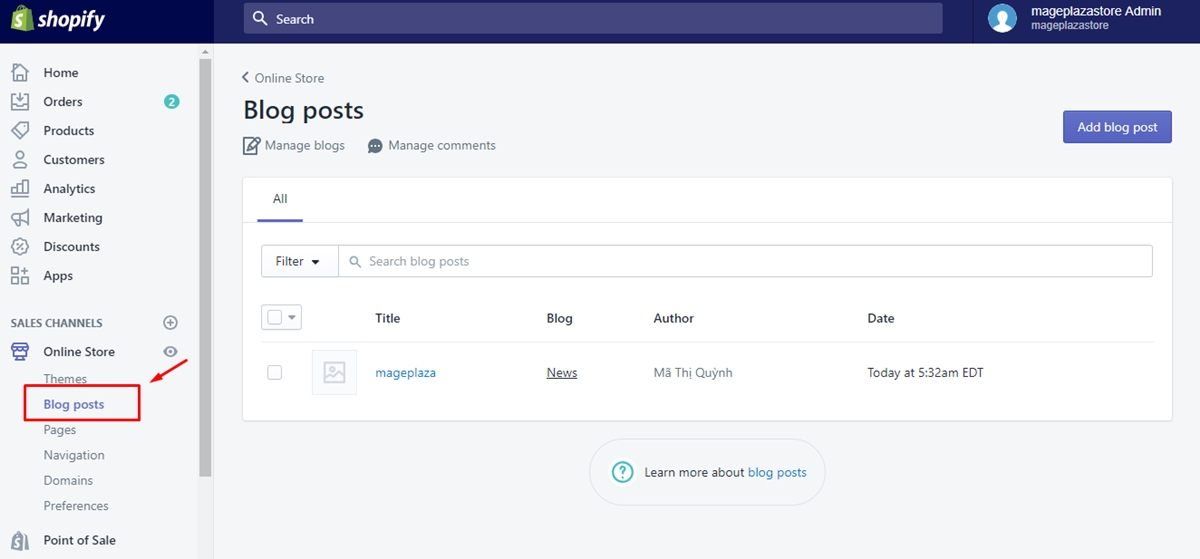
Step 1: Select Online Store then Blog Posts
First of all, from your Shopify admin, you go to Online Store, then select Blog Posts heading
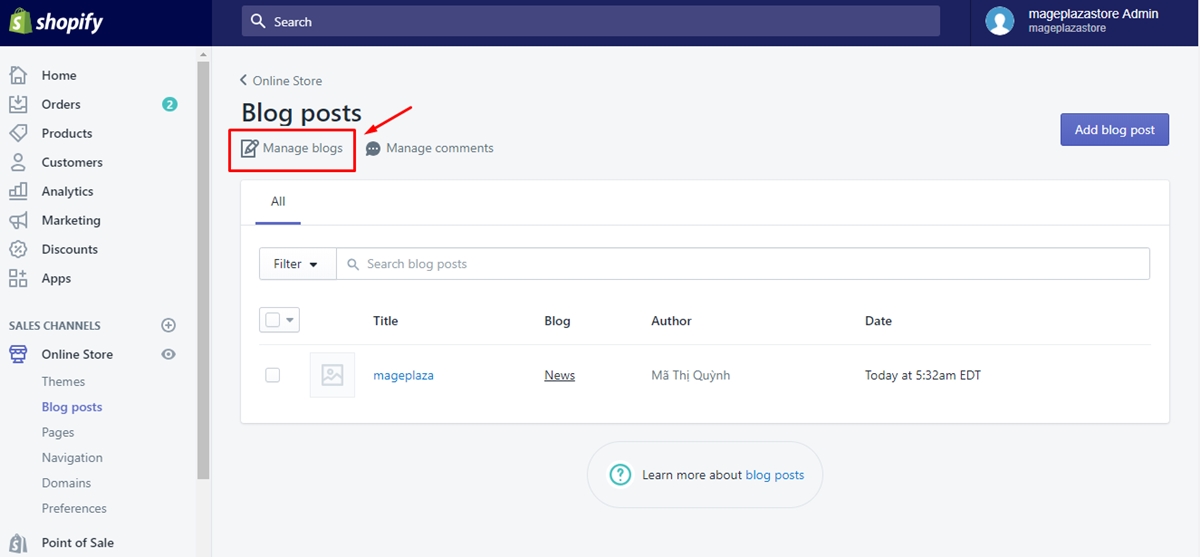
Step 2: Select Manage blogs
From Blog Posts interface, you click on Manage blogs to continue
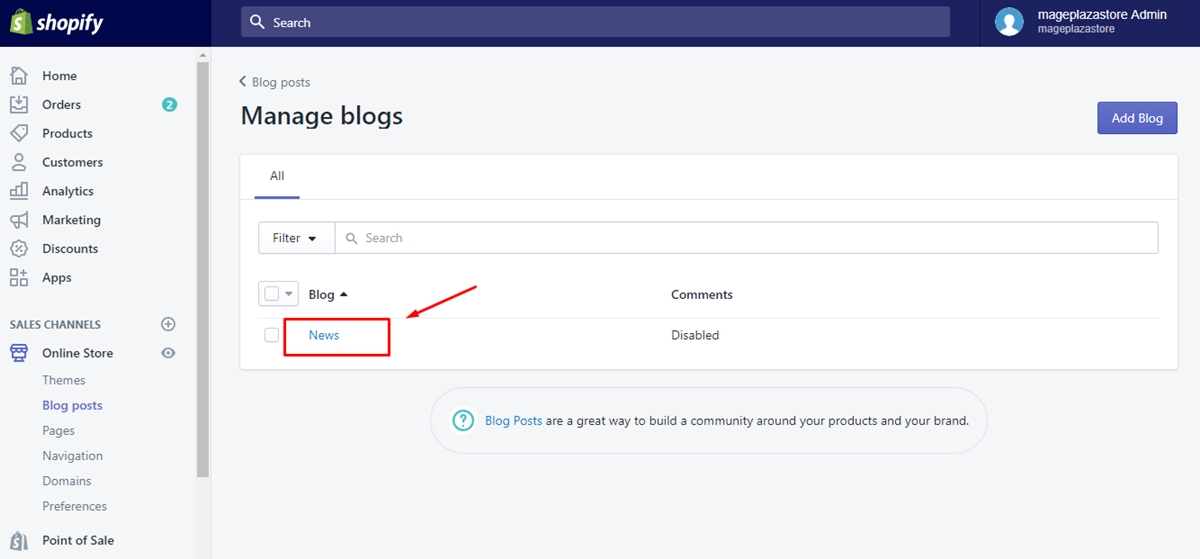
Step 3: Click the blog you want to edit
In this step, there will be a list of blog posts that you have created before. Select the blog post that you want to edit then move to the next step.
Step 4: Select a template in Template menu
In the interface of a blog post, scroll down and find the drop-down menu named Template. Then select a blog template that you want to apply to the blog post. Remember that the blog templates must have been already created before.
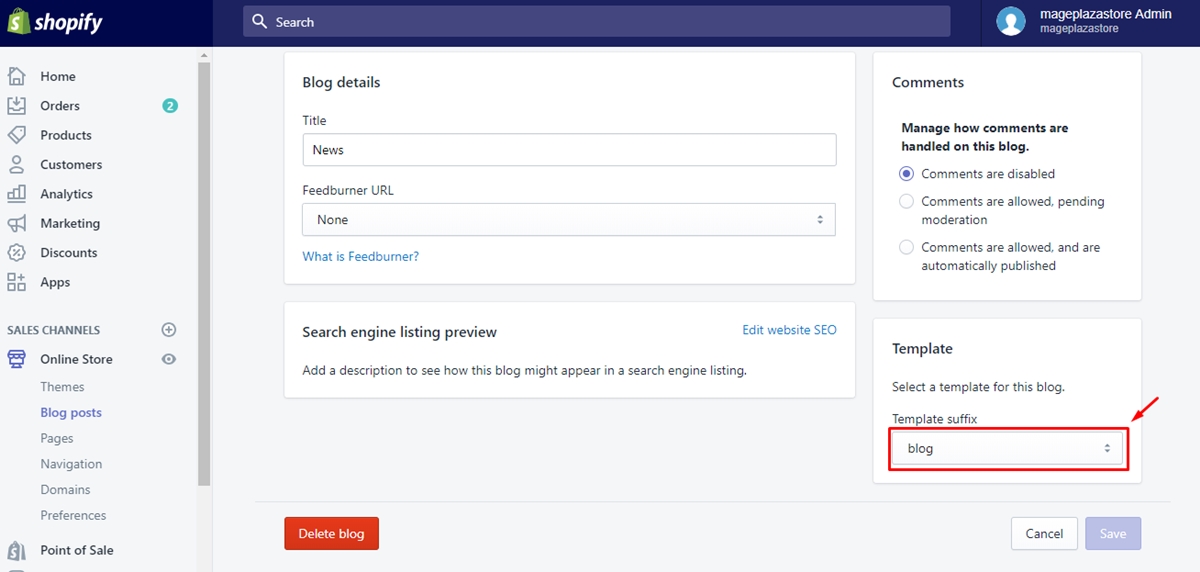
Step 5: Click Save
Finally, to finish applying blog template, you click on Save button.

To apply a template to a blog on iPhone (Click here)
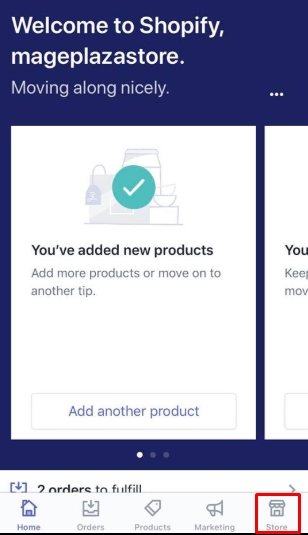
- Step 1: Go to
Store
To get started, open the Shopify app on your phone. On Shopify admin’s screen, you go to Store
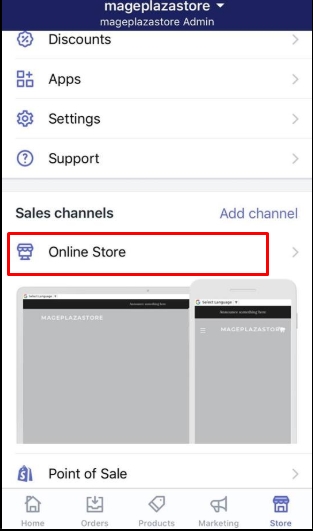
- Step 2: Tap
Online storeinSales channels
In Store, select the section named Sales channels, from which tap Online Store.
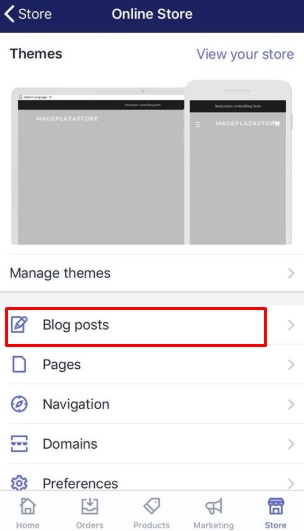
- Step 3: Choose
Blog posts
On the Online store screen, find the Blog posts heading and tap it to continue
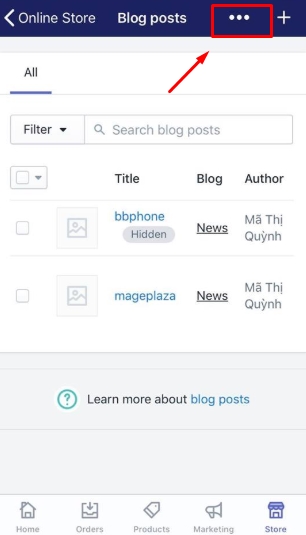
- Step 4: Tap
…button, then selectManage blogs
In this step, you will find the … button beside the Blog posts heading. Tap the … button and then choose Manage blogs for the next step.

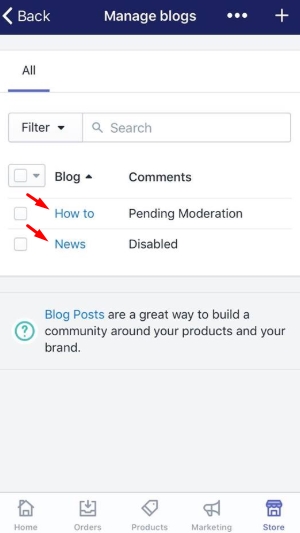
- Step 5: Choose the blog you want to edit
In Manage blogs, there will be a list of blog posts existing in your blog. Tap the blog that you want to apply the template to.
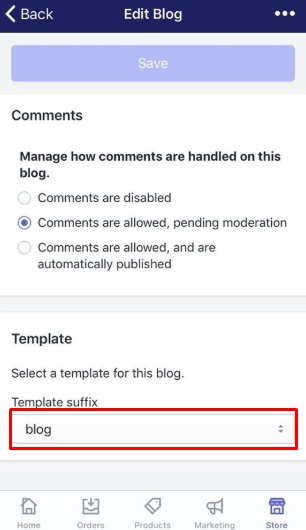
- Step 6: Select a template in
Templatemenu
After selecting the blog post, you scroll down and find a drop-down menu named Template, from which select an appropriate template for
your blog.
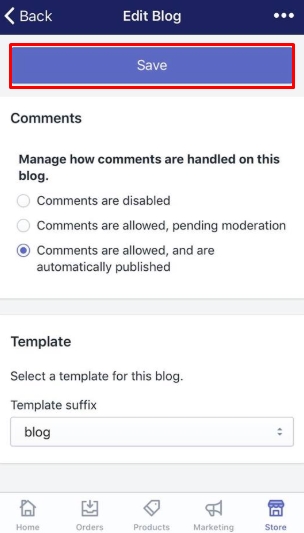
- Step 7: Tap
Save
Finally, select Save button at the right-bottom of the editing page to finish.
To apply a template to a blog on Android (Click here)
- Step 1: Go to
Store
To get started, open the Shopify app on your phone. On Shopify admin’s screen, you go to Store
- Step 2: Tap
Online storeinSales channels
In Store, select the section named Sales channels, from which tap Online Store.
- Step 3: Choose
Blog posts
On the Online store screen, find the Blog posts heading and tap it to continue
- Step 4: Tap
⋮button, then selectManage blogs
In this step, you will find the ⋮ button beside the Blog posts heading. Tap the ⋮ button and then choose Manage blogs for the next
step.
- Step 5: Choose the blog you want to edit
In Manage blogs, there will be a list of blog posts existing in your blog. Tap the blog that you want to apply the template to.
- Step 6: Select a template in
Templatemenu
After selecting the blog post, you scroll down and find a drop-down menu named Template, from which select an appropriate template for
your blog.
- Step 7: Tap
Save
Finally, select Save button at the right-bottom of the editing page to finish.
Conclusion
Above is a step-by-step instruction on how to apply a template to a blog, which will give you a hand in customizing and managing your own blog on Shopify with ease. We hope that you will find our writing interesting and useful or at least you have a good reading time. If you want more instruction, check out our posts on selling online.


