
How to Add a Tag on Shopify in 3 Minutes or Less

Adding product tags will enable your work with your product list becomes easier. A tag is very useful when you want to manage your products because you can do things like filter by tag, search by tag, etc.
The below is my instructional writing on the topic how to add a tag on Shopify. This writing will be helpful for you and your store so I hope you will spend your time reading it carefully and follow my instruction.
Related Posts:
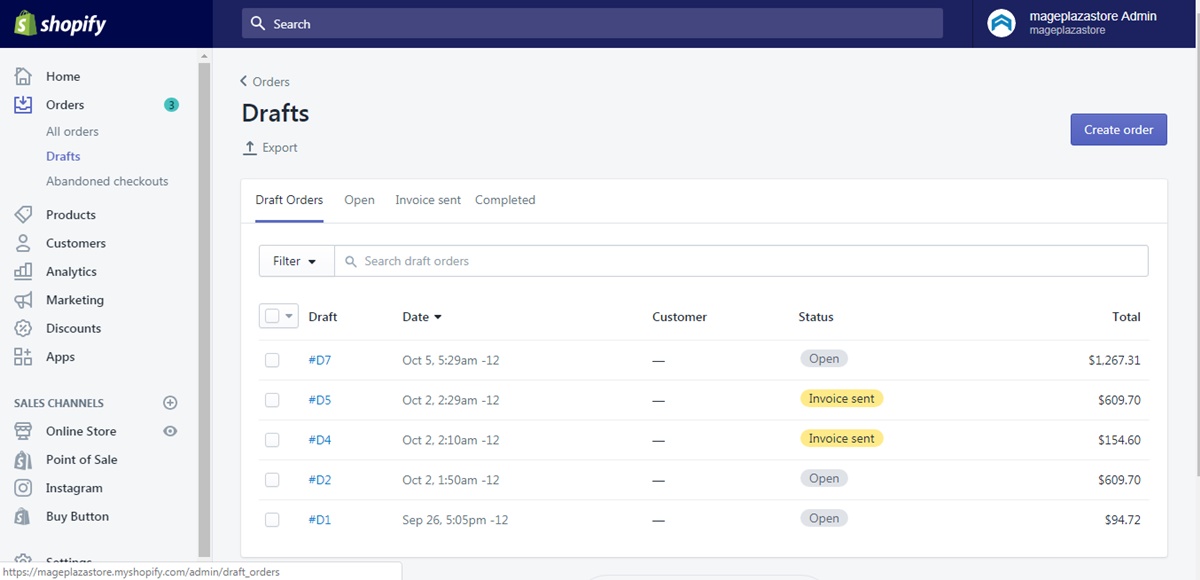
Step 1: Open a product page
The first thing you have to do is to open a specific product page. For instance, the orders and draft orders page.
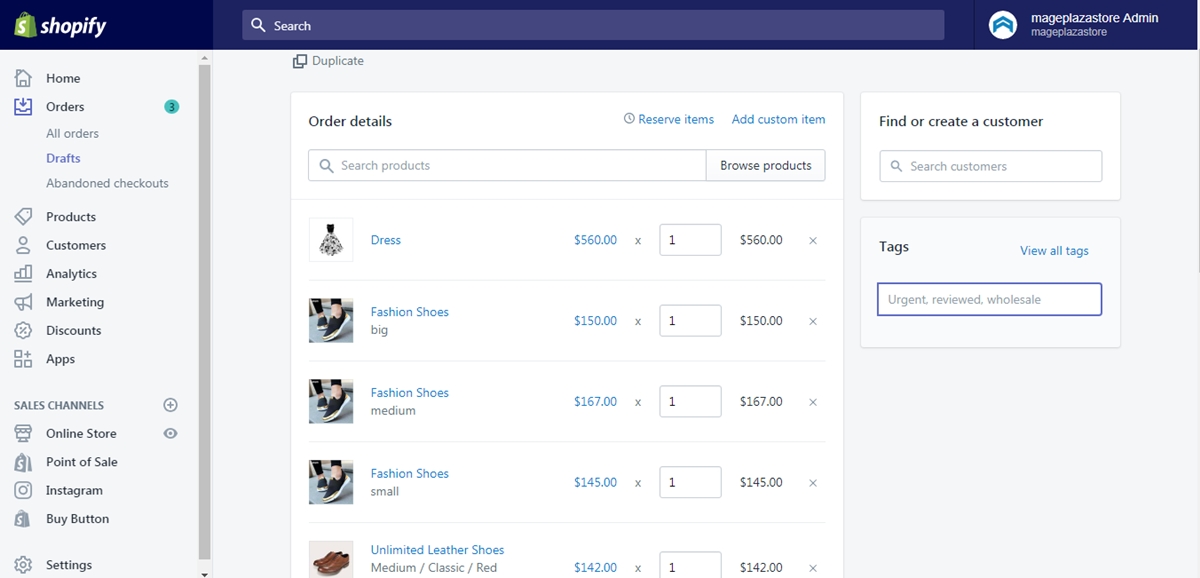
Step 2: Add tags
In the Tags section, you can enter the name of the tag you want to add in the box or choose the existing tags from the tag list in View all tags. If the name tag you entered is a new tag, that tag will be automatically saved for future usage.
Step 3: Saving
Finally, click Save to apply all the changes you made.
Conclusion
To sum up, the writing above is my instructional writing on the topic how to add a tag on Shopify. I hope my writing would be helpful for you and your store. To find others writing like this one, please check out our posts on productivity tools.


