
How to Add a Package Type on Shopify

Before your first delivery on Shopify, it is necessary to set up a few fundamental features including adding a shipping origin address and the package types you want to use.
Stores located in the America and Canada could preset their preferred types of delivery package, including package dimensions and weights. This could be simply done in the Shipping settings page in your Shopify admin.
Tip
Having the packages dimensions and weights set up before delivering a product will increase the accuracy of the calculated shipping fees.
Below, you would expect to find the detailed instruction with illustration on how to add a package type on Shopify.
How to add a package type
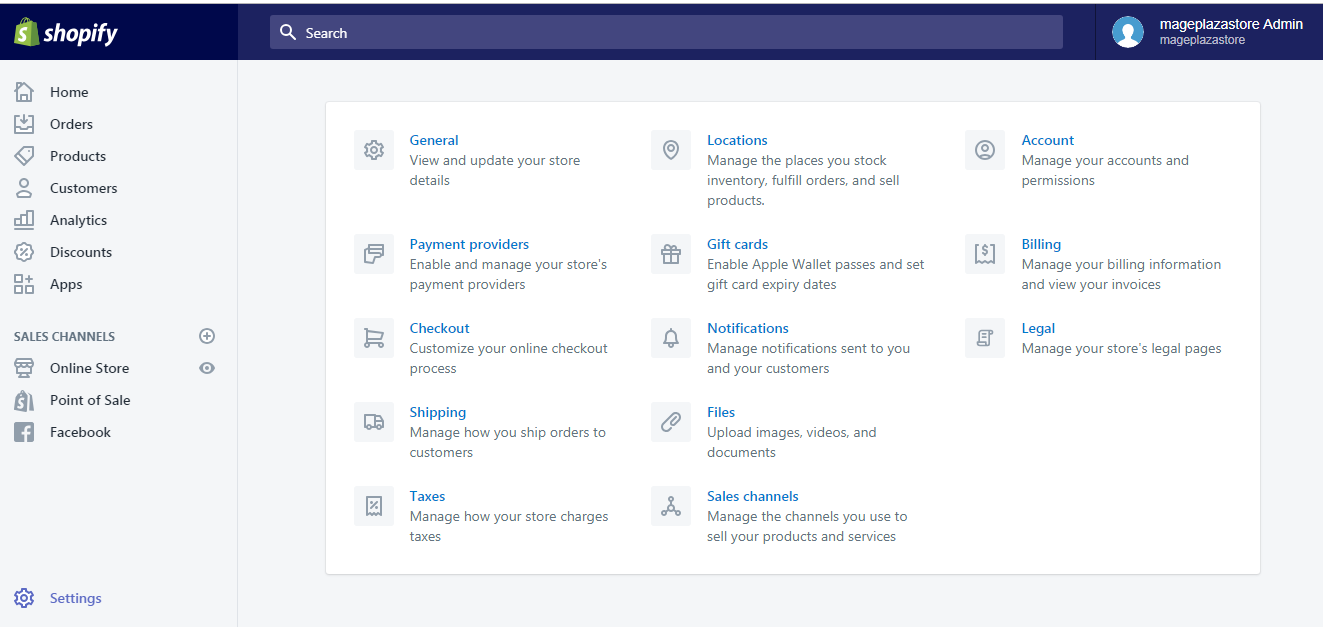
Step 1: Go to the Shipping section
First, log in your Shopify account, go to the Settings section in your bottom left corner and select Shipping.
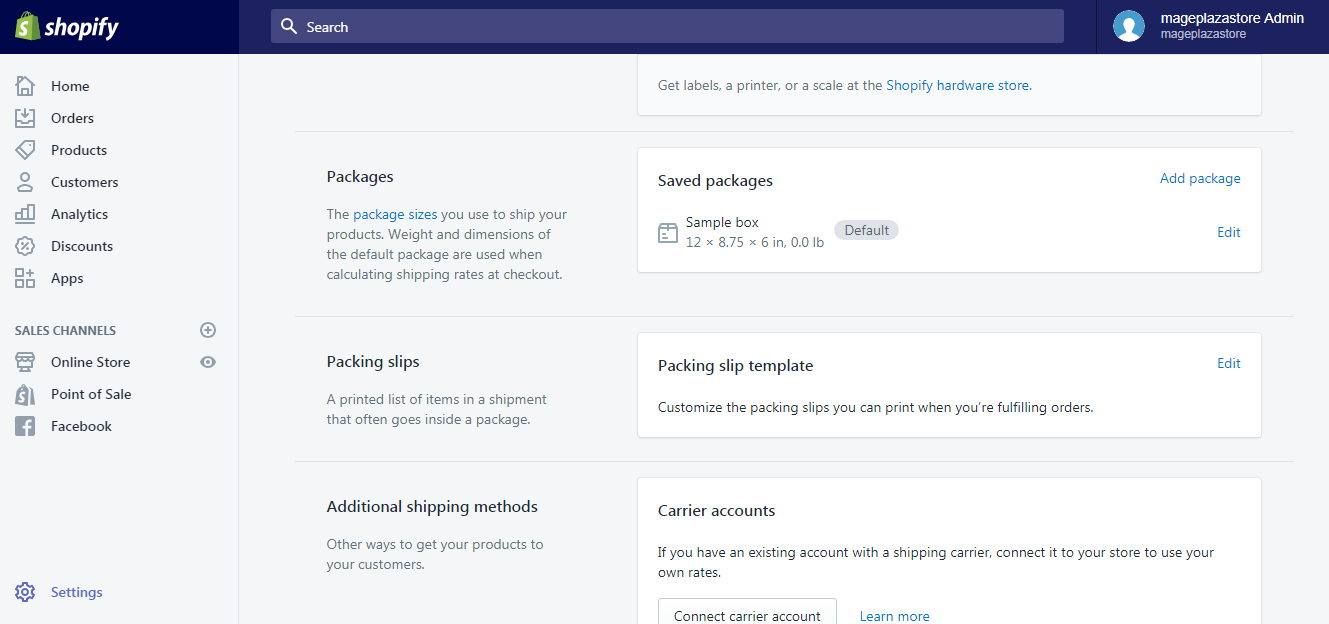
Step 2: Select Add package
Scroll down to the Packages section, then select Add package:
Step 3: Customize your packaging
In the Custom packaging section, customize your packaging by selecting a preferred type of package and entering package size, as well as giving it a name to distinguish it from other saved packages.
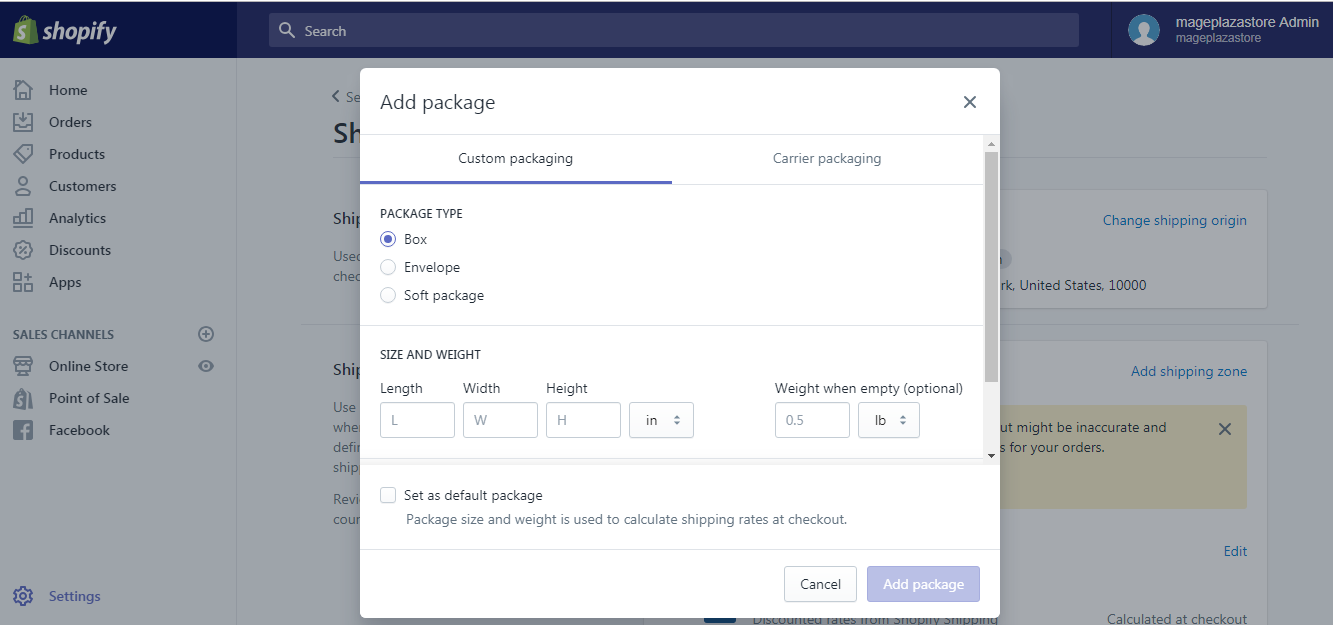
Note:
There are particular types of mail that restrict the size of the packages used to ship your products. However, you will be notified about this size restrictions through a pop-up notification as soon as you create a new package type.
Tip
USPS flat rate packing could be used instead if your store is U.S. based.
Step 4: Click Add package
Finally, click Add package when you are finished.
### To add a package type on iPhone and Android
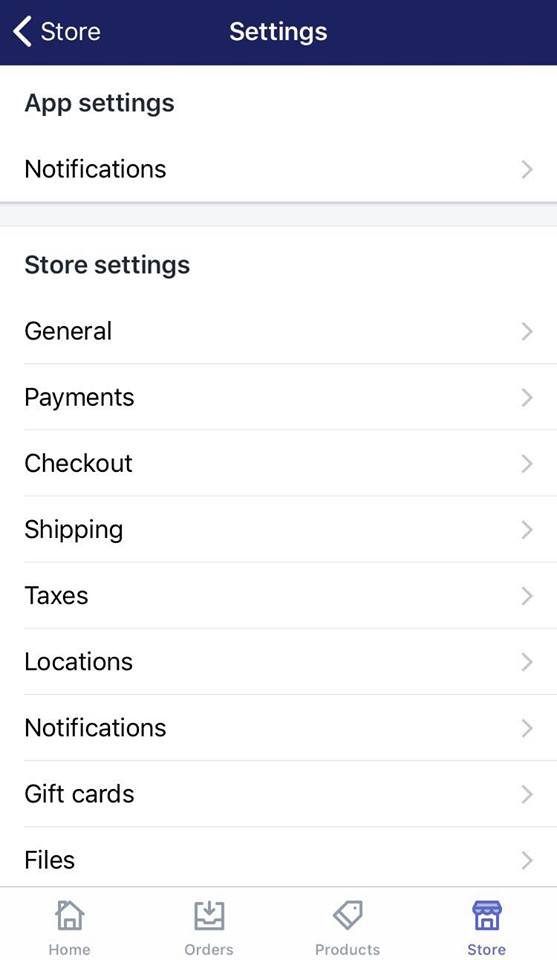
#### Step 1: Go to Settings
After logging into your Shopify account, go to the Store symbol in the bottom right corner and select Settings.
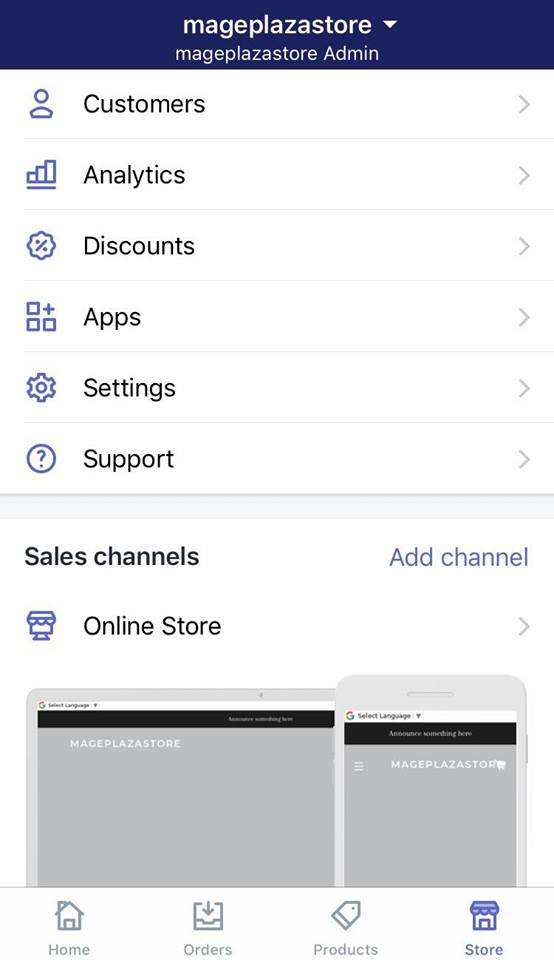
Step 2: Go to Shipping
Next, in the Store settings section, a list of settings available to customize your store will be shown. Tap ‘Shipping’.
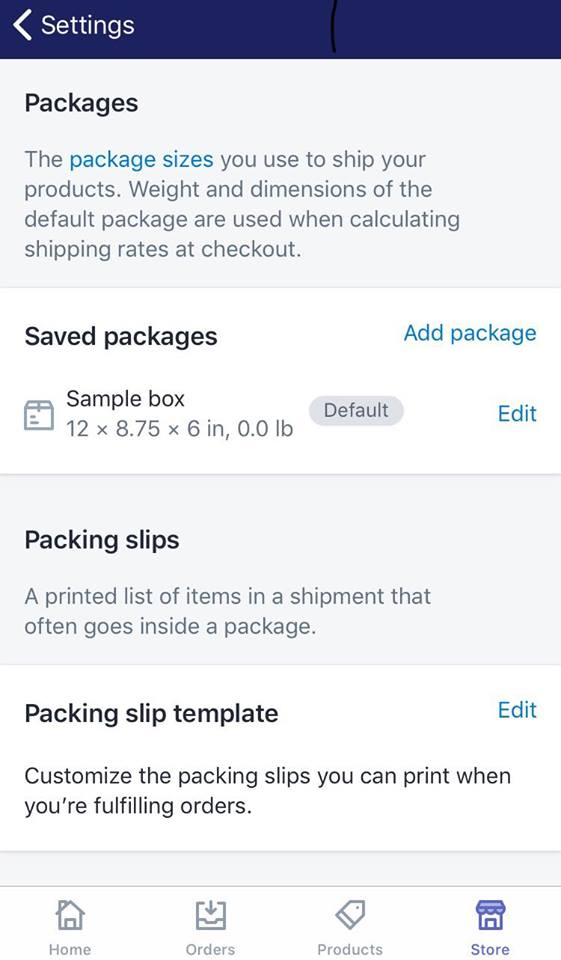
Step 3: Tap Add package
Swipe down to the Packages section, then select Add package:
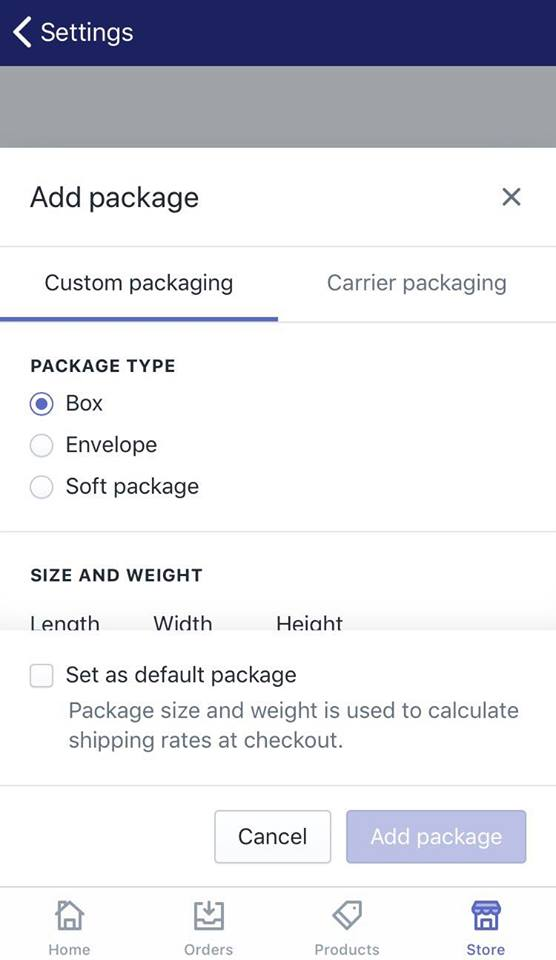
Step 4: Customize your packaging
Next, under Custom packaging, provide all the required information to customize your packaging, as well as give it a name to distinct it from other saved packages.
Note:
The size of the packages you use to ship your products might be restricted by some particular types of mail. However, you will be notified about this size restrictions through a pop-up notification as soon as you create a new package type.
Tip
It is also possible to add USPS flat rate packing if your store is based in the U.S.
Step 5: Click Add package
When all the required information is filled, click Add package to finish customizing your package type.
Conclusion
The above information is a detailed guide with illustration on how to add a package type on Desktop, iPhone, and Android. I hope you find it of great assistance in optimizing your shipping experience. For further information, check out our Shopify tutorials.
Related Posts:


