
6 Steps to Add an Image to a Blog Post on Shopify

As you might already know, adding images to the blog post can make your post more attractive. There are lots of images you can add to your post on Shopify, such as product images. Take note that only JPG is accepted as the best type for the images of your blog post. Hence, in this article, you will be shown how to add an image to a blog post on Shopify on Desktop, iPhone, and Android.
Related Posts:
- How to add alt text to product images on Shopify
- How to adjust the contrast, brightness, and white balance in an image on Shopify
- How to add an image to a new variant on Shopify
- How to add images to existing variants on Shopify
- How to change the featured image of a collection on Shopify
- How to change the featured image of a collection on Shopify
- Add a Product Image on Shopify
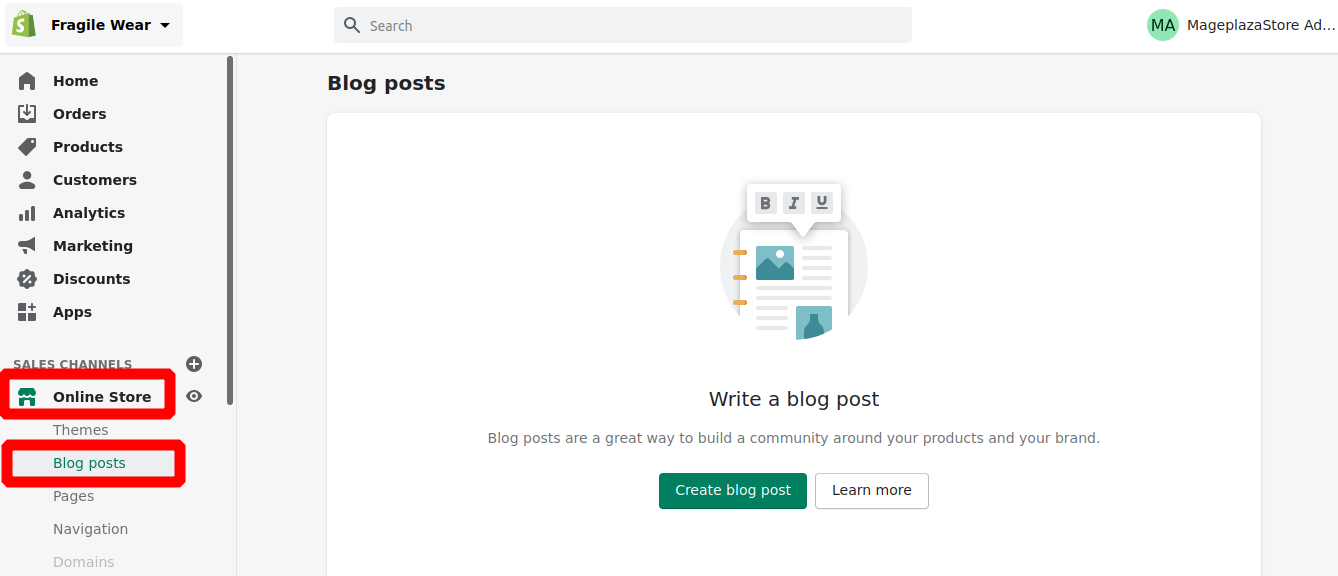
Step 1: Go to Online Store > Blog Posts.
The first thing you need to do is to select Online Store > Blog Posts from the shopify admin.
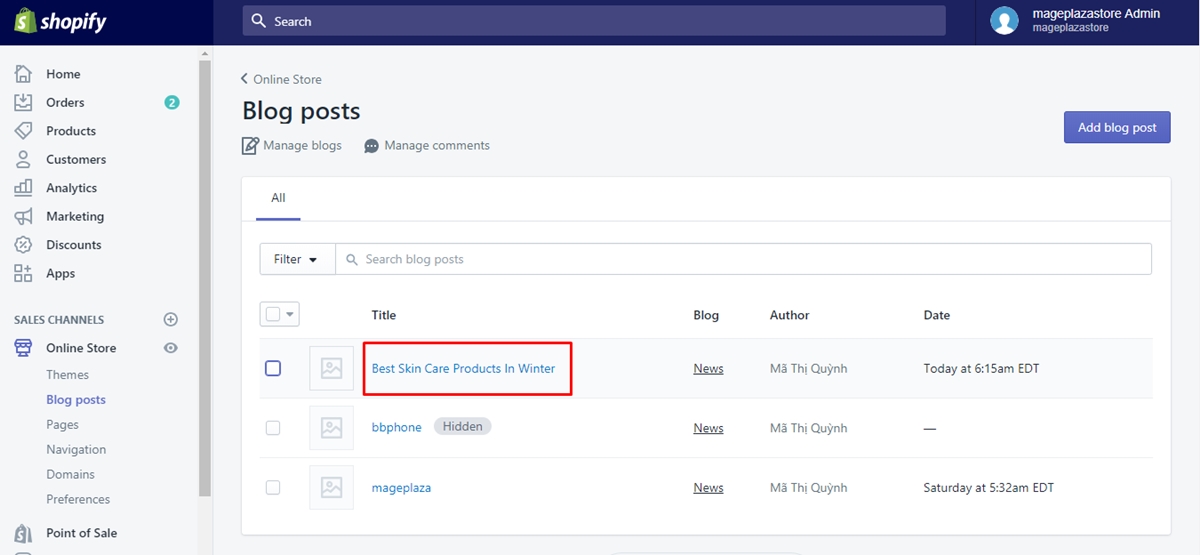
Step 2: Create a blog post or choose the existing one.
In this step, you can create your new blog post or choose the existing one.
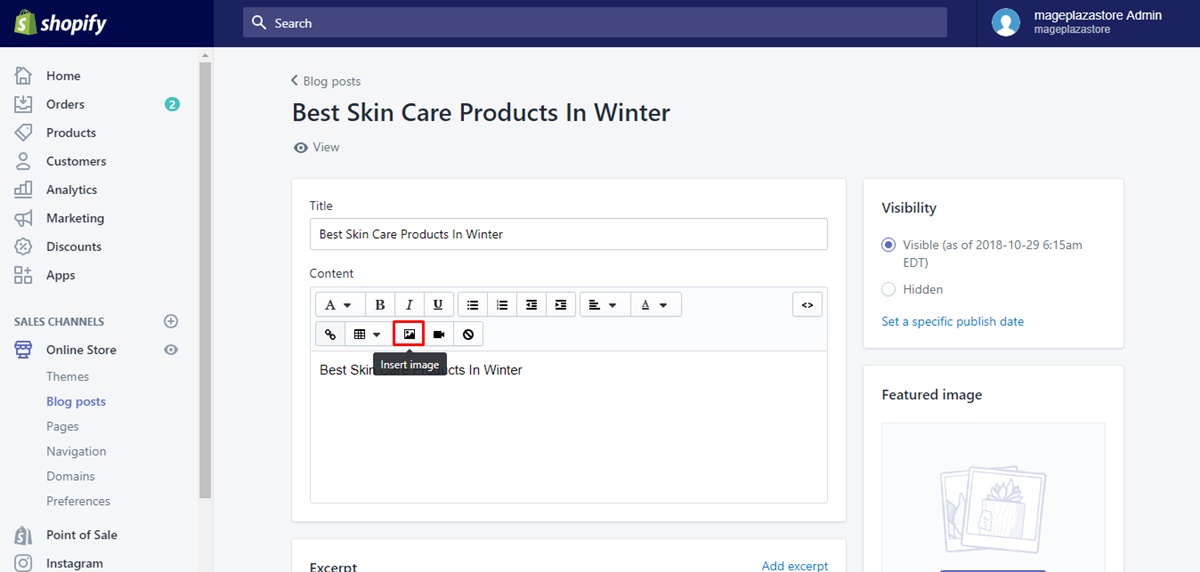
Step 3: Select the Insert image.
Next, you can select the Insert image from the Content field.
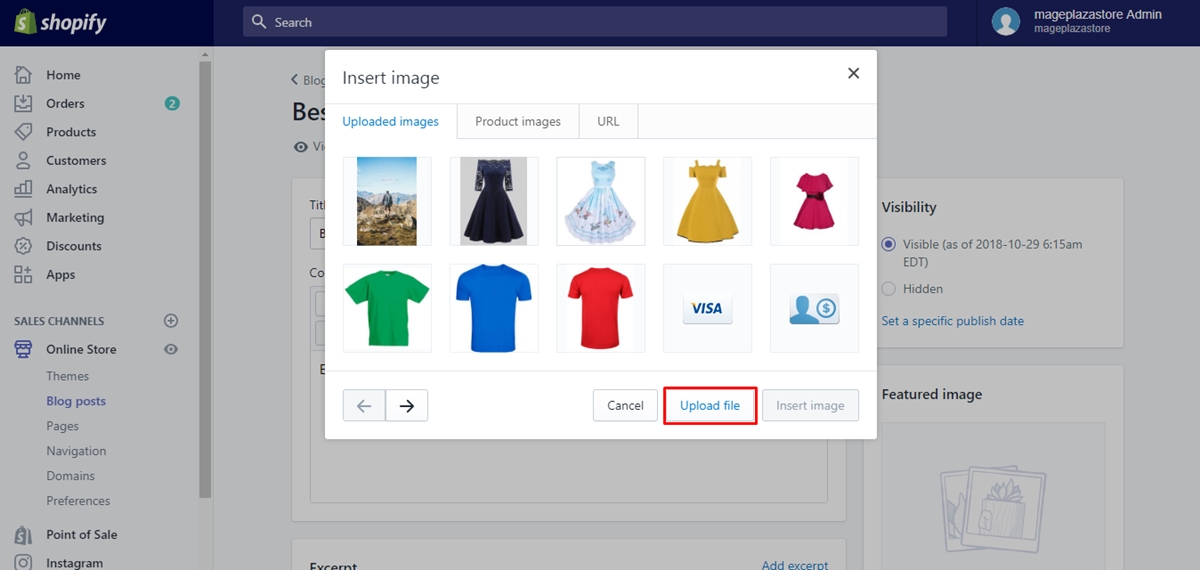
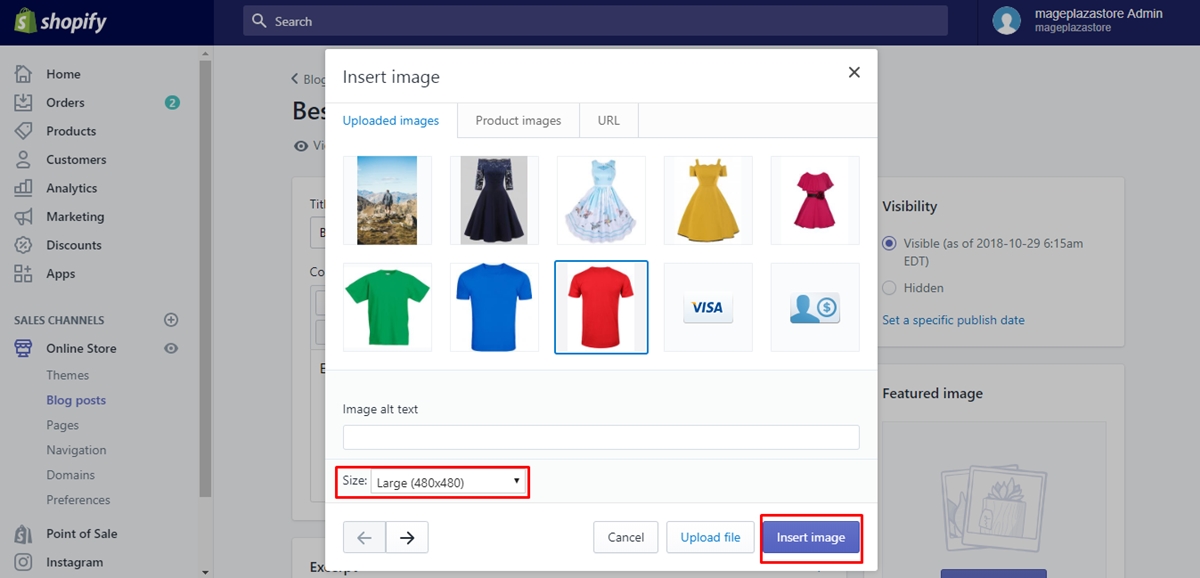
Step 4: Post your images.
Then, you can opt for the picture or image or click Upload file to post your images.
Step 5: Choose the image’s size.
You can choose the image’s size from the Size drop-down list.
Step 6: Click Insert image.
To complete your work, you can click Insert image.
To add an image to a blog post on iPhone (Click here)
-
Step 1: Tap Store.
Firstly, you can tapStorefrom your Shopify app. -
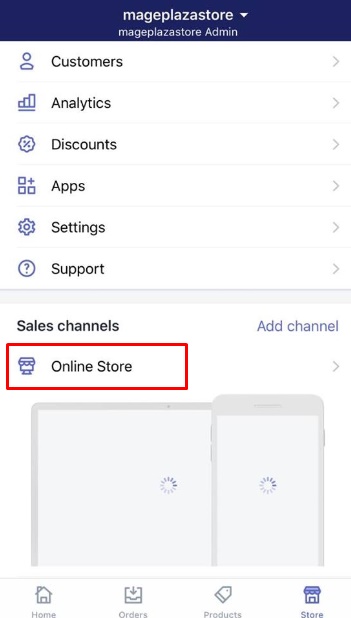
Step 2: Tap Online Store.
TapOnline Storefrom theSales channelsfield.
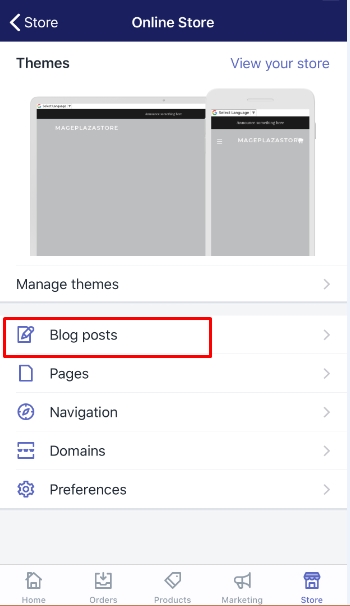
- Step 3: Tap Blog posts.
In this step, you can tapBlog posts.
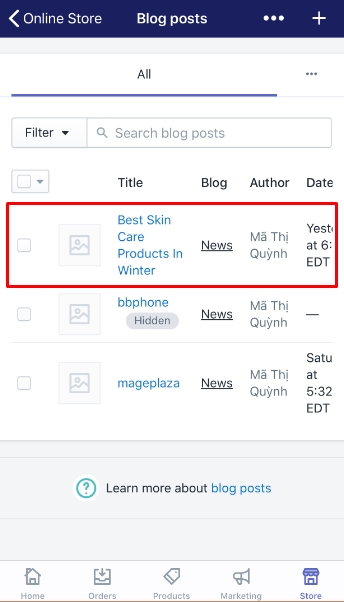
- Step 4: Add a new blog post or tap an existing one.
Next, you can add a new blog post or tap an existing one.
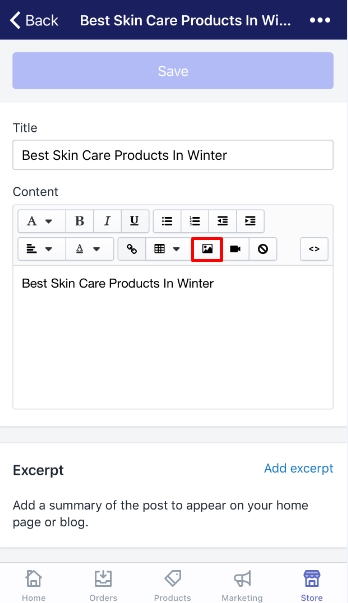
- Step 5: Tap Insert image from the
Contentsection.
To continue, you can tapInsert imagefrom theContentsection.
-
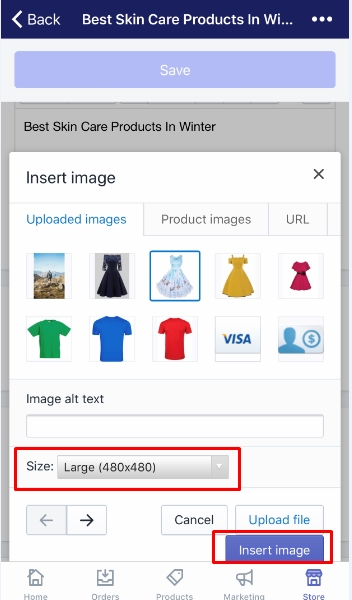
Step 6: Choose the image or upload a new one.
Choose the image or upload a new one to keep going on. -
Step 7: Tap the size you want to edit.
Tap the size you want to edit in the Size drop-down list. -
Step 8: Select Insert image.
To finish your work, selectInsert image.
To add an image to a blog post on Android (Click here)
-
Step 1: Touch Store.
With Android, you can tapStorefrom your Shopify app to start. -
Step 2: Touch Online Store.
TouchOnline Storefrom theSales channelssection. -
Step 3: Touch Blog posts.
Then, touchBlog posts. -
Step 4: Make a new blog post or touch an existing one.
In this step, you can make a new blog post or choose an existing one. -
Step 5: Touch Insert image from the
Contentfield.
You can touchInsert imagefrom theContentsection. -
Step 6: Select the image or post a new one.
Select the image or post a new one by clickingUpload file. -
Step 7: Touch the size image you want to upload.
Touch the size image you want to upload in the Size drop-down menu. -
Step 8: Go to Insert image.
The last thing you need to do is to go toInsert image.
Conclusion
With these above steps on how to add an image to a blog post on Shopify, you can add an image to your blog post without seeking for any help.


