
5 Steps to Add Comments to Timeline on Shopify

As an ideal e-commerce platform, Shopify provides each user with a Timeline to do the internal affairs. For example, you are able to take a view of histories in Order’s Timeline and leave comments. In this post, I’ll take you through how to add comments to Timeline. Thanks to this, you can still know about the order’s information or its problems without remembering all of them. Moreover, your staffs can aware of the comments you’ve left so that you don’t have to tell them directly.
Below is the transparent guide for you to take steps.
Related Posts:
- How to mention staff members on Timeline on Shopify
- How to link and embed orders, transfers, customers, or products on Timeline on Shopify
- How to attach files to your Timeline on Shopify
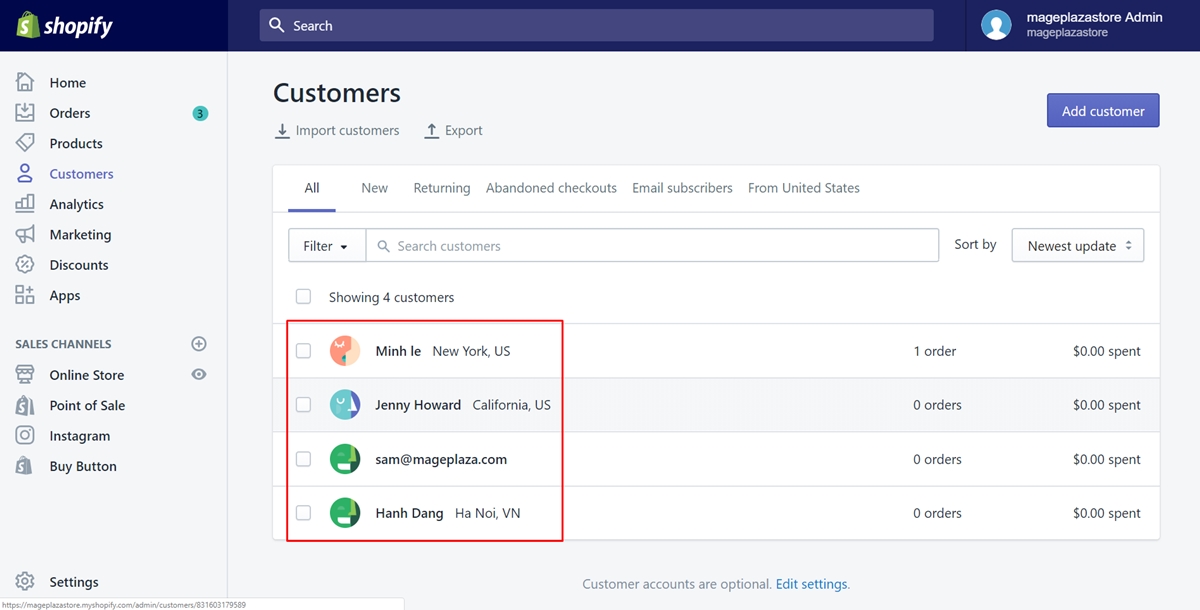
Step 1: Select Orders, Customers or Products
Make sure to access the admin page by signing in your Shopify account. Afterward, decide which parts you prefer to add comments such as Orders, Customers or Products. Look at the left of the screen and choose one of them.
Furthermore, the following keystrokes I’ve prepared may help you save the time:
- To choose
Orders: press theGandOon the keyboard at once.
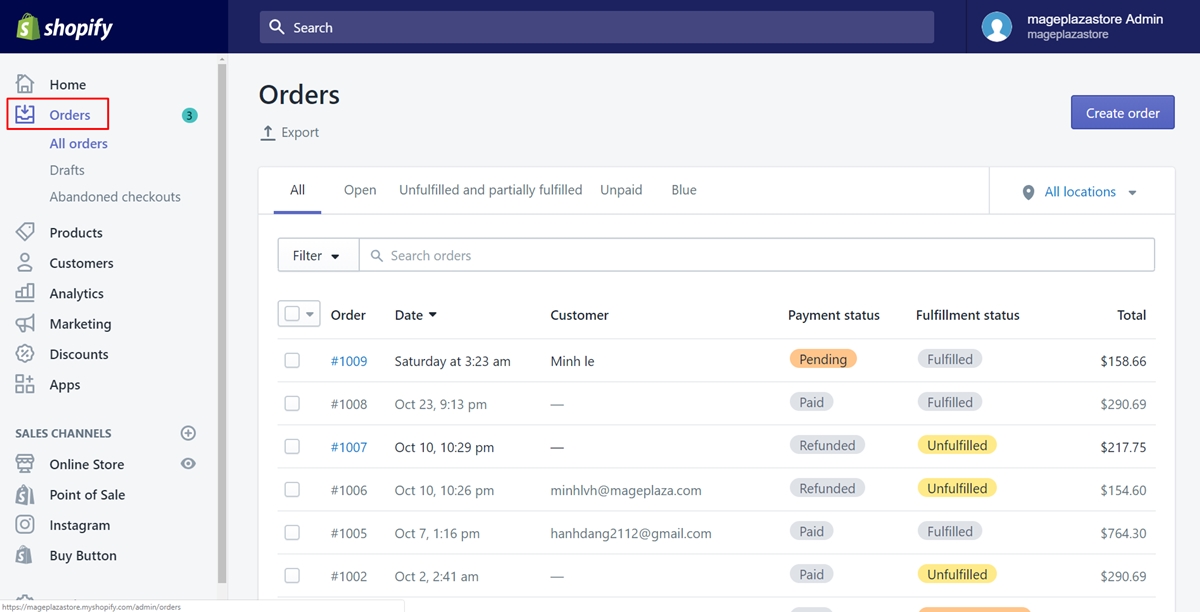
- To choose
Customers: press theGandCon the keyboard at once.
- To choose
Products: press theGandPon the keyboard at once.
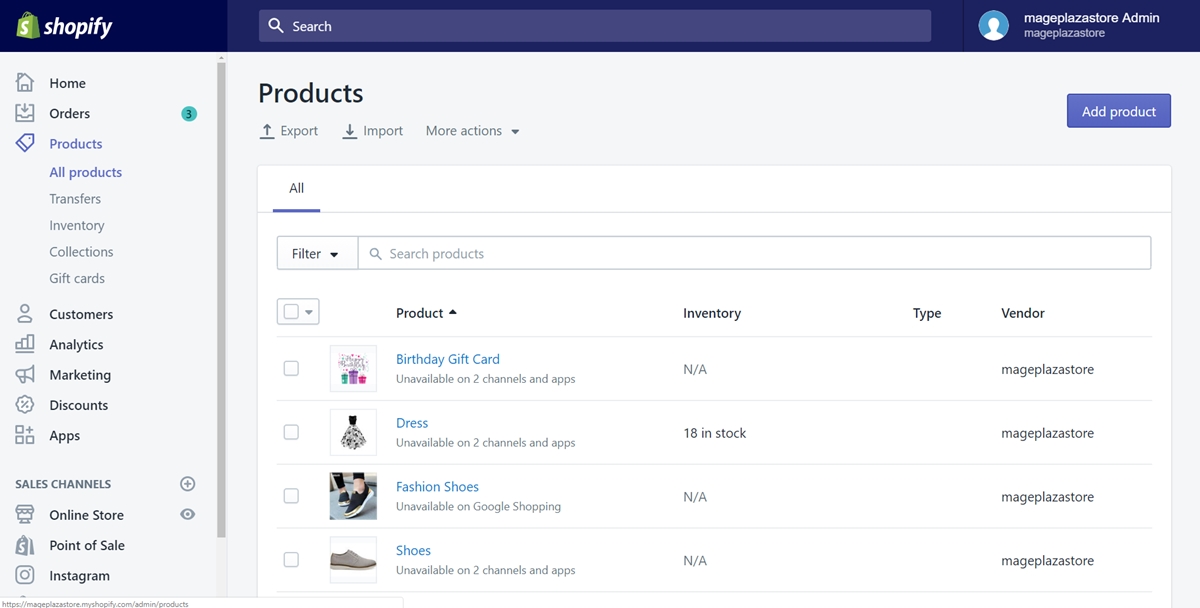
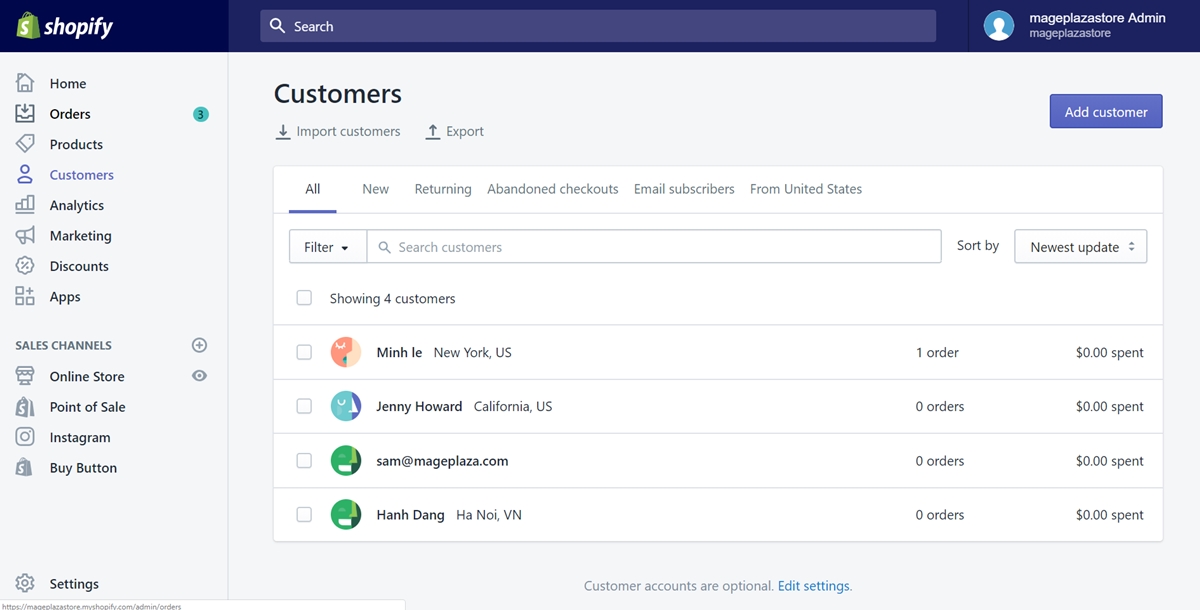
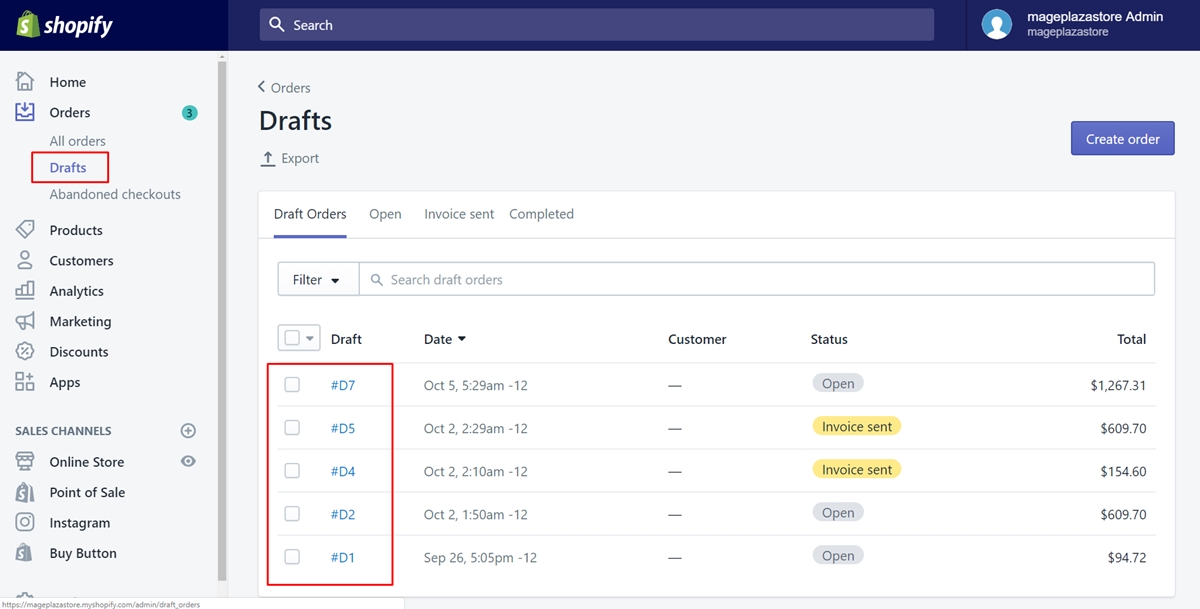
Step 2: Choose the section to add comment
In this step, you have three options to do:
- If you’ve chosen
Orders, you can add the comments to your orders and draft orders. To leave the comment to a specific order, tap on the name of the order. Or else, press onDraftsto select the draft orders to add comments.
- If you’ve chosen
Customers, choose the customer you expected by tapping on the name.
- If you’ve selected
Products, make sure to go toTransfersto view all the transfers you had. Then, choose one of them to add a comment.

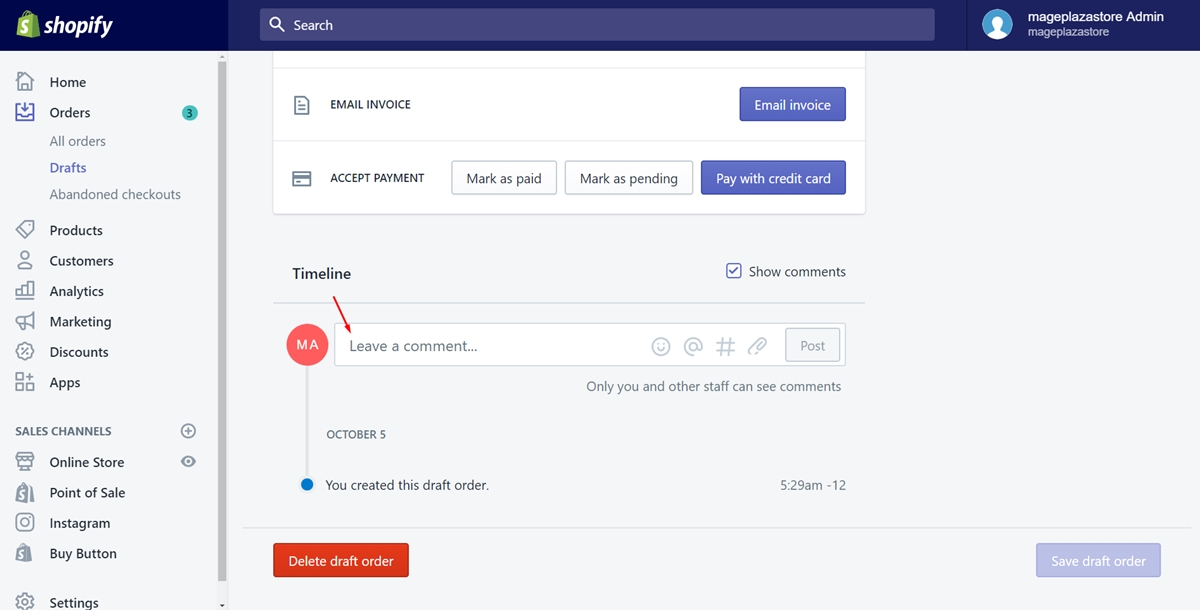
Step 3: Tap on the Leave a comment textbox
Scroll down to the bottom of the page to find the Timeline section. There is a textbox called Leave a comment. Tap on it to continue.
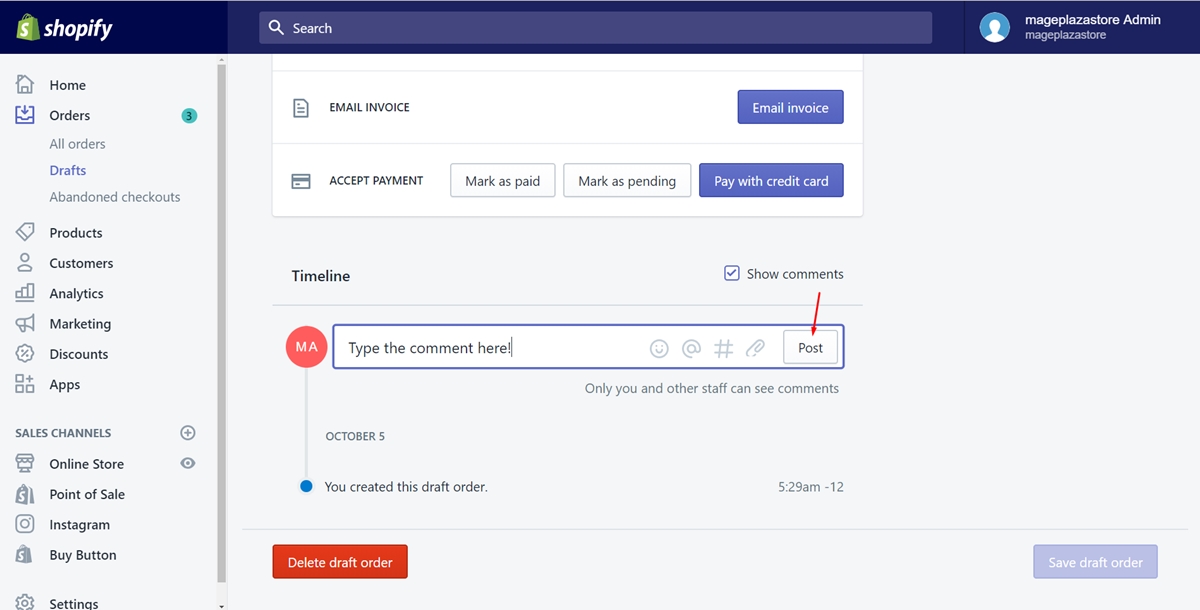
Step 4: Type the comment
In this step, work with your own mind to enter the satisfied comment. Link to staffs, orders, customers or products if you want.

Step 5: Select Post
Press on Post to add the comments successfully.
Summary
After reading this, hope you will know how to add comments to Timeline in an effective way. I’ve prepared the attached photos to show you more clearly. If you want to make the Timeline creative, you may prefer to visit the post about how to use emojis on Timeline.


