
How to Edit Tags in Shopify

When it comes to managing your products and orders, creating and editing tags in Shopify are very important tasks for better inventory control. Your customers will not see the tags but if you don’t use tags for your ecommerce store, it would be very hard to categorize and search for your goods when necessary.
Basically, a tag would link to a certain group of items on your website. However, during the management of your stock, there could be several changes in these items. You may also have got some mistakes that make you want to add, remove or edit the tags. These changes should be made instantly in order to reduce any further issues.
So how to edit Shopify tags within just several clicks? This article would show you in a very detailed way so that you can easily manage your tags on Shopify from now on.
What are tags in Shopify?
To begin with, let’s have a look at what the tags really are and how useful they are when used on your Shopify sites. Tags are used to label groups of items including products, orders, draft orders, customers, transfers and so on. This would help to filter and search something quickly by just typing entering the tag’s name in the search bar. One tip to use Shopify tags effectively is to add tags from related groups of items so that you can see all of them at once, such as products from the same distributor.
How to edit tags in Shopify
There are several basic actions you can do to edit tags in Shopify including creating, renaming and removing the tag. Moreover, you will also be given the exclusive tips to bulk edit tags with Power Tools. This will surely save up lots of your time on trivial tasks.
Create new Shopify tags
You can add tags to products, transfers, orders, draft orders, customers and blog posts. Here is how you can add product tags. Other types of tags can be done in the same way.
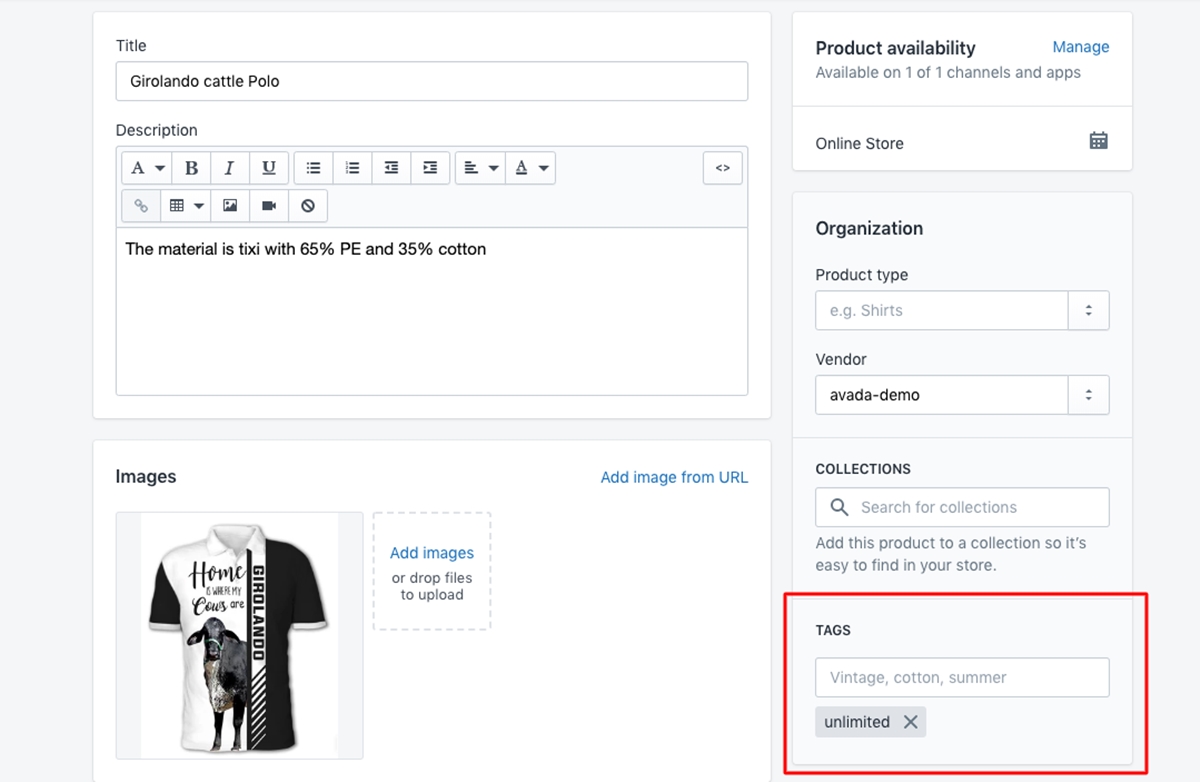
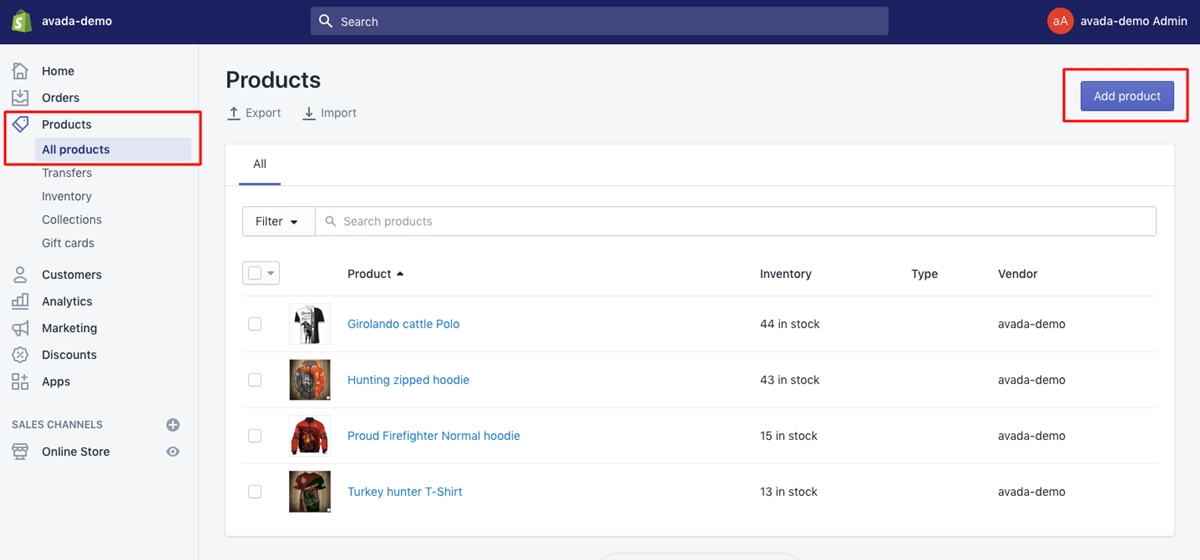
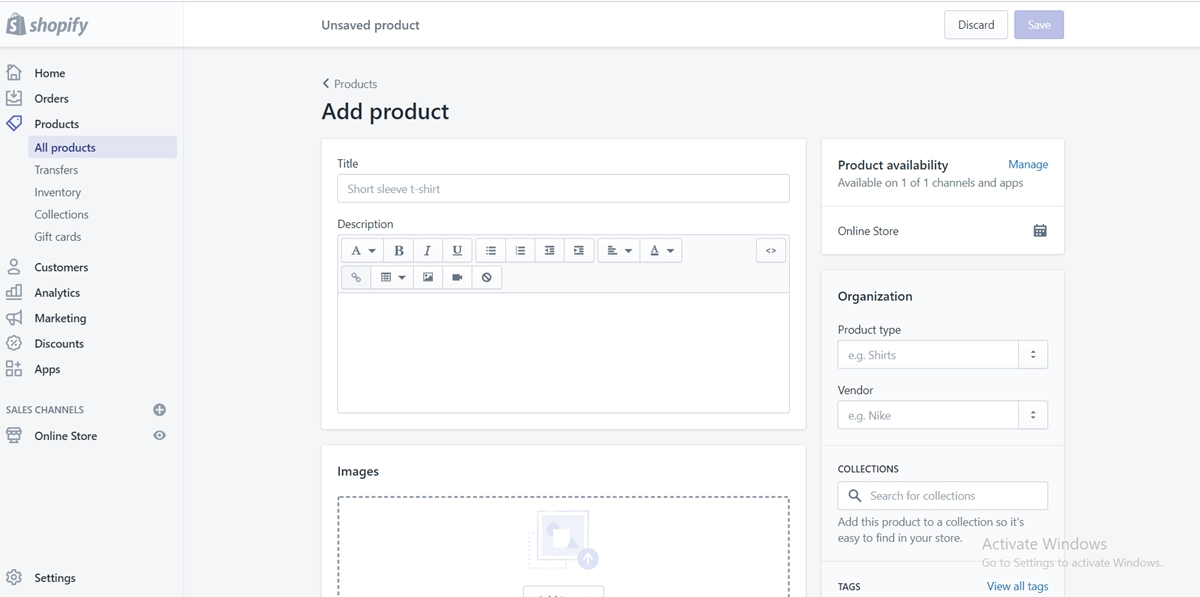
Step 1: Select Add a product or Edit products
To add a tag, go to Admin > Products > All products, select Add a product or Edit products the existing one:
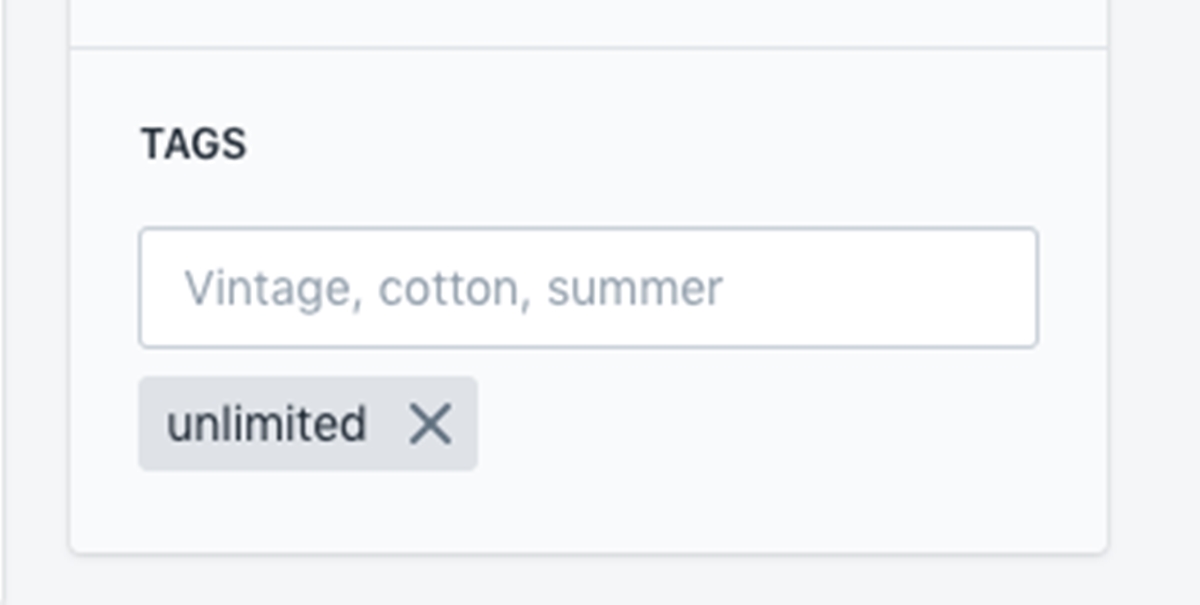
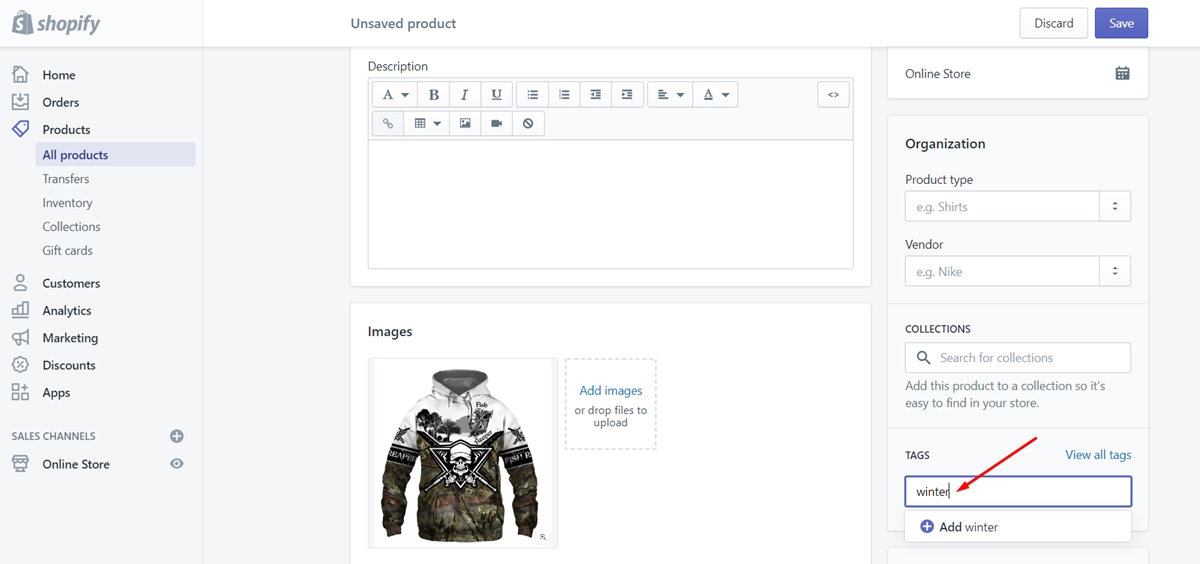
Step 2: Enter tags
In the Tag section, enter the product’s tags. Use a comma to separate different tags.
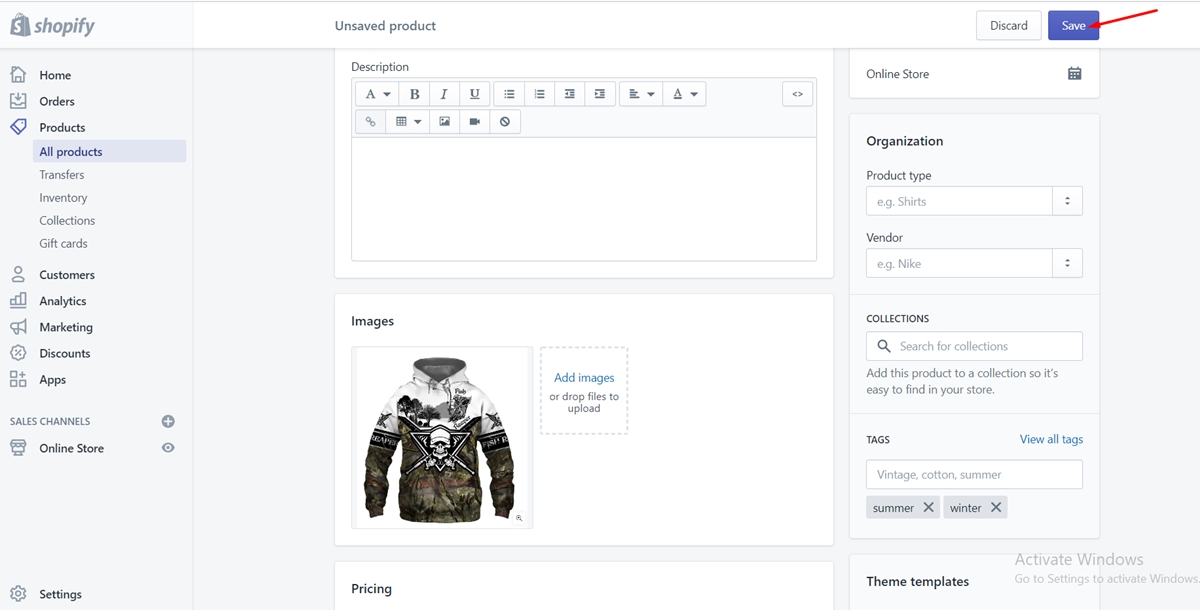
Step 3: Save
Save the changes.
Remove a Shopify tag
Step 1: Open a page
Open the specific product, transfer, order, draft order, customer, or blog post details page in Shopify.
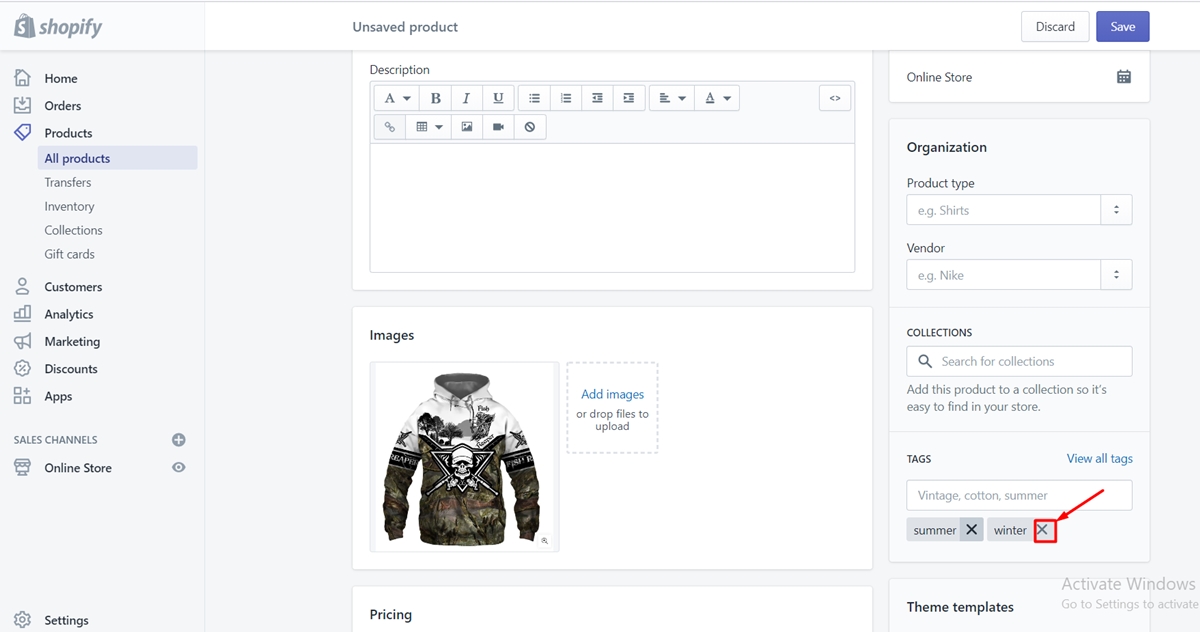
Step 2: Delete tag
In the Tag section, click the ‘x’ beside the name of a tag you want to remove.
Step 3: Save
Save the changes.
For more details, take a harder look at how to add or delete tags on Shopify.
What a shopify tags using for?
Tags can be very helpful when you want to label products, transfers, customers, orders, draft orders, and blog posts. Once you have added tags, you can search, filter, and be more organized. It is especially crucial when you run a store in the Shopify platform.
The tags may be invisible to your customers, but your Shopify store search utilizes tags to classify products and categorize search results for your shoppers.
You can also use tags for grouping related products, which enables you to edit them more speedily and easily. For instance, you can add the ‘Winter’ tag to your related items. When the winter ends, you can search for the ‘Winter’ tag on your Products page to have a list of winter items. Then, to hide them from your sales channels, you can make use of a bulk action.
Edit product tags
You can follow the simple steps below to edit product tags:
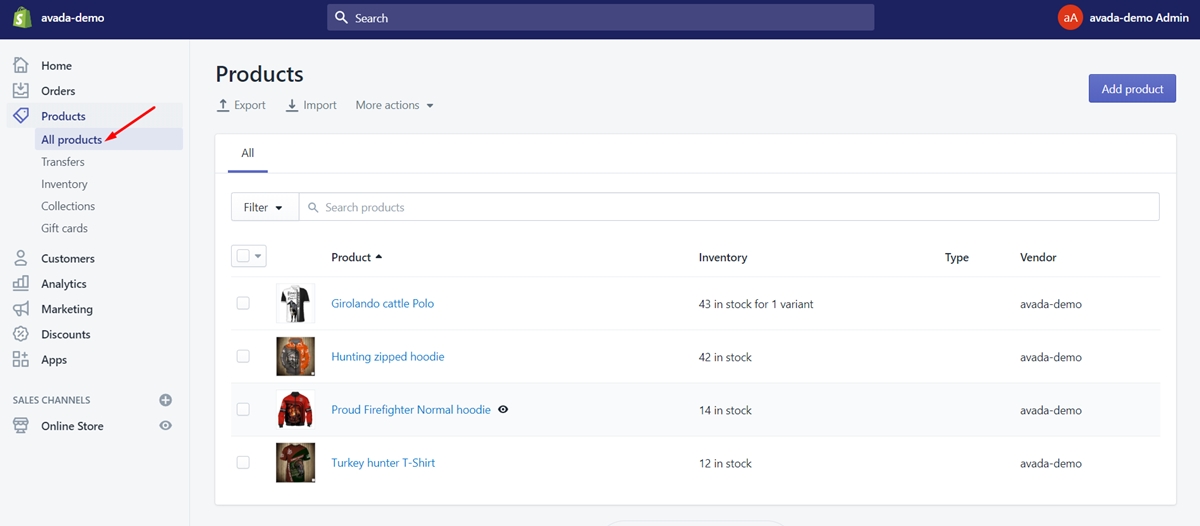
Step 1: Click Products > Product list
When you have logged in to your Shopify admin, go to the Products section, then click Product list.
Step 2: Choose Add a product or edit the existing one:
Step 3: Enter tags for your item
From the Tag section, you can type in the tags for your product. If you want to add more tags, you can use a comma.
Step 4: Edit/remove a tag
You can tap on the cross icon near the tag and substitute it with the one you consider necessary.
Step 5: Save the modifications
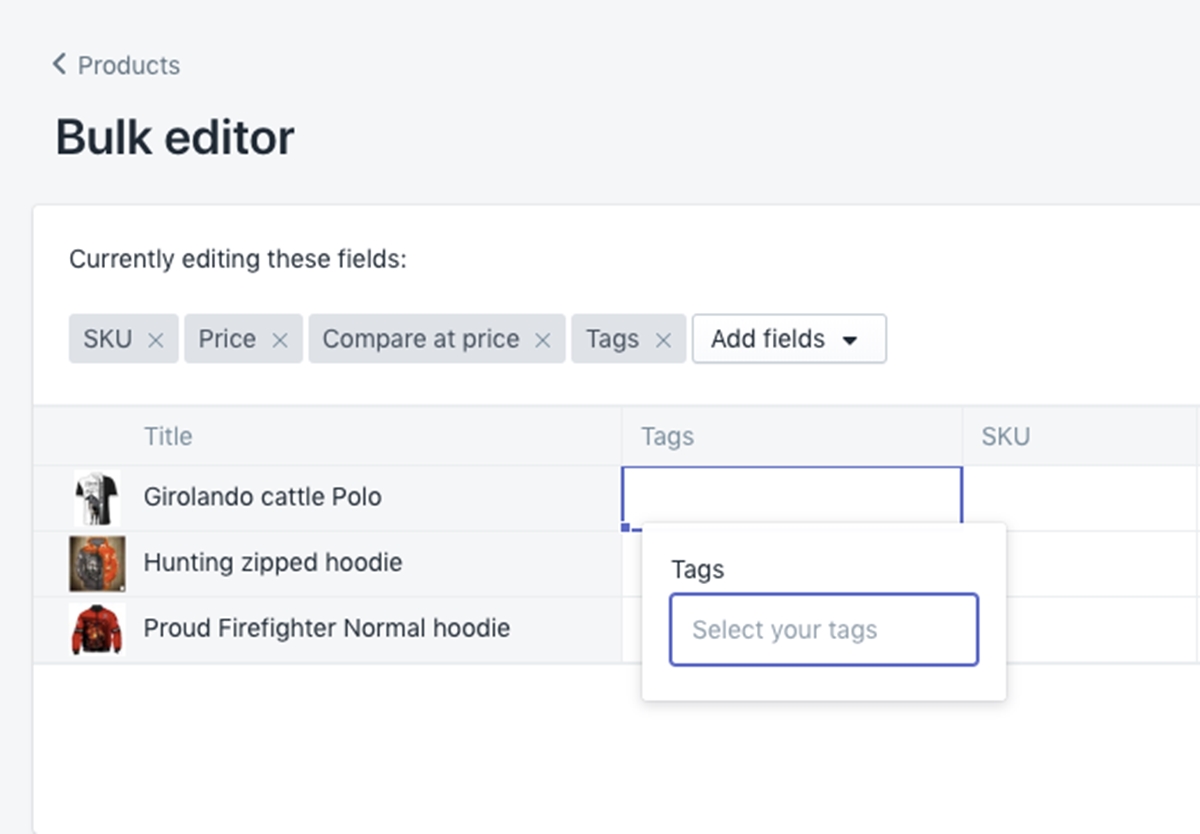
Bulk edit tags by Power Tools
If you are managing a store with hundreds or thousands of items, it would be tiring to edit all the tags by hand. Do it automatically with the free application Power Tools. The installation takes just a few moments and it would save you lots of hours from managing the tasks.
Change the name of a tag
There is not a direct way so that you change the name of the tag. However, you can follow this guide:
Step 1: Select products
Select all the products with the original tag.
Step 2: Create new tag
Use the bulk editor to create a new tag for the selected products.
Step 3: Delete old tag
Delete the old tag
6 Types of Shopify Tags
You would be able to add more than one tags for each section, namely Product, Transfer, Order, Draft order, Customer, Blog post. When a tag is created in a certain section, it won’t affect the others where tags are used. For instance, at the same time, you can use tags like packed or test to manage your orders and tax exempt or wholesale to manage your customers. Below is the description for each type of tag that you see in Shopify.
Products Tags
Products Tags are the most important tags in Shopify. You can use the product tags based on the product characteristics to certain groups of items to automatically build a collection or create a menu for filtering. This will be done from the Products page or the Inventory page. Plus, you can easily add, view and remove all of your product tags in the details page. Each product can be added up to 250 tags. When one visits your website and searches for any keyword that matches your tags, the results would come up with the tagged products.
Transfer Tags
Transfer Tags refer to any specific transfer in the details page. Here you can also add, view and remove the tags. As for filtering transfers using tags, go to the Transfer page.
Order Tags
Add and delete tags on the details page for a particular order. On the Orders page, search orders by their tags.
Draft Order Tags
Create and delete tags on the list with information on specific draft orders. View all of the draft order tags on the details page. When a draft order is created, its tags are passed to and added as order tags.
Customer Tags
In respective details pages, insert and delete tags for specific customers. View customer tags from every customer information site. On the Customers page, you can also filter customers by their tags.
Blog Post Tags
Add and remove tags on your details page for a particular blog post. Filter your posts by tags on the Blog posts page.
Conclusion
Mentioned above are the most common actions for editing Shopify tags. We hope you can easily create and edit tags in Shopify now. As you can see, it is not very difficult to manage the tags but the results that they bring you is obvious. There’s no need to scroll over and over again to find the item you want to.


