
How to Delete all Products from Shopify

If you are a newbie to Shopify, you might want to delete all products from Shopify, and then maybe upload new products. However, it seems to be a kind of challenge to eliminate all items from Shopify. This process may require time and effort.
Luckily, in this article, you will find an easy step-by-step instruction to delete all products from your Shopify store. This effective method is like a lifesaver and will help you save a lot of time.
Related posts:
- How to Remove a Product on Shopify in 4 Simple Steps
- How to Pause your Shopify store on Shopify
- How to Hide One or All Products in Shopify
Why you need to delete all products?
Established ten years ago in Ottawa, Ontario, Shopify Inc is a platform for commerce that enables anyone to create an online store and promote their products. Shopify is now the dominant commerce platform for all types of businesses. It is a platform for commerce that enables anyone to create an online store and promote their products. Shopify is now the dominant commerce platform for all types of businesses.
To manage your products better, you must want to delete all products from Shopify quickly. It may be because the process of deleting product per request one by one is so time-consuming. Or you can delete them by operating on the admin page, but it also only 50 or 50+. It would be a massive burden to you if you have a large number of items listed on Shopify, and you want to eliminate all of them. Therefore, you should read our instructions carefully to delete all products from Shopify.
Delete products Using Shopify bulk actions
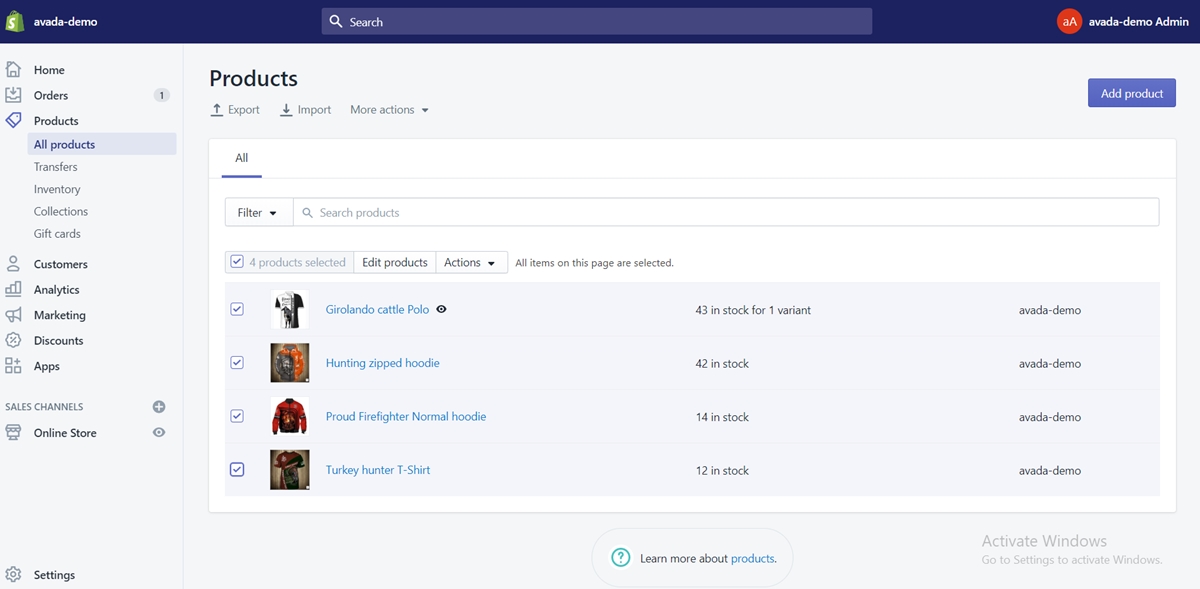
Select items to edit in bulk
You can perform bulk actions on many pages of the Shopify admin. For instance, you would be able to handle many orders, remove lots of files, or list many products contemporaneously. On many of your Shopify admin pages, namely Orders, Customers, and Products, you could use bulk actions. To plan for a bulk action, there are four methods to choose list items:
Manually choose individual products
Enter Shopify and log in to your admin account. Go to Products, then click on All Products. Click the button next to each item you want to select:
Choose a range of items
You can click to choose an item, hold the shift key, and then click on another item. By doing that, you will list the first and the last item you have selected, as well as all the items between them.
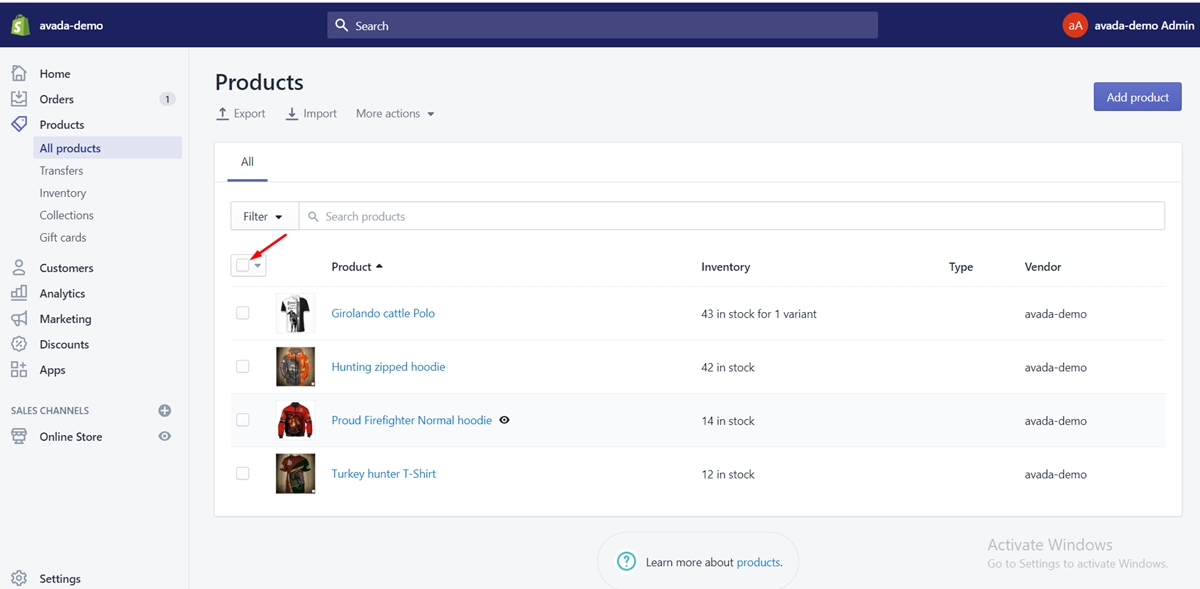
Select all list items on a page
At the head of most product lists, there is a master checkbox. You can pick every list item on a page by clicking on it:
Select all list items (50+)
You can also choose more than 50 items for a bulk action by clicking the master checkbox, and then tapping on Select all 50+ items from your store.
Choose a bulk action to operate in your Shopify admin
You could pick a bulk action to operate once you have chosen your list items.
Step 1: Choose Action
Tap on Actions button.
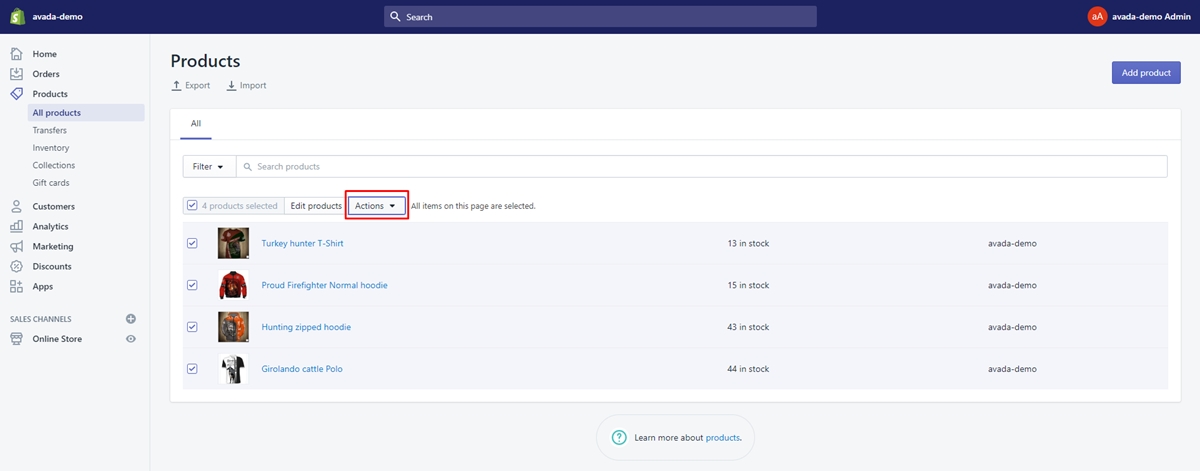
Step 2: Select Delete selected products
Tap on the action of your choice, in this case, Delete selected products
Step 3: Confirm
To delete list items, then confirm your choice by tapping on Delete.

Delete all Products using Shopify apps
Getting the most out of Shopify apps is also an effective method of deleting all products.
Bulk Product Editor & Syncby Ablestar
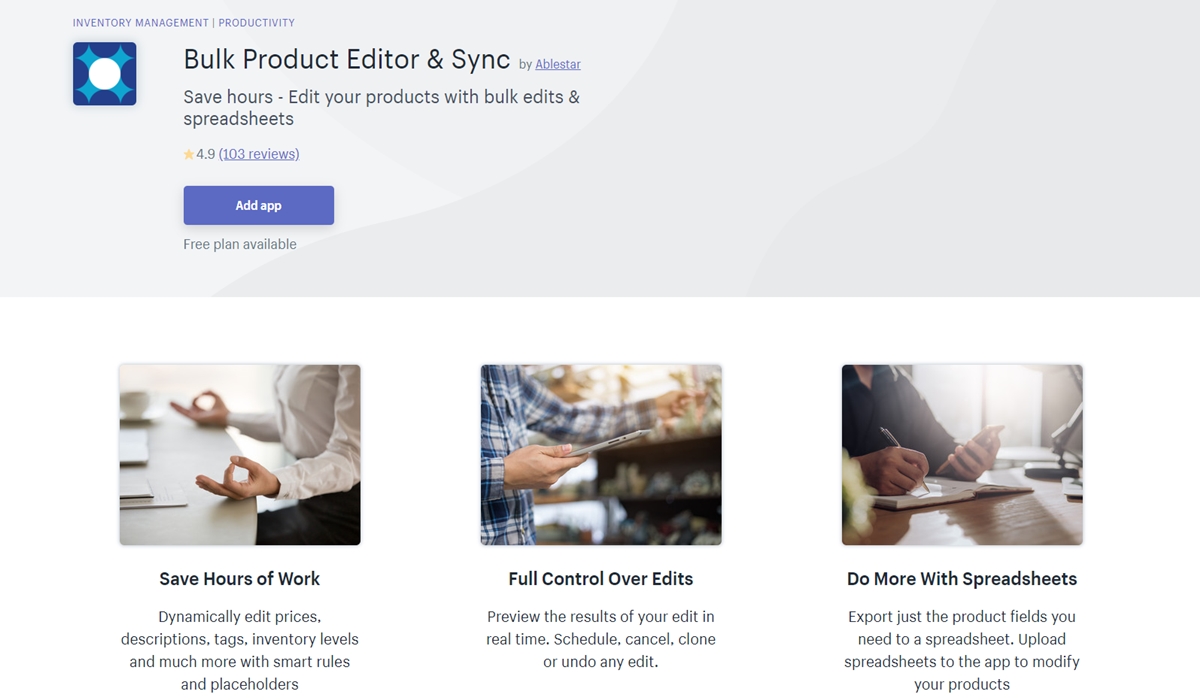
This Shopify app enables you to edit items in batch automatically and complete tasks that you would not be able to do. It can also help you delete all products in a Shopify collection.
Because the bulk Editor can not erase products directly (via the app, all edits could be incomplete), we will follow these simple steps:
Step 1: Activate the Bulk Editor app for Shopify
You can download it from the Shopify app store if you don’t have the app. The setup process is simple and goes with a three-day trial that has all the features. After the installation of the app, it will synchronize all of your products. Now, you are ready to proceed to the next step.
Step 2: Add a tag to all products in the collection
You can add a tag to all products in the selection that you want to delete since you have the app installed. We will apply the tag delete_item in our illustration to all items in the Collection Name collection.
- First, to filter all the items in the collection, use the
Filter Productscheckbox. When you notice the compatible items, click on theNextbutton: - Then, you can tap on Preview to preview the edit. A popup window will display the appearance of the edit.
- If everything looks fine, tap on the Run Edit button. The edit will run in the background. Dependent on the number of items, it might take several minutes to process:
Step 3: Use the Shopify admin to filter for the tag and delete all matching products
Since you already have the delete_item tag assigned, you can use the regular Shopify admin to erase the item.
- You can go to the products page of the Shopify admin by tapping on the Products link on the left menu. After that, make use of the
Filter Productsdropdown to search for all items with the delete_item tag. - Tap on the top checkbox to choose all items. If you have more than 50 items listed, then tap on
Select all 50+ products from your store. - Click on the dropdown arrow next to the
Edit Productsbutton and selectDelete selected productsfrom the dropdown menu: - Shopify will prompt you to verify you want to eliminate your items. Press
Deleteif you are sure you want to proceed. - Shopify will erase the items in the background once you tap on
Delete. Based on the number of items you have, it may take several minutes for them to vanish from your page.
Bulk Import Export Update Migrate by Excelify.io
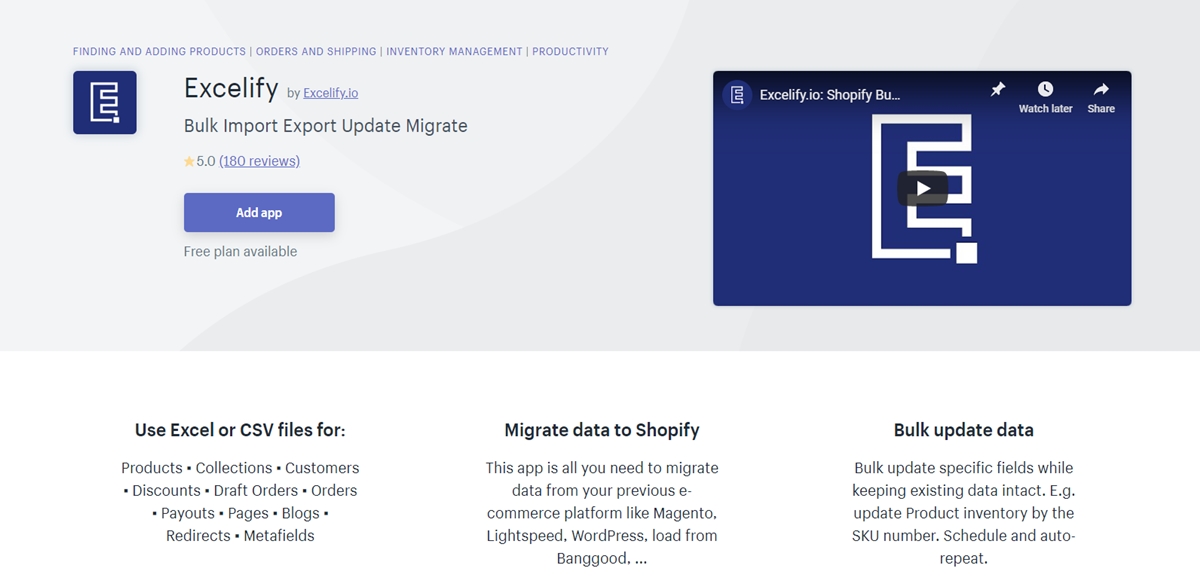
In situations where several items need to be removed on various sheets by criteria not available for scan, Bulk Import Export Update Migrate by Excelify.io is an easy solution to this. Therefore, you don’t have to browse from page to page. Using Identification, Handle, Variant SKU, Handle determined from Title, you can delete Items.
Step 1: Export Items to Excel
Export all products into Excel file with Bulk Import Export Update with Excel app.
Step 2: Set Command to DELETE
In the export file, you will SEE the column Command. Alter the value of this column to “DELETE” for the items you need to delete in bulk. Eliminate from the file all the other rows that you don’t want to delete so that your file will only retain the items that you want to remove. For example, with the same import, you can delete all products that are out of stock, and update all products inventory quantity that is still in the stock.
Step 4: Import updated file
Then, you can simply import the updated file that matches the template.
Not only that, you can also make use of the same method to delete any items: Collections, Customers, Orders, Discounts, Pages, etc.
Summary
Manually cleaning the product list from Shopify may not seem like a smart decision; therefore, we have provided you with a helpful guideline with simple steps to delete all of your products listed on Shopify. Hopefully, you will be able to do this effortlessly.
Furthermore, if you want to delete all items from Shopify to manage goods better, but you do not want to affect the SEO website, there is a smart tip to guide you about How to Hide One or All Products in Shopify. Read our article How to Hide One or All Products in Shopify right now.


