
How to Charge taxes on Shopify store

As an online merchant, you might have to charge taxes on your products, then report and submit them to the government. Despite complex and changeable laws and regulations, you can set up on Shopify to help you handle the most common tax calculations automatically. Also, you can install tax overrides to deal with some unique tax laws as well as situations.
To help you better understand taxes on Shopify, we would like to introduce you to the complete guide on how to charge taxes on Shopify.
Taxes in Shopify
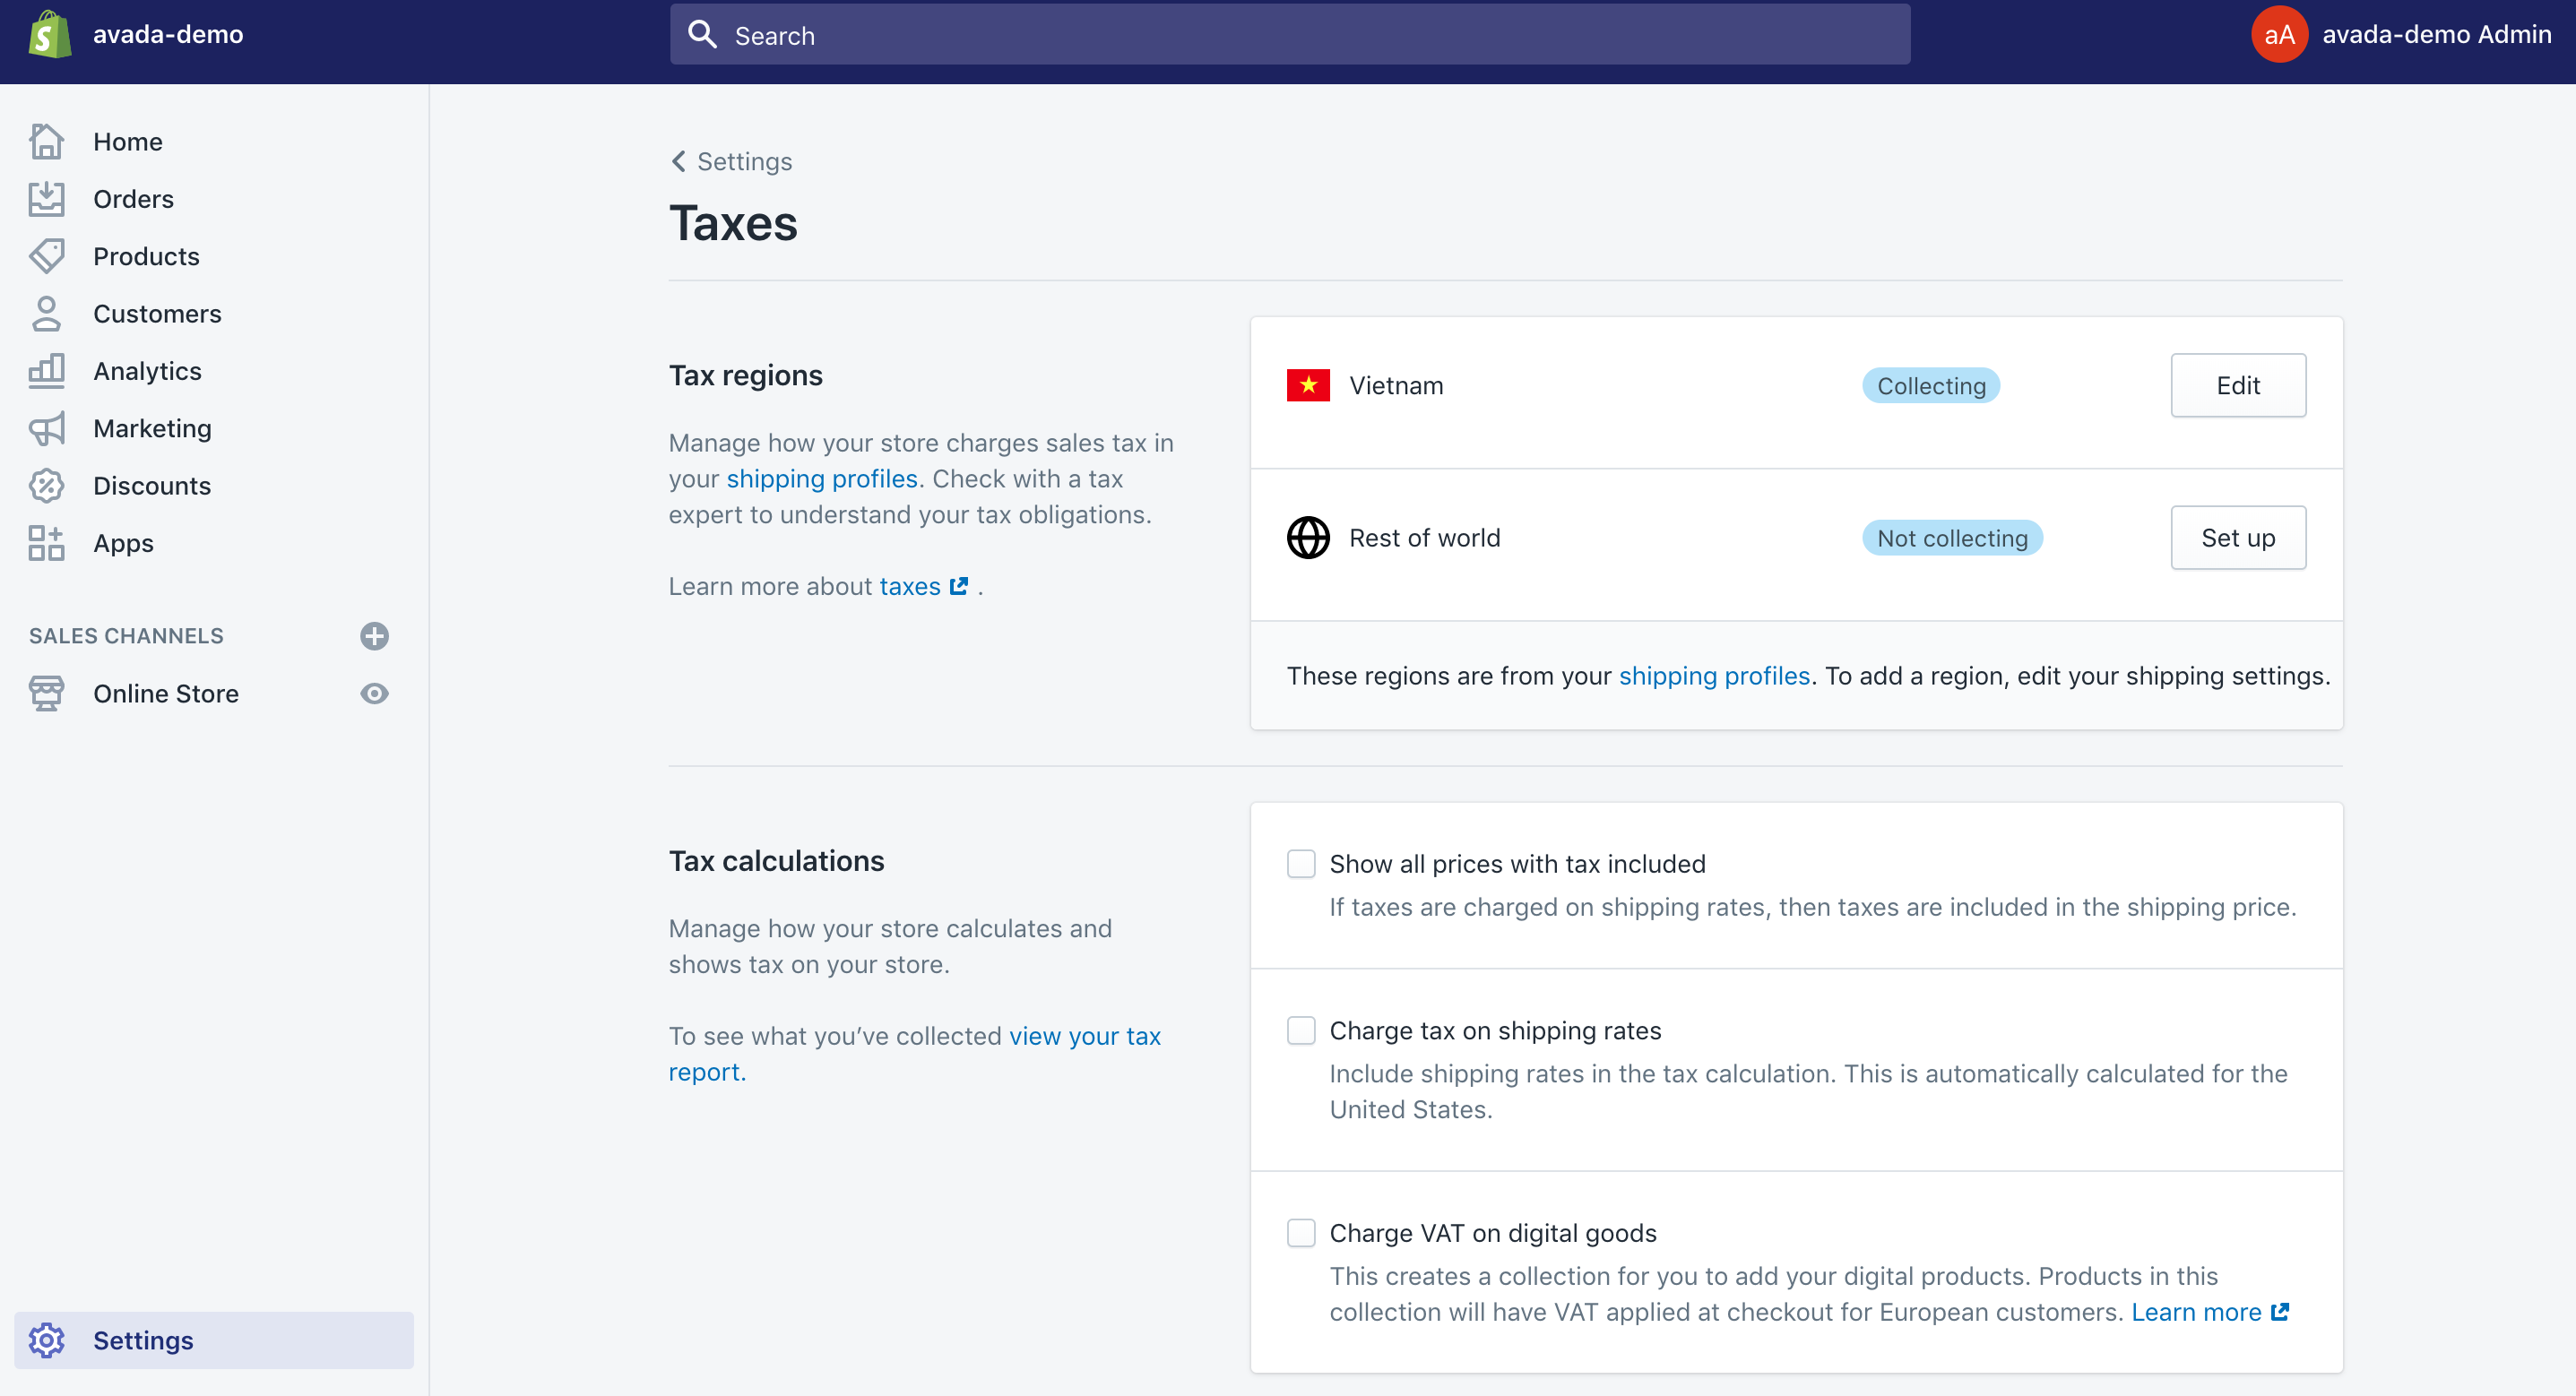
Shopify users are often given many default sales tax rates that are frequently updated. In case you are using the default rates, you are requested to confirm that they are correct for the particular circumstances. Taxes can sometimes be overridden if necessary.
Take note that this eCommerce platform does not remit or file your sales taxes. Instead, you must register your own business with your federal or local tax authority to make your sales tax be managed. The reports and calculation Shopify offers can make things easier as it comes to file and pay for your taxes.
Shopify store owners also need to check with their local tax authority or tax accountants to ensure that you are charging your customer’s correct sales tax rates and make sure that the taxes are correctly filed and remitted.
In this part, keep in mind that there exists no formal list of steps to aid you in setting up taxes; however, you can use the process as being shown below as a guide.
There are also a few reports to get you to file and submit your taxes or to give it to your own tax accountant.
General steps to setup taxes
To set up your taxes, let’s follow these simple steps below:
Step 1: Set up countries where you want to ship to
First, if you are running your online store, you need to set up countries where you would like your products to be shipped.
Step 2: Set up taxes based on the retail locations
Next, in case you are running Shopify POS to sell personally, you had better set up taxes which are based on your retail location. Take note that the POS tax rates will depend on the geographic location that your in-person sales are taking place.
Step 3: Set up tax rates in countries as well as some regions
After that, you should set up tax rates in countries or regions where you will sell your products and ship them to.
-
If you are in the USA, you can select setting up taxes automatically or specifying rates manually for this state, county or municipal taxes, consisting of shipping taxes.
-
If you are in Canada and have to charge taxes, all you need to do is to type your own tax registrations.
-
If you are not in the two above countries, then you can apply the default values and specify the rates for their countries and regions. At the same time, don’t forget to specify if you want to charge taxes on your shipment or not.
Step 4: Set up taxes to use on digital products
Then, if you are selling digital items, let’s set up taxes on those products.
Step 5: Override tax rates or exempt items from taxes
If necessary, it is important for you to override tax rates and exempt items from taxes. Keep in mind that any overrides you set to online sales, along with Shopify POS sales.
Step 6: Show your prices with taxes
This step is optional. You can show your prices with taxes included. As this option is activated, there will be no extra charge for taxes added to your customers’ checkout. Instead, a calculation can be done to decide what percent of the products’ price is actually taxed.
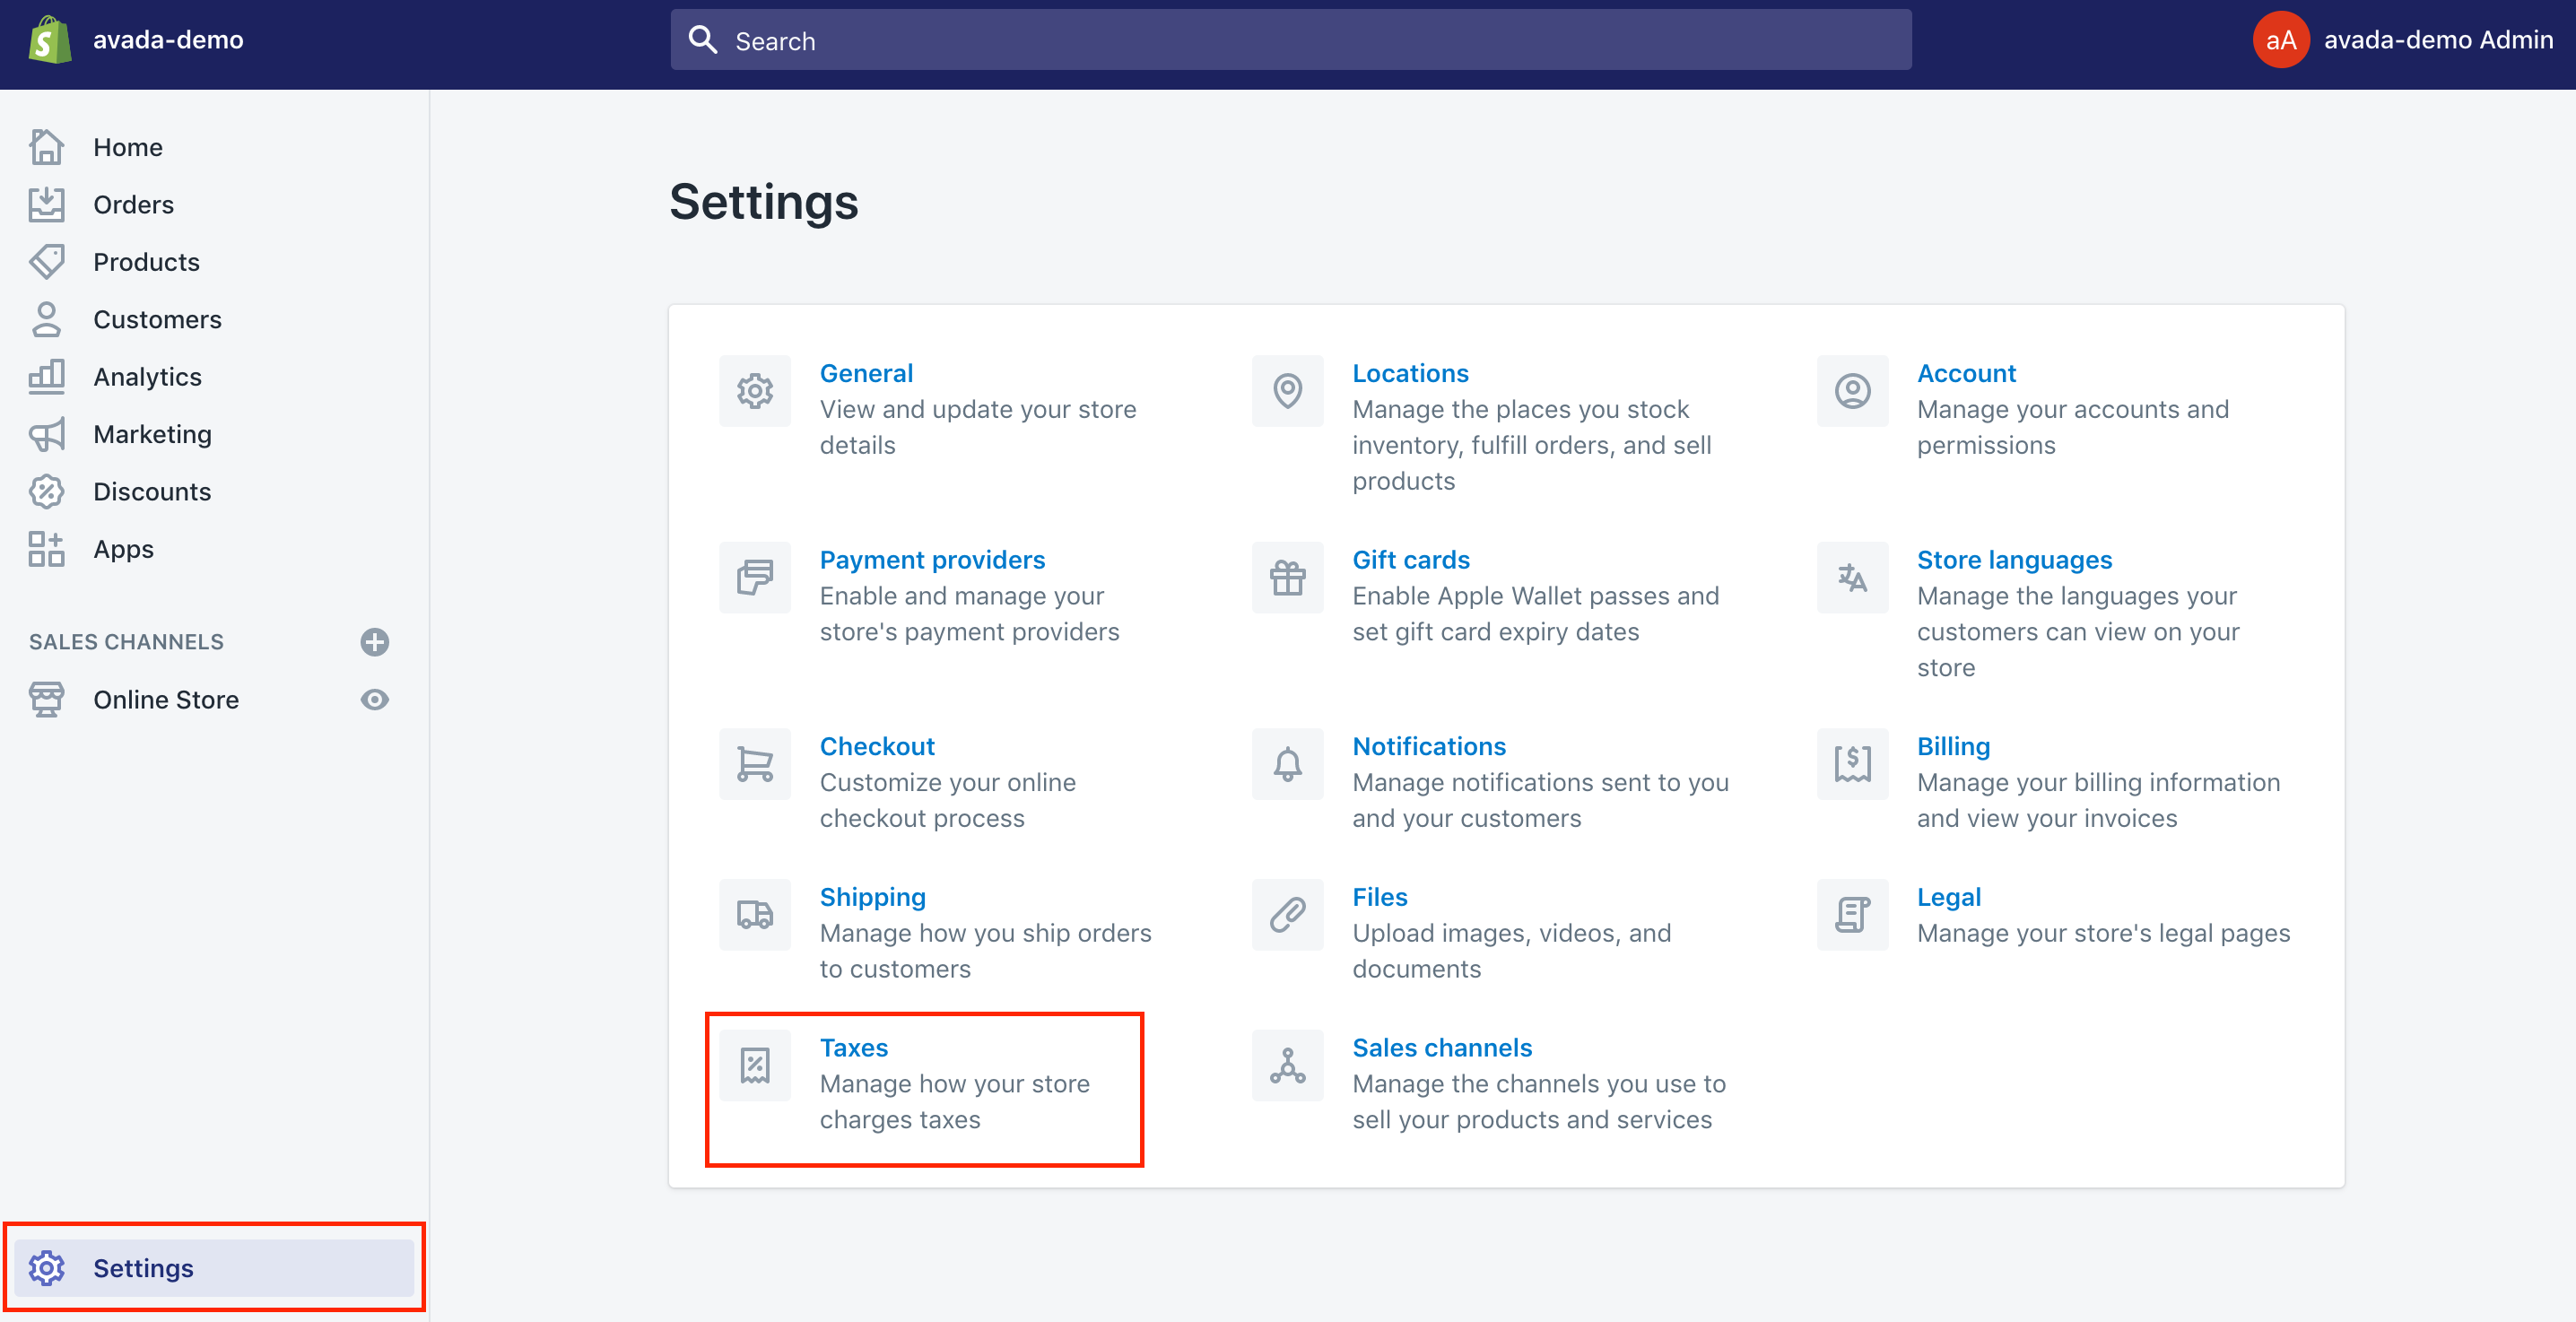
Step 7: Access and review your settings on Taxes page
Finally, when you finish setting up taxes, you can access and review your setting on Taxes page in your own Shopify admin.
How to set up taxes in specific countries

Us taxes
When you decide any location in the USA, you want to charge taxes, you are able to set up your Shopify store so as to manage the tax rates you charge your customers automatically. In the case of products with special tax rates, Shopify enables you to set up tax overrides for them.
Shopify allows you to charge your sales taxes automatically; however, it will not remit and file taxes for you. Right after you know where you have to charge taxes, you had better obey this guide to ensure that you are configuring your stores to get the correct rates charged. In fact, you are responsible for checking with the US state tax authorities and a tax professor to assume that you are charging your customers the correct tax rates and make sure you can file or remit your taxes properly.
In the USA, the sales taxes that are charged can be impacted by some of the factors:
- The place your items are shipped from and to
- The place where you are registered to get taxes collected
- Item taxability
- Buyer exemptions
For most online merchants, one of the most critical things to focus on is if they follow to register tax collections or not and where they ship their products from and ship to.
Canadian taxes
Regarding Canadian taxes, there is a new way to set up Canadian taxes that were already launched in 2019. If you can see a message to ask you to update the Canadian tax settings on the Taxes page, you are able to update in a new way:
- If you are a newcomer on Shopify, then you can refer to
Setting up Canadian taxes. - If you are using Shopify, then you can refer to
Updating to the new Canadian taxes feature.
When you decide on any location in Canada where you want to charge tax, you are able to set up your Shopify store so as to manage the tax rates you charge your customers automatically. In the case of products with special tax rates, Shopify enables you to set up tax overrides for them.
Like the US taxes, Shopify allows you to simplify the process of charging your sales taxes automatically; however, it will not remit and file taxes for you. Right after you know you can set up your online business and where you take responsibility for taxes charging, you had better obey this guide to ensure that you are configuring your stores to get the correct rates charged. In fact, you are responsible for checking with the Canadian and provincial tax agencies, followed by tax professors, to assume that you are charging your customers the correct tax rates and make sure you can file or remit your taxes properly.
Taxes outside of the US and Canada
If you have to charge your sales taxes in other countries besides the USA and Canada, the tax will be used on other regional and country level, relying on the local tax laws.
Set up tax rates in countries other than the USA and Canada
Before going further, you need to decide if you can obey to charge your sales taxes to your customers and if your items are taxable or not. Lots of countries are using a destination basis that means you can charge your sales tax at the rate in the area where your items are delivered to. In case you cannot make sure about those details, let’s talk to your tax expert or adviser.
- Step 1: Confirm your store is outside the USA and Canada
First, you have to confirm that your store is outside the USA and Canada, then you had better set up your shipping zone for your destination country.
- Step 2: Head to
SettingsandTaxes
Then, you can head to Settings > Taxes from your Shopify admin.
- Step 3: Choose the name of the country
Next, you can choose the name of the country under the Tax rates area.
- Step 4: Add the rates to any countries and regions
In this step, you can add the rates to any countries and regions located in the Base taxes section. In addition, Shopify users are allowed to opt for if a tax in an area is used instead of the federal taxes or is inserted into or combined with a federal tax.
- Step 5: Select Save
Finally, don’t forget to click on Save to save what you have done.
Delete a country from your tax table
If you want to delete a country from your own tax table, you have to remove it from your Shipping page.
For example, there is a Shopify owner who has customers in some European countries and in the USA. He also needs to charge VAT to his European customers, but not to US customers. Here are useful steps to charge VAT to European customers but not to US customers:
- Step 1: Add shipping zones to all countries where he gets his customers
The first thing he needs to do is to add shipping zones to countries where his customers come from on the Shipping page, consisting of the UK, other European countries and the USA. After generating shipping zones, your destination countries will be listed on your Tax page.
- Step 2: Insert the VAT rate for the UK and European destination
Next, he should insert the VAT rate for the UK as well as a European destination on the Taxes page.
- Step 3: Uncheck Calculate taxes automatically
Final, he needs to uncheck Calculate taxes automatically and sets up a 0% tax rate on the Taxes page for the USA.
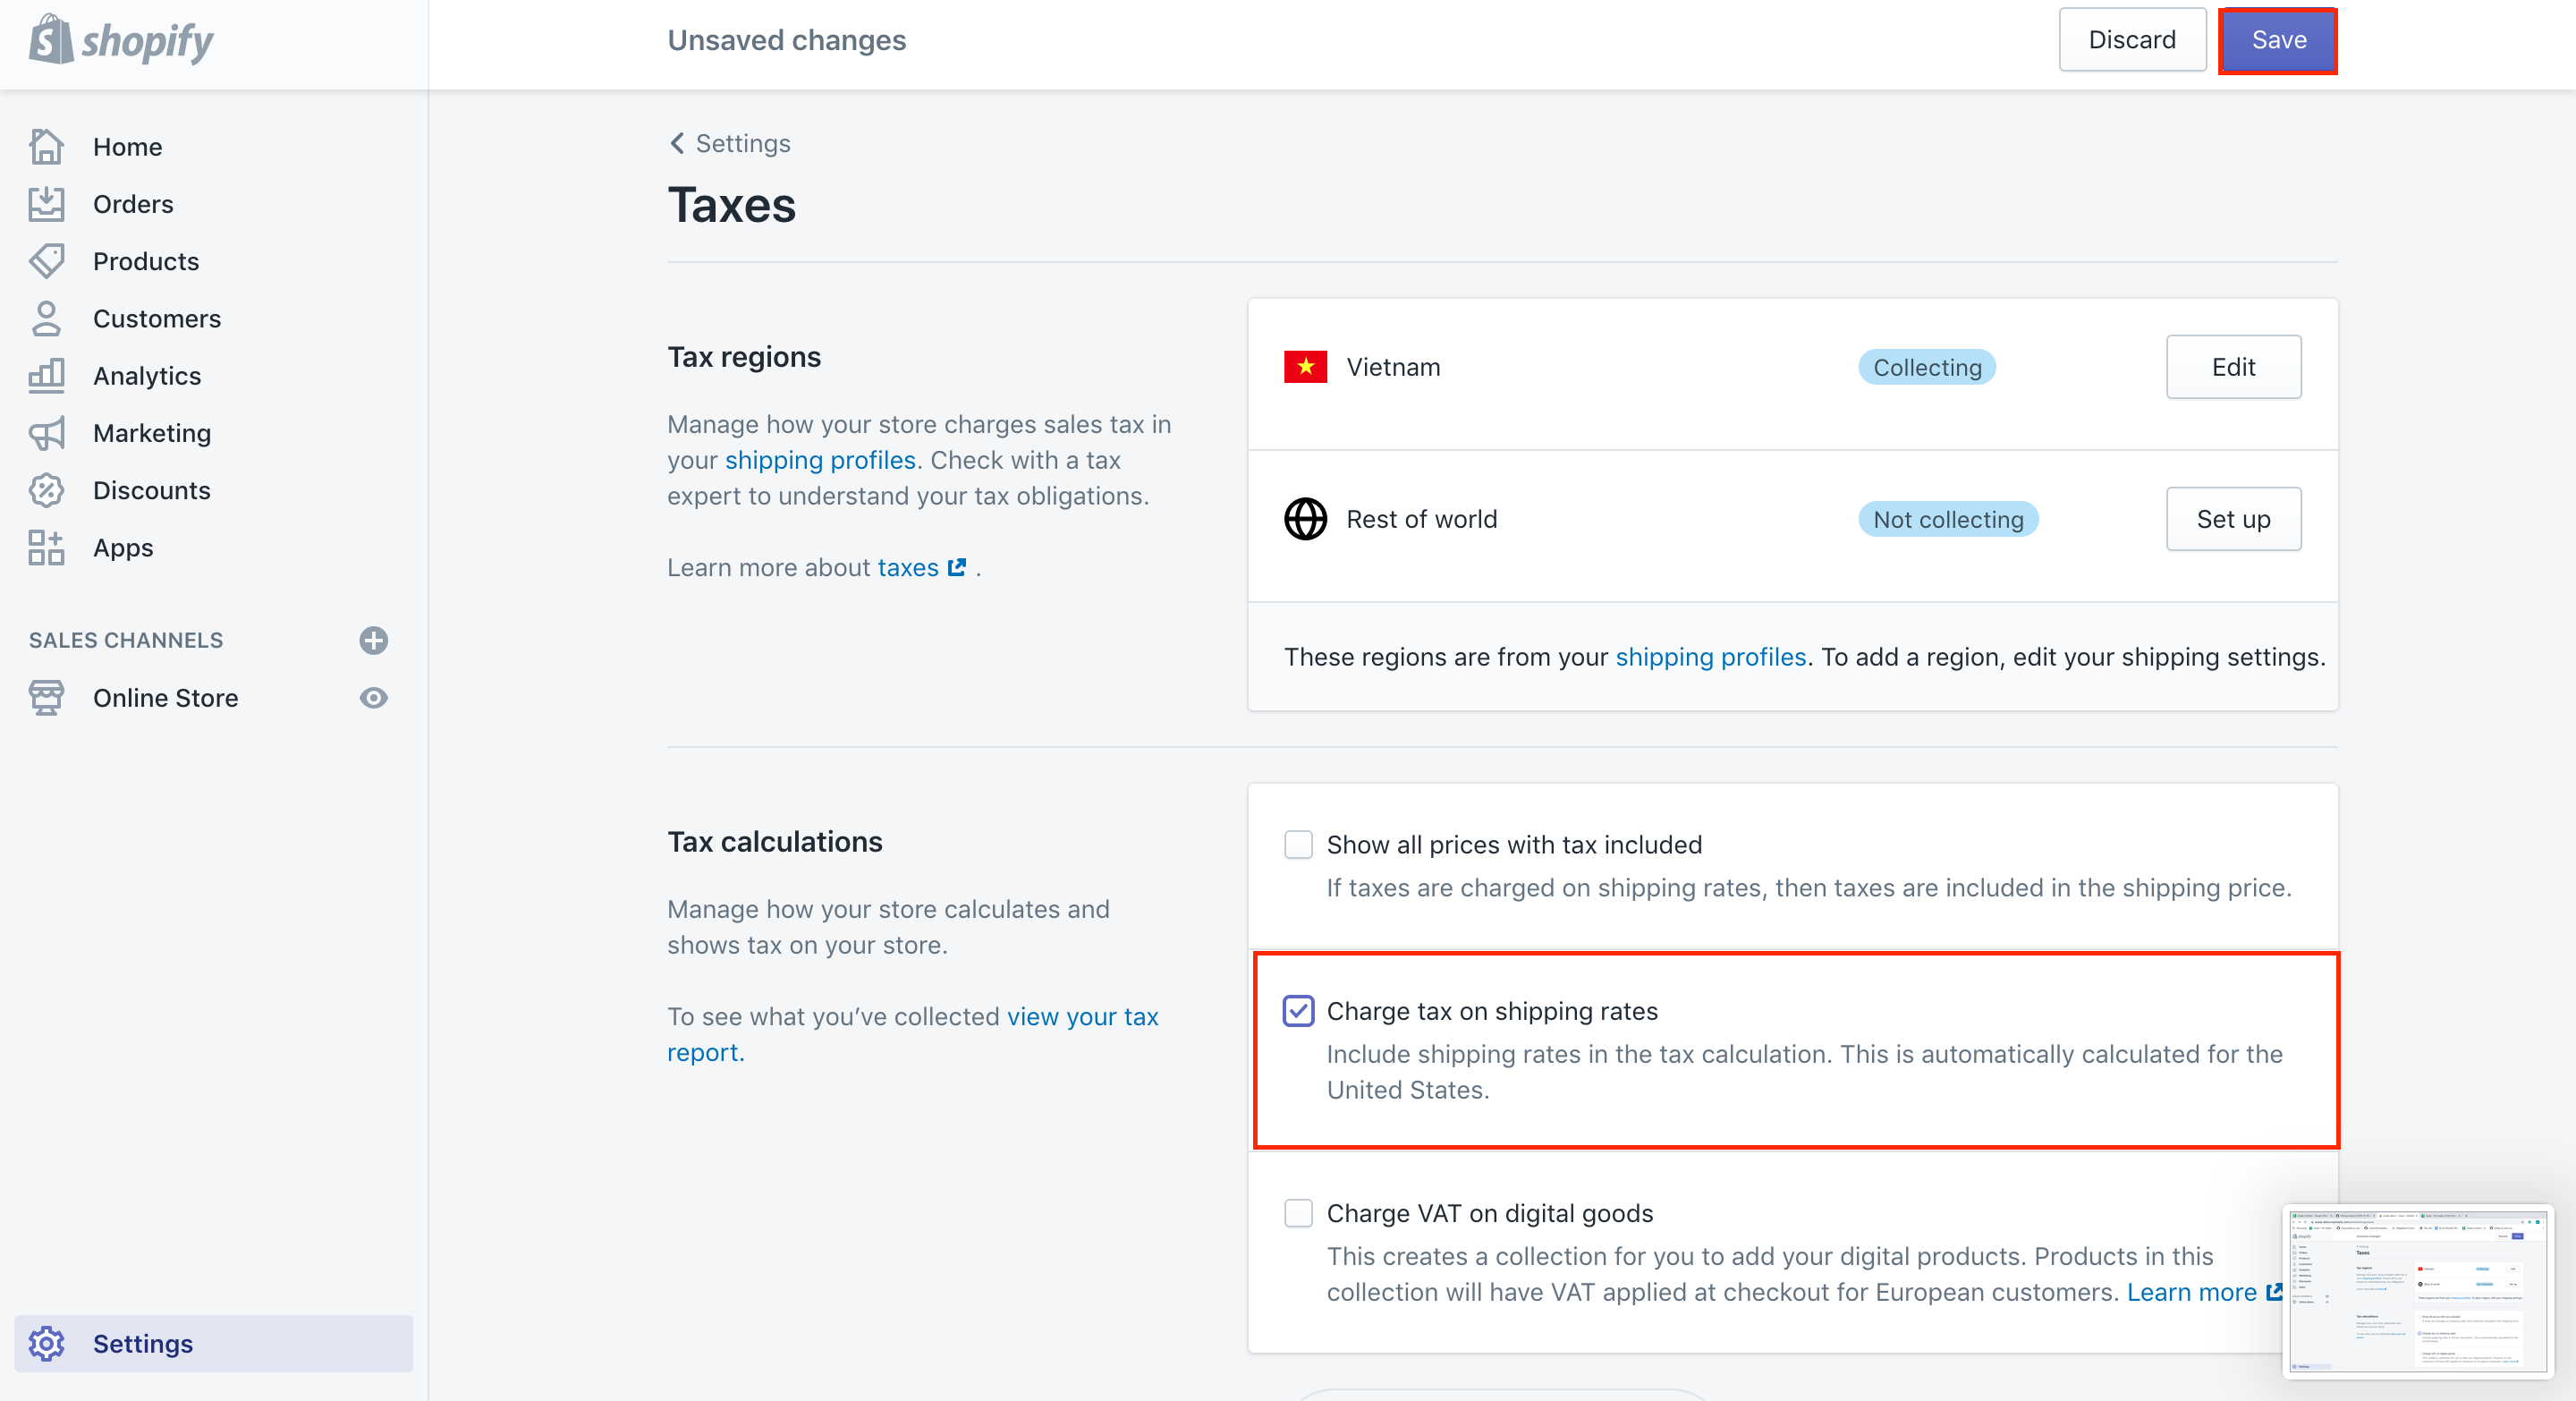
Charge taxes on shipping rates
In several regions, you have to charge taxes on your shipment. In case your store is not inside the USA, let’s follow some of the helpful steps below to help you with how to charge taxes on shipping.
- Step 1: Go to
SettingsandTaxes
Initially, you can go to Settings > Taxes from your own Shopify admin.
- Step 2: Check Charge taxes on shipping rates
Then, you can check Charge taxes on shipping rates.
- Step 3: Click on Save
Final, you can click on Save.
Make sure taxes are not duplicated
In case you set up taxes for countries and their sub-regions, you have to make sure that the regional taxes you specify are added or combined to federal taxes or are used instead of federal taxes.
If the customers in any country are charged taxes two times, you might get your sub-region raxed configured to be inserted into your total taxes for the country.
You can easily verify as well as charge your tax settings for each region.
- Step 1: Go to Settings and Taxes
From your own Shopify admin, you can go to Settings > Taxes.
- Step 2: Click on the country’s name
Next, you can click on the country’s name under the Tax rates section. You can see the taxes are being displayed for the countries or sub-regions by province or state.
- Step 3: Choose options how you want to charge taxes
Then, you can choose options from the drop-down list to show how you want to charge taxes in the sub-region tax rate.
- Step 4: Press on Save
Don’t forget to press on Save to save what you have done.
Change the default name of the VAT tax
For any countries that include a value-added tax, the default name to the tax will be VAT. The abbreviation VAT will be on your checkout page or customer receipts and in the Order details area of each order.
Should you be in a country or region using the different short form of taxes, you can get the name changed on the Taxes page. For instance, there are some countries using IVA, but not VAT. You are able only to change the name if your sub-regions are contained for the country in your Shopify admin like Spain and Italy. Bear in mind that you are unable to change if your sub-regions are not included, like Norway and Austria.
- Step 1: Head to Settings and Taxes
From your own Shopify admin, let’s head to Settings > Taxes.
- Step 2: Click on the country
In this step, you can click on the country from the Tax rates area.
- Step 3: Change VAT to the short form
For a region, you can change VAT to the short form you would like to use for every region. In general, the name can be specific to each area; therefore, you need to change for each region.
- Step 4: Go to Save
Then, you can go to Save to save what you have completed.
How to include taxes in Product price
In several nations, including the United Kingdom, you really need to add sales tax to the prices for most kinds of merchandise.
If this feature is activated, the tax will be measured through a Tax formula. You and your customers can still see the tax as line items, although there are no taxes being added. The total and subtotal are the same; however, the tax amount you ask for also needs to be remitted for orders will be indicated.
Following the steps below to help include taxes into your product price:
Step 1: Head to Settings and Taxes
After logging into, you can head to Settings > Taxes from your own Shopify admin.
Step 2: Check Show all prices with tax included
Next, let’s check Show all prices with tax included.
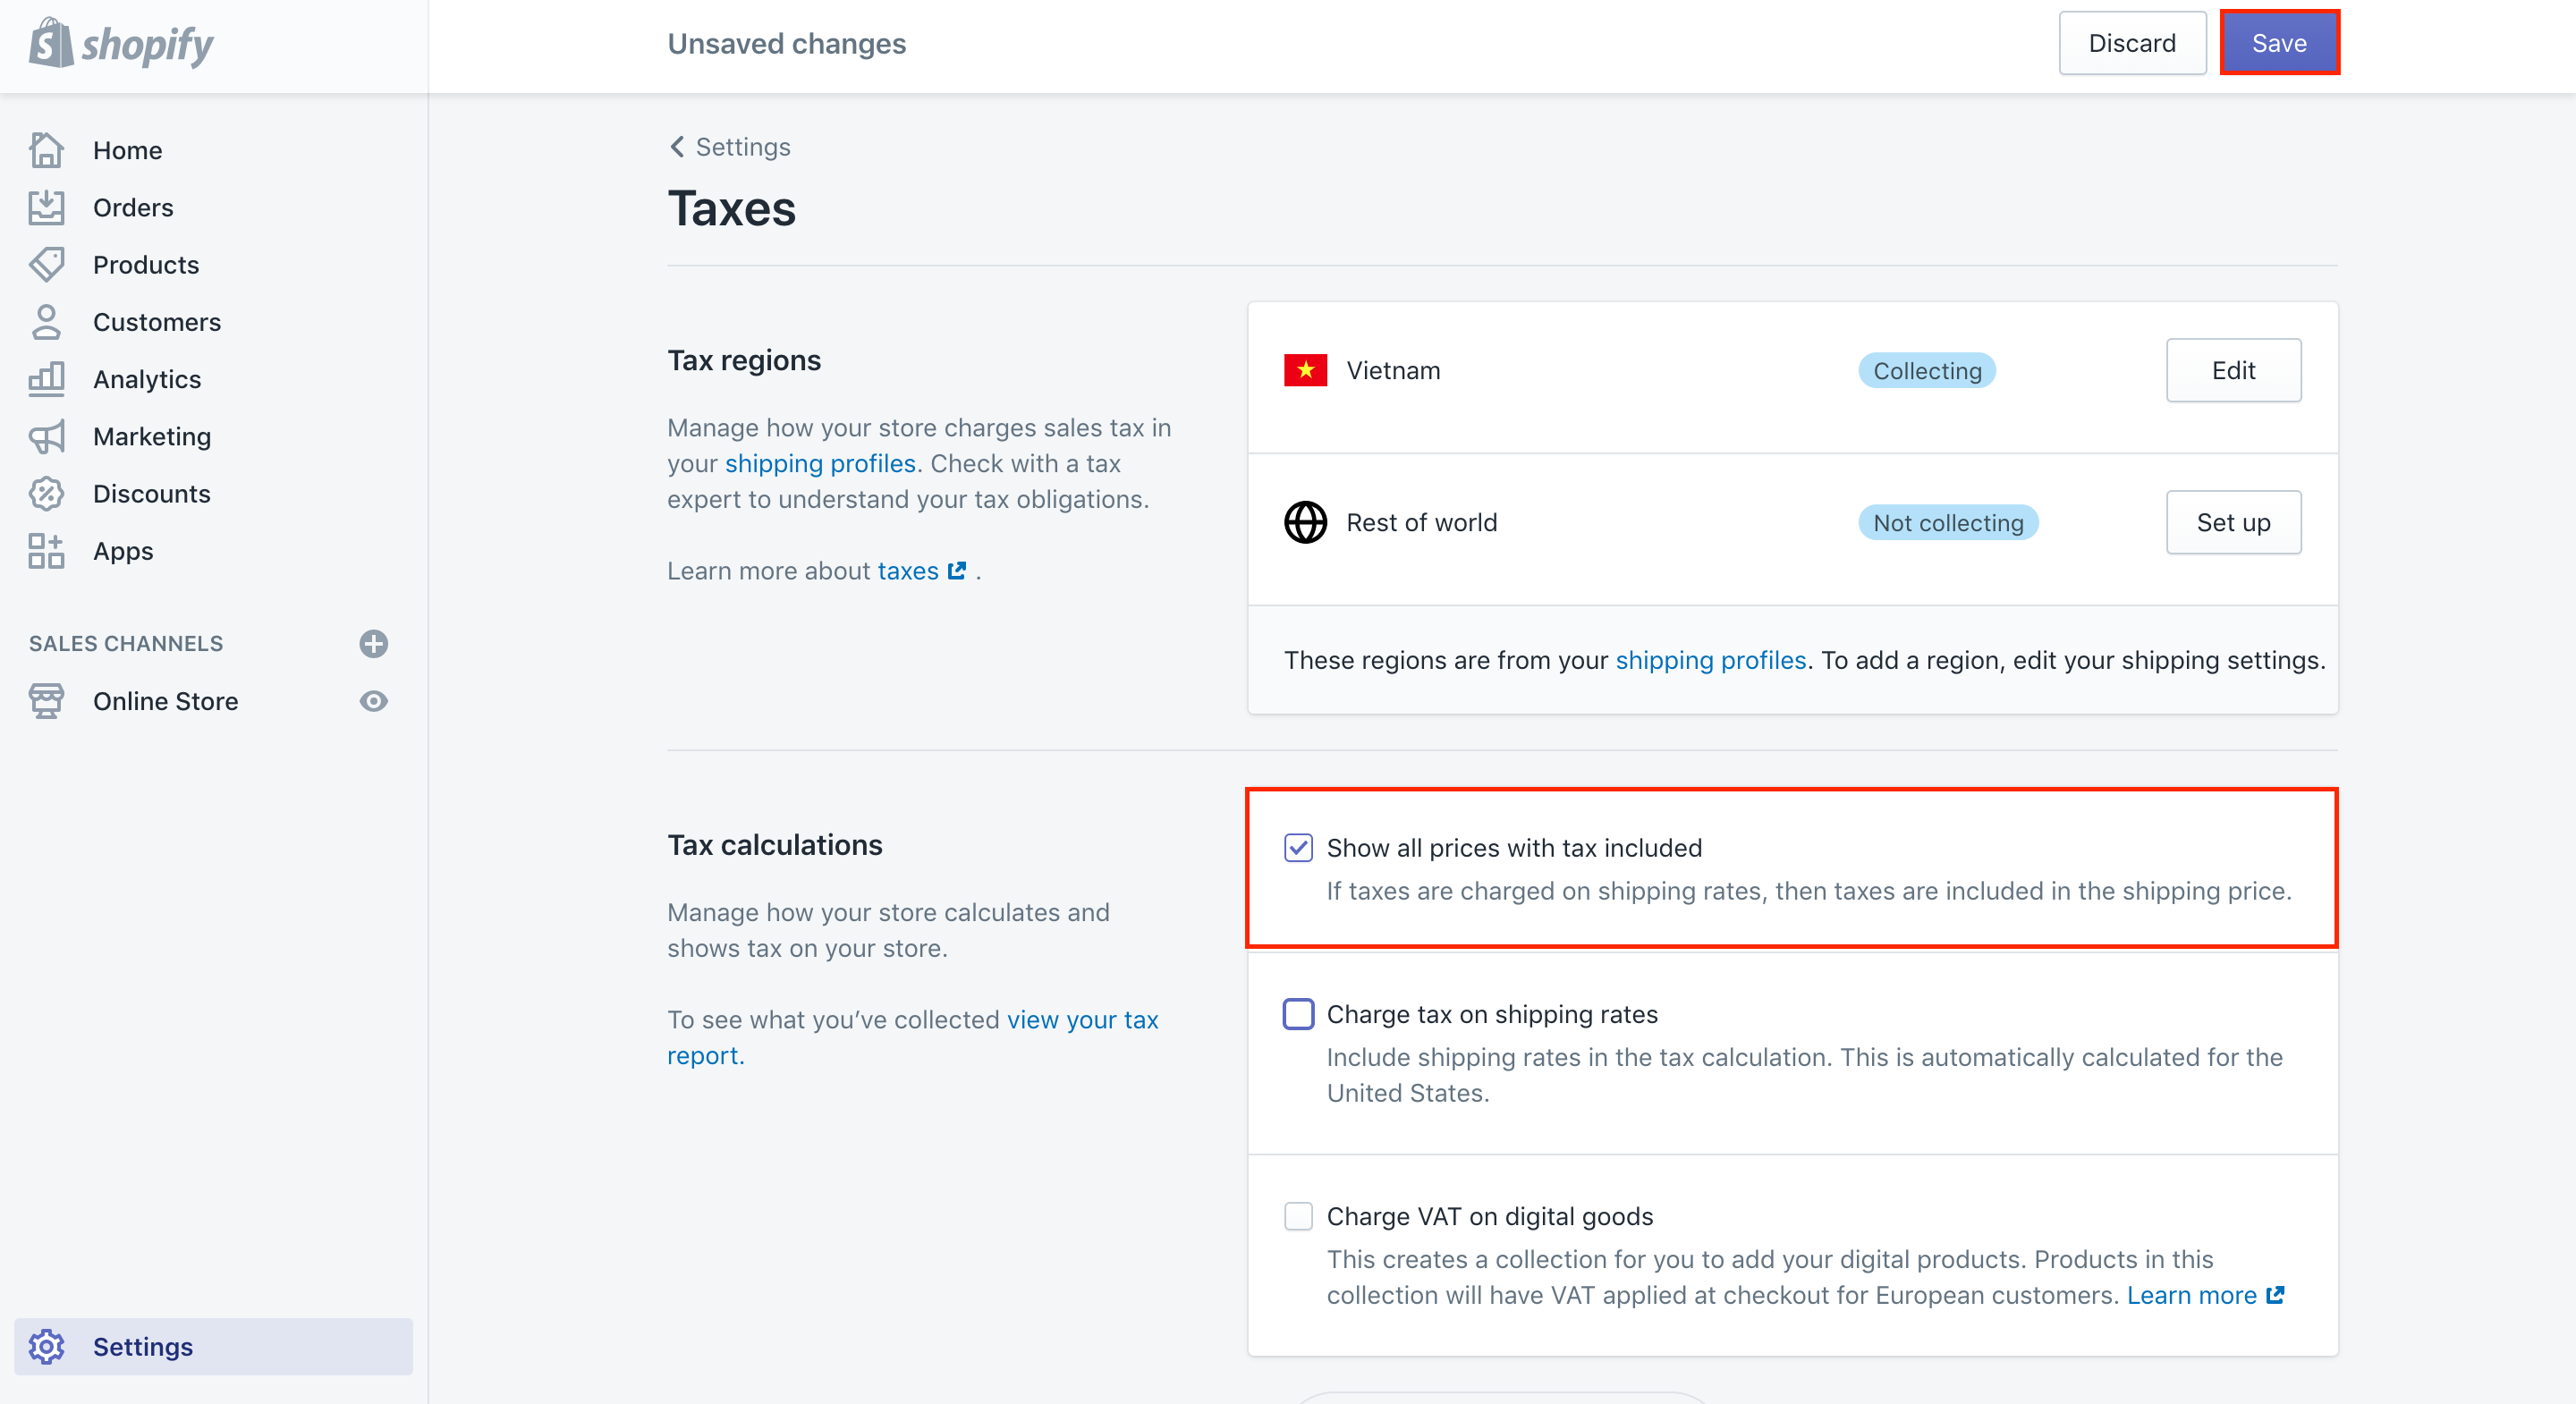
Step 3: Click on Save
Finally, you can click on Save to finish.
After setting up your prices with taxes included, you can leave Charge taxes on this product checked on the product pages so that taxes can be added in your displayed price. Customers will have the chance to see the amount of taxes included besides the total at your checkout.
Bear in mind that setting up the prices with included taxes does not impact your tax statement.
For further instructions, don’t hesitate to read more at Top simple and easy steps on how to include taxes on product prices on Shopify.
Learn more: 6+ Best Shopify Tax Apps
Conclusion
We hope that our post on how to charge taxes on Shopify store will help you gain more knowledge about taxes and how to deal with them in different countries. If you are running your online stores and intend to care about sales taxes, don’t miss out on this article. For further discussions and requirements, let’s contact us via email.
Related Posts:
- How to See the VAT Rates You’re Using on Shopify?
- How to Make sure that Taxes are not duplicated?
- How to Change the Default Name of the VAT Tax?


