
How to insert a Twitter button to your blog Facebook in Shopify

As a mean of driving more traffics to visit your blog, that insert a Twitter button to your blog is extremely a smart choice. Plenty of your Twitter followers will come to view your blogs about products and make some purchases. Hence, I’ve prepared a step-by-step guide for you to follow to do this. Below is the details.
Table of content
- Step 1: Choose Themes
- Step 2: Tap on Edit code
- Step 3: Select article.liquid and blog.liquid
- Step 4: Paste the code
- Step 5: Rename without the @
- Step 6: Save
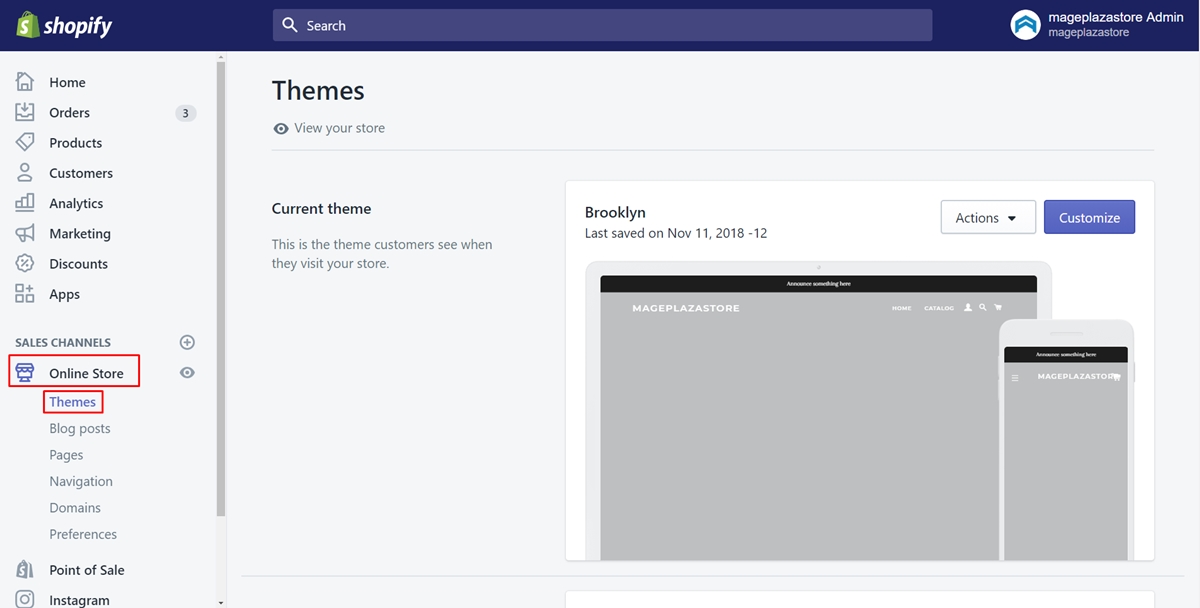
Step 1: Choose Themes
Take a look of the admin page after you’ve logged in. Make sure to find the Online Store section and tap on it. Then, the Themes page will appear.
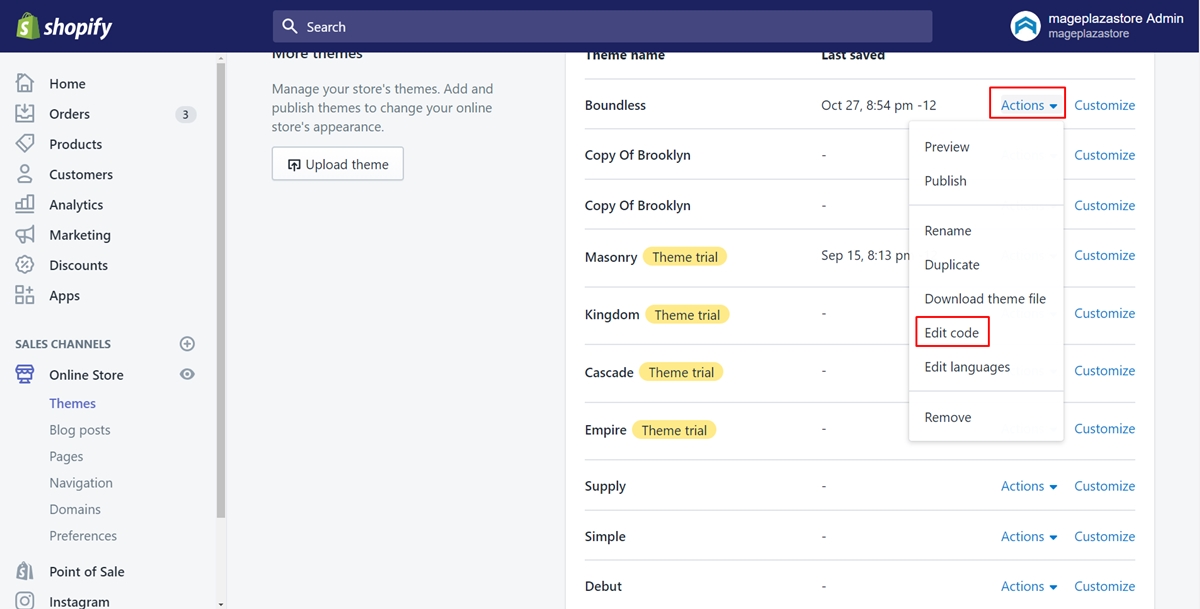
Step 2: Tap on Edit code
Choose one of the themes and click Actions next to its name. Afterward, a drop-down list will come out and you just need to tap on Edit code.
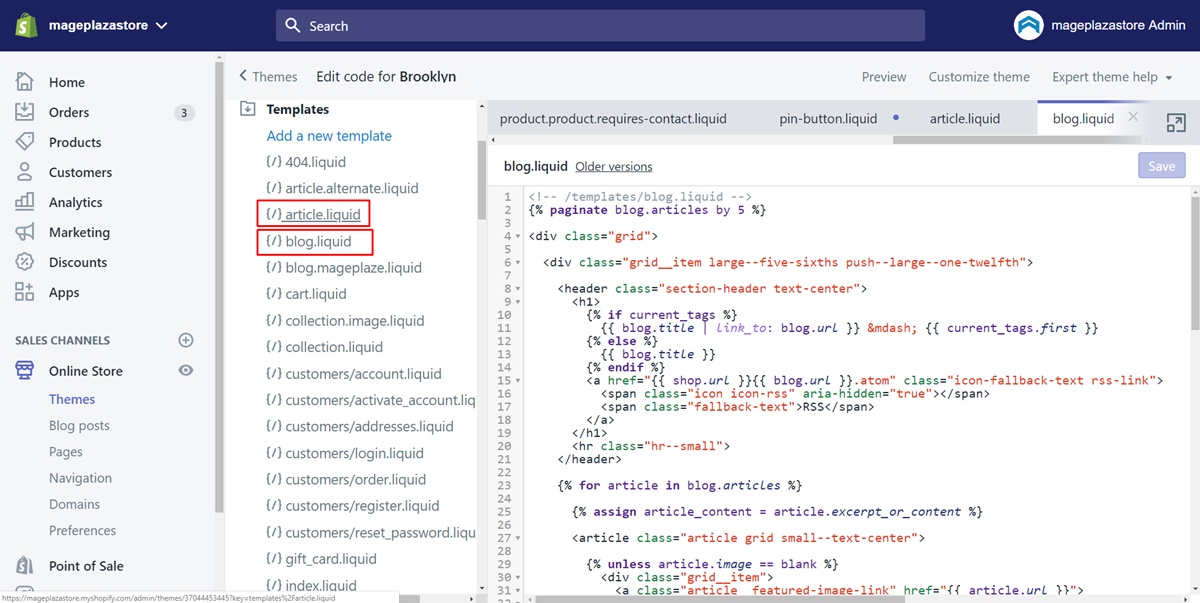
Step 3: Select article.liquid and blog.liquid
Press on the Templates directory. Find two files named article.liquid and blog.liquid. What you do now is open both of them by clicking.
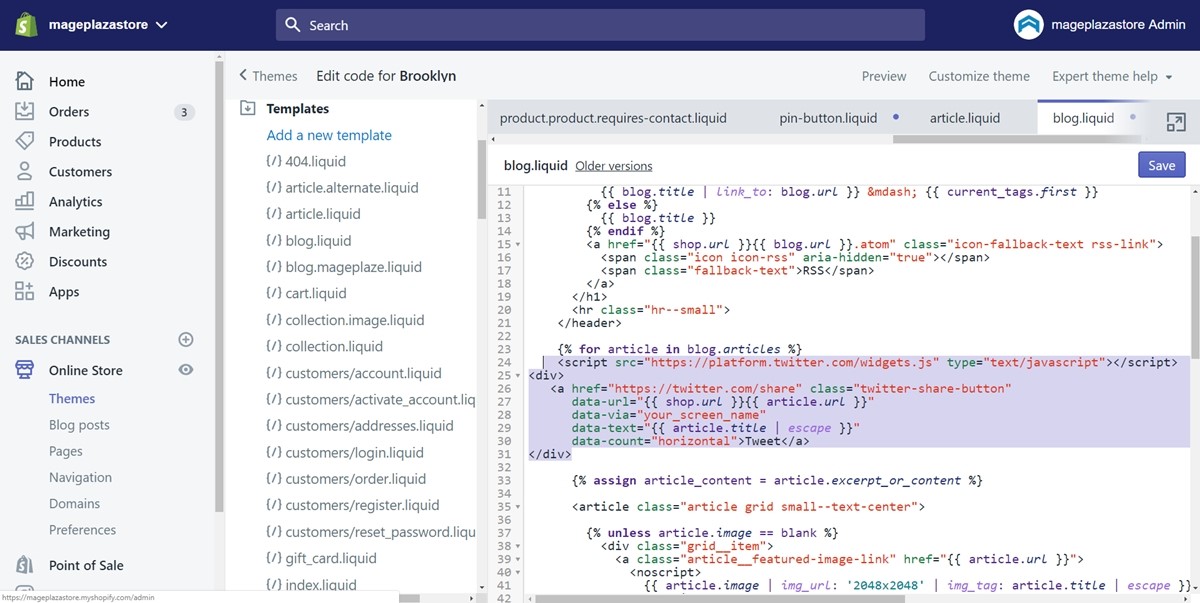
Step 4: Paste the code
Now, you do this step with both of files you’ve just opened. Find the following code:
{{ article.content }}
You can press on the Ctrl and the F on the keyboard. A textbox will appear for you to type what you are looking for. Just typing the word article. You can find it faster.
Above that element, make sure to paste the following code like this:
<script src="https://platform.twitter.com/widgets.js" type="text/javascript"></script>
<div>
   <a href="https://twitter.com/share" class="twitter-share-button"
      data-url="{{ shop.url }}{{ article.url }}"
      data-via="your_screen_name"
      data-text="{{ article.title | escape }}"
      data-count="horizontal">Tweet</a>
</div>
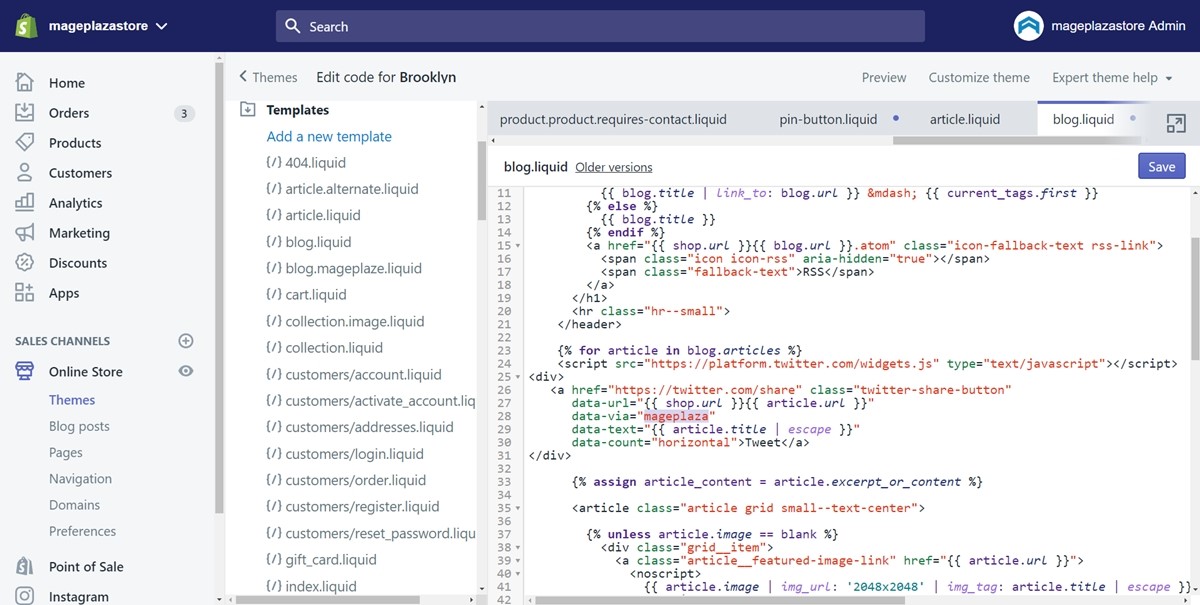
Step 5: Rename without the @{#rename-without-@}
In this step, instead of your_screen_name in the above code, enter your Twitter account alias. It must be without the @. For example, Mageplaza’s twitter account name is mageplaza.
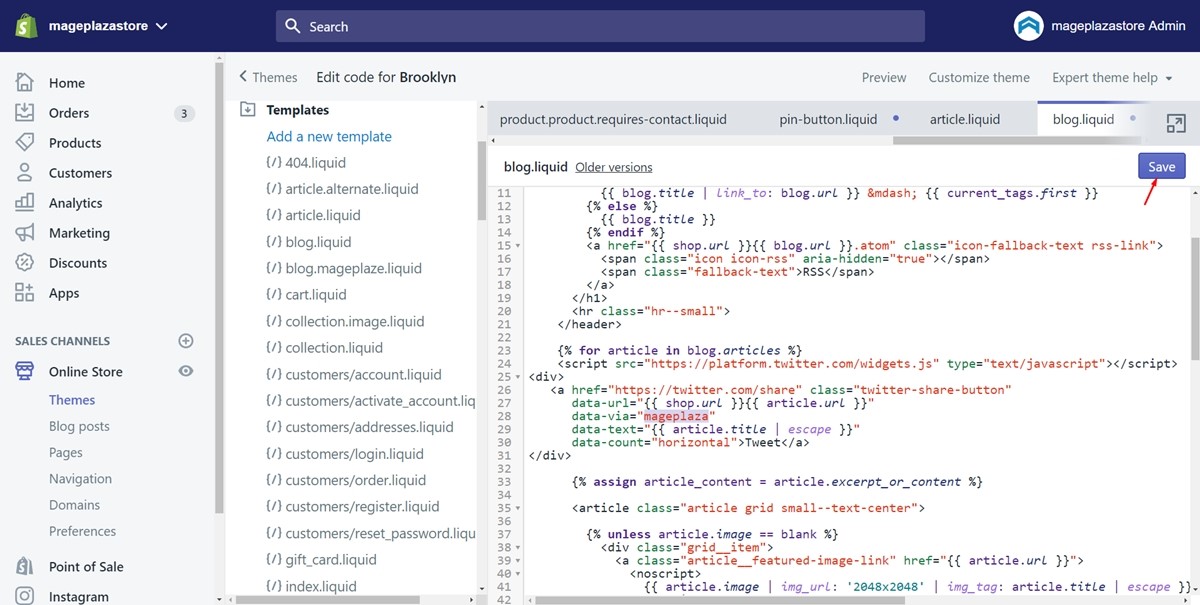
Step 6: Save{#save}
In the final step, tap on Save to save all you’ve done.
Summary
To sum up, this post takes you through how to insert a Twitter button to your blog. With the images, hope you find it easy to do. Hope after you’ve inserted a Twitter button to your blog, there are more and more visitors coming to view your blog. If you are concern about how to embed a Twitter feed in your online store, click on it to visit the instruction.


