
How to insert an email link or contact form in Shopify

As I’ve mentioned in the writing about how to hide the add to cart button, after you’ve done it, you can replace the button with an email link or contact form. This will increase the interaction between you and your customers. In addition, you won’t miss any prospect who intent to buy your item. Your customers will use the email or the contact form to contact you, ask about when the product will be for sale again or other information. Follow the below steps to insert an email link or contact form in an effortless way.
Insert an email link or contact form
Insert an email link
Step 1: Add the HTML code for an email link
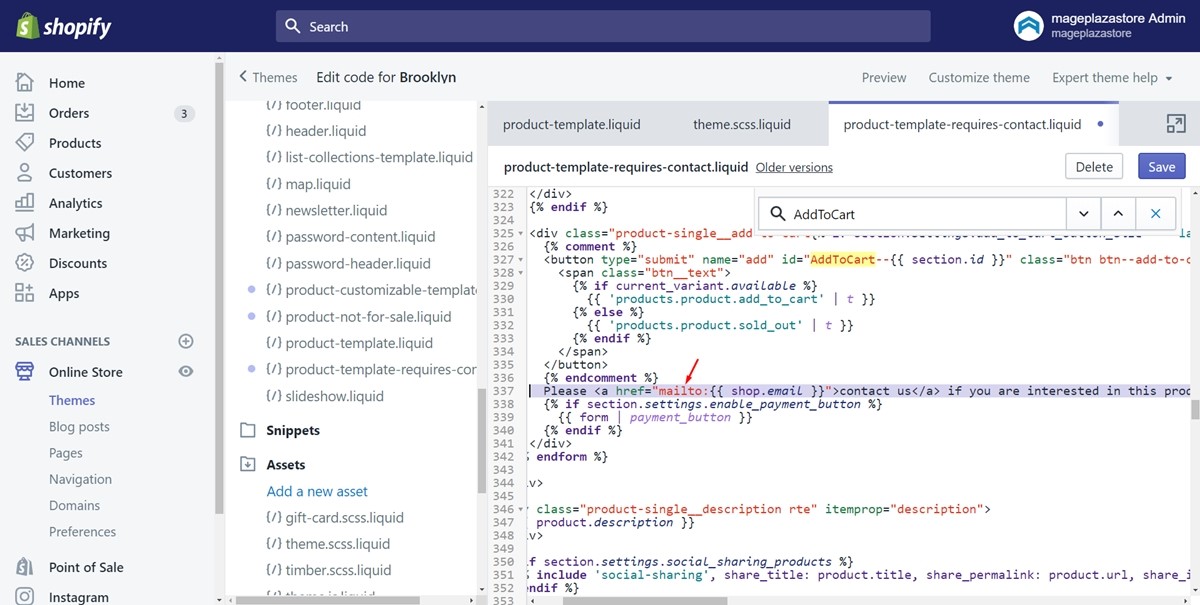
After the last step you’ve made in the writing how to hide the add to cart button, point to a new line below the Liquid {% endcomment %} tag. Then, make sure to enter the HTML code for your email link:
Please <a href="mailto:{{ shop.email }}">contact us</a> if you are interested in this product.
Don’t forget to add your own email link instead of shop.email.
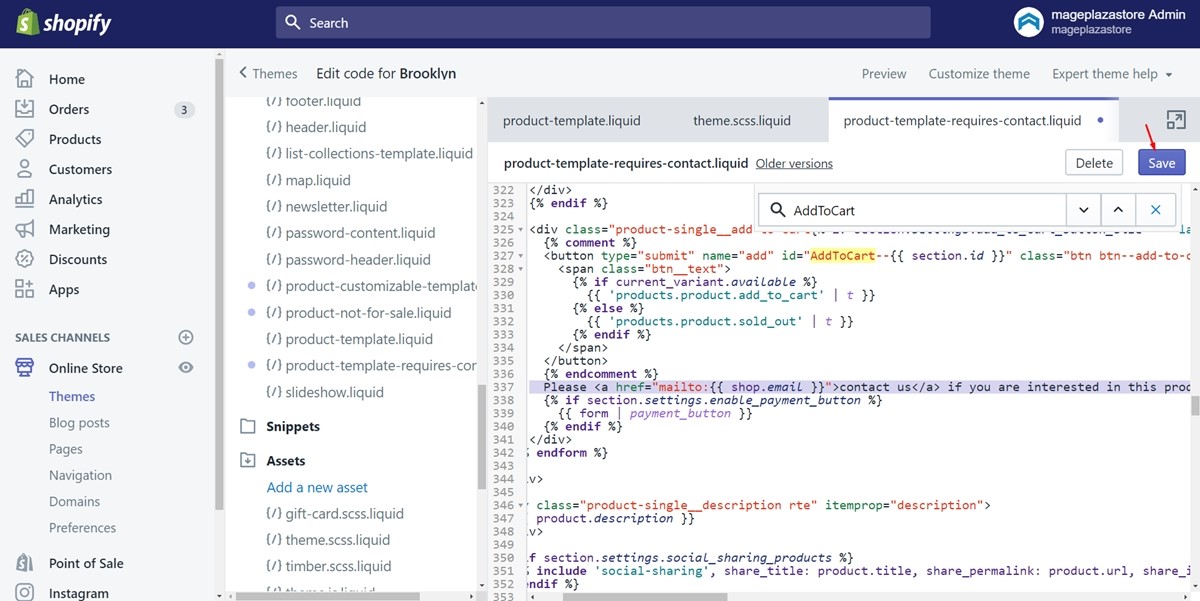
Step 2: Save
Finally, press on Save to save your work. Then, your email link will be displayed to your customers.
Insert a contact form
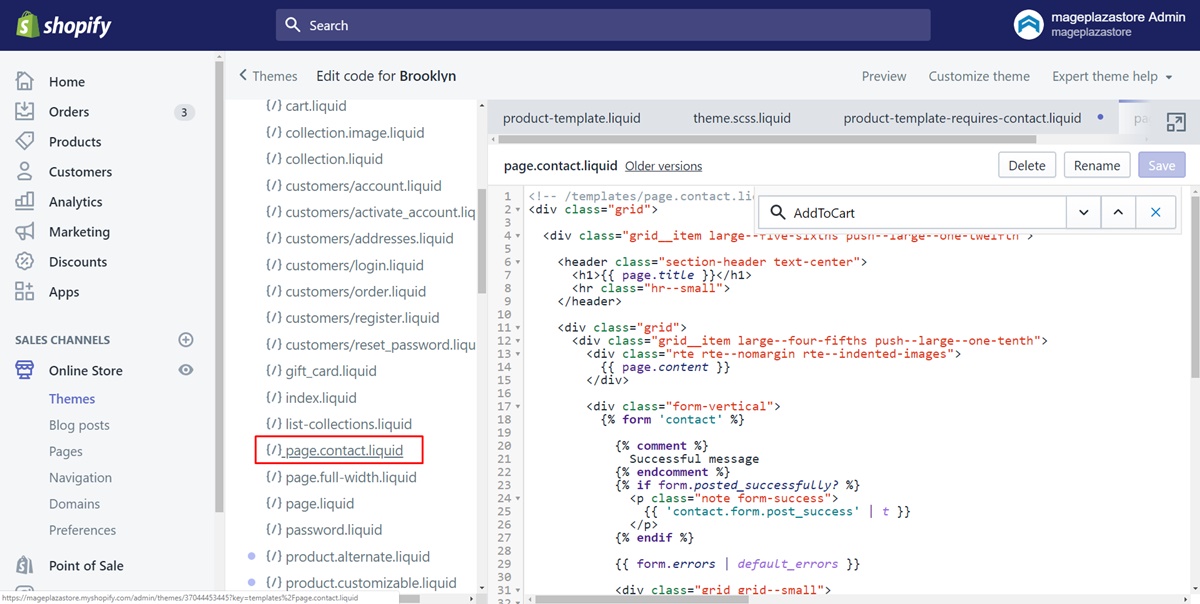
Step 1: Select the page.contact.liquid file
Click on the Templates directory firstly. Afterward, find the page.contact.liquid file and press on it.
Step 2: Look for the Liquid {% form 'contact' %} tag
In the current file, make sure to look for the Liquid {% form 'contact' %} tag.
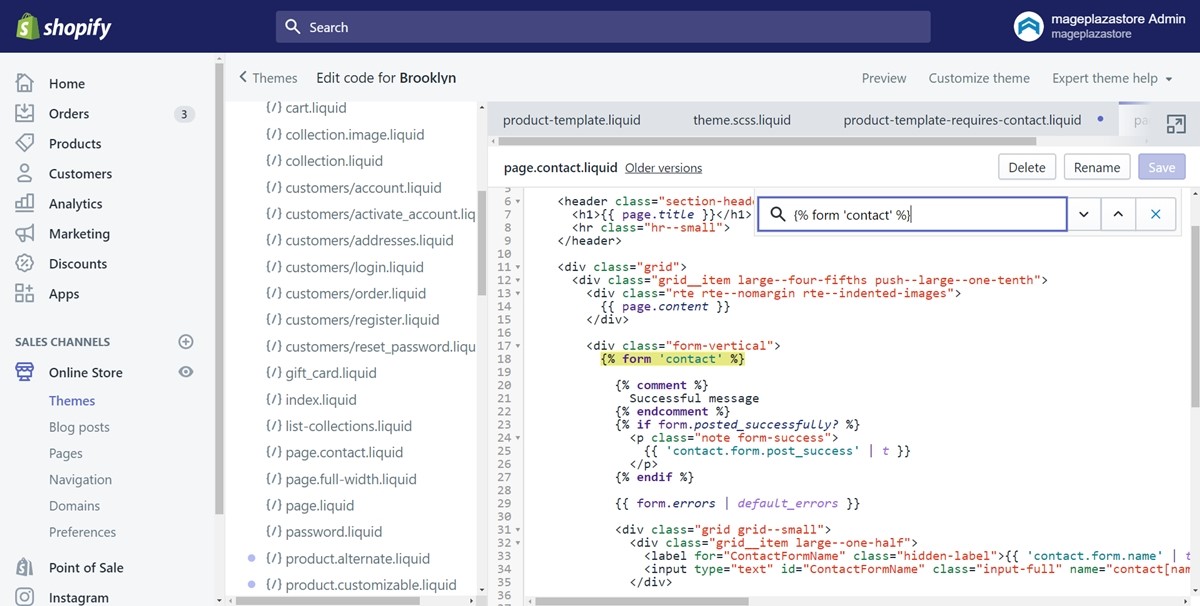
Step 3: Copy and paste the code
In this step, copy all of the code from the Liquid {% form 'contact' %} tag. Then, paste it down to the Liquid {% endform %} tag. Take a look at the following image as an example.
Step 4: Back to the product.requires-contact.liquid file
Make sure to return to the product.requires-contact.liquid file in the Templates field and move to the next step.
Step 5: Paste the code for the contact form
In the product.requires-contact.liquid file, find the closing tag called </form>. Paste the code for the contact form into a new line below the closing tag.
Step 6: Wrap the code in HTML div tags
Next, wrap the code which you’ve just added in HTML div tags. This is to ensure that your contact form will render correctly on the page. Enter the below code on a new line above {% form 'contact' %}:
<div class="form-vertical">
Enter the following code on a new line below {% endform %}:
</div>
Step 7: Save
After you’ve done all of the above, don’t forget to click Save.
Summary
Above is a detailed instruction for you to insert an email link or contact form. Hope you can follow this post to do it successfully. By doing this, hope there will be a large number of great interactions between you and your customers.


