
How to set up Jekyll on Windows in Shopify
Drive 20-40% of your revenue with Avada
Running Jekyll brings the online sellers a lot of benefits, the Shopify store owners can have flexibility to customize to build the website. Moreover, the content can be specified in a _config.yml or _config.toml file which are placed in the root directory, which allows the Shopify store owners to design their website on their own.
Considered as one of the lastest version of operating systems Windows, Windows 10 includes a series of PC operating systems in Windows NT family. While Windows is not an officially-supported platform, it can be used to run Jekyll with the proper tweaks. This page aims to collect some of the general knowledge and lessons that have been unearthed by Windows users.
And now the Windows users can add environment variables in Windows. To run the Jekyll, this article How to set up Jekyll on Windows in Shopify will give the Shopify store owners five steps to run it by themselves.
Table of Contents
- Step 1: Open the command prompt
- Step 2: Run Chocolately
- Step 3: Install Ruby
- Step 4: Install Jekyll
- Step 5: Final Check
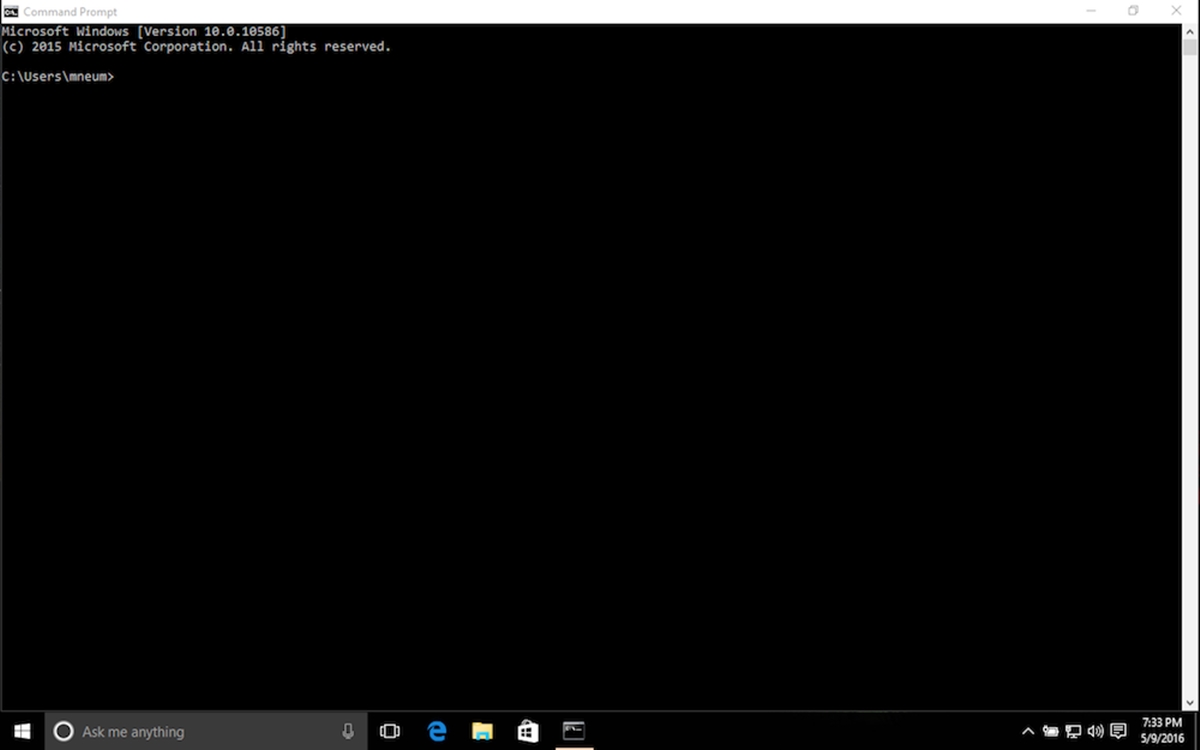
Step 1: Open the command prompt
First, the users have to open the Command Prompt by those steps. Find in All Apps the Windows System, then choose Command Prompt.
After clicking right click on the icon, the Shopidy store owners choose select “More” then “Run as administrator”
Step 2: Run Chocolately
The latest version of Jekyll at this time is v3.3.0, which is compatible with Windows. The requirement of ruby version is more than 2.0.0. this step, the users will install Chocolatey - a package manager for Windows:
@powershell -NoProfile -ExecutionPolicy Bypass -Command "iex ((new-object net.webclient).DownloadString('https://chocolatey.org/install.ps1'))" && SET PATH=%PATH%;%ALLUSERSPROFILE%\chocolatey\bin
Click Close the Command Prompt then open it again. After restarting, the Chocolatey now are available and it is necessary to remember to run it as administrator.
Step 3: Install Ruby
RubyInstaller is a self-contained Windows-based installer that includes the Ruby language, an execution environment, important documentation, and more. We only cover RubyInstaller-2.4 and newer here, older versions need to install the Devkit manually.
choco install ruby -y
Close Command Prompt and open it once again to make Ruby available, remember to run it as administrator:
And now we can install Jekyll:
Step 4: Install Jekyll
gem install jekyll
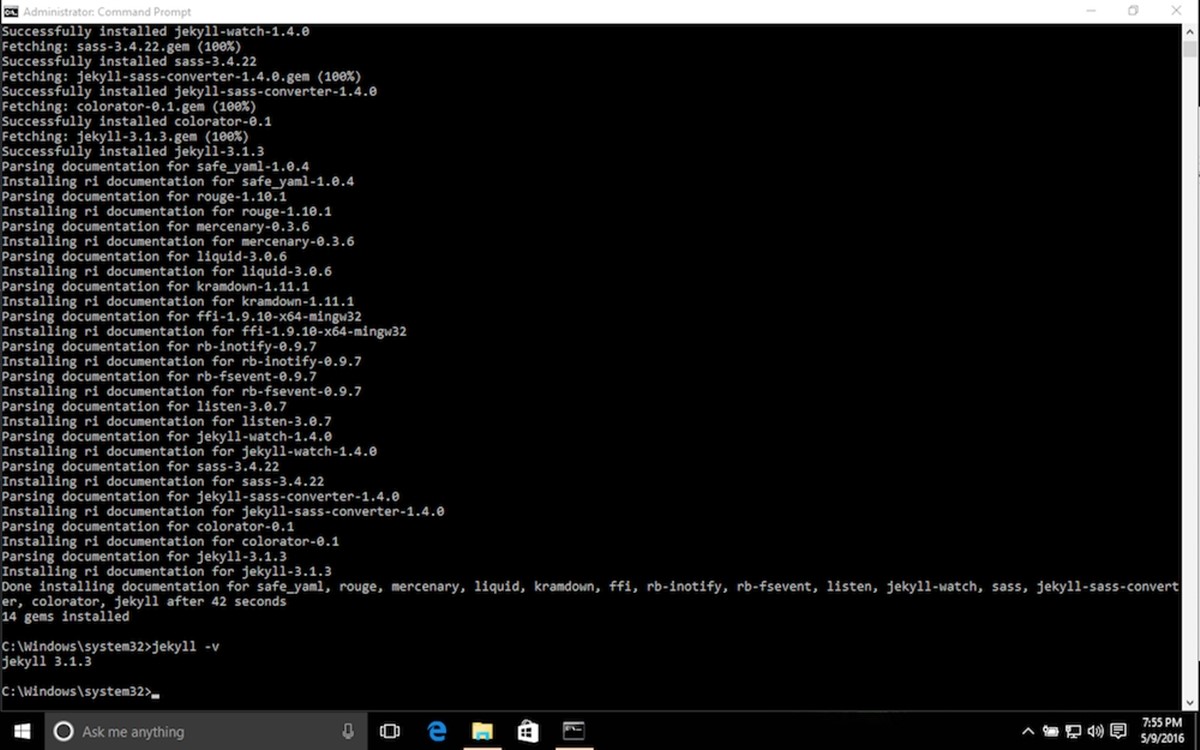
Step 5: Final Check
We can test Jekyll is working by checking the version installed:
jekyll -v
Conclusion
We hope that after this article How to set up Jekyll on Windows in Shopify, the Shopify store owners can easily update and add more envionment variables such as Jekyll on their own. Moreover, the site builders can discover more about building content with Jekyll with a chain of articles such as How to build Jekyll on your site, How to set up Jekyll on Mac OS X, How to set up Jekyll on Linux.


