
How to generate a new section file in your theme in Shopify
Drive 20-40% of your revenue with Avada
If you use Shopify to create your own business page, you are able to create page template that allows you to customize your page content. In page template, you can also create as many sections as you want to modify your page. Section in your theme is the means to diversify the function on your page, you can create section to disable Add to cart button or to delete products price when they are out of stock.
Assume that you know how to create a new page template, then want to customize that template with more sections, you need to change the Liquid tag in the file code and so on. You can also create another section in your same new page template as you need.
In this article, you will know how to generate a new section file in your theme in Shopify.
How to generate a new section file in your theme in Shopify
- Step 1: Add a new section
- Step 2: Create section and copy code
- Step 3: Paste code to new section
- Step 4: Customize your section
- Step 5: Finish
In this tutorial, we assume that you already know how to generate a new template file in your theme. You can refer to the previous article about it. Continue to take the same example of that tutorial, which is to create a template for products that are not for sale, you will practice to generate a new section file in your theme as follows:
Step 1: Add a new section
Click Add a new section in the Sections directory. Name your section exactly the title that you used in the Liquid tag for your new template file which is product-not-for-sale.
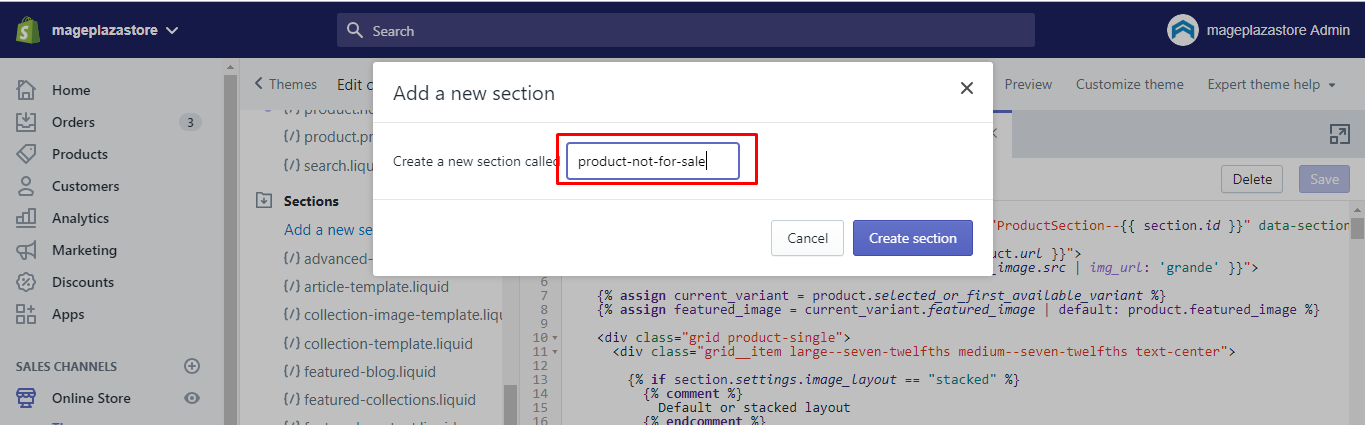
Step 2: Create section and copy code
Click Create section. After that, in the code editor zone, your new section will be shown, and will be filled with some default code. Empty the file by delete all the default codes.
Step 3: Paste code to new section
Next, open an existing section in your theme then copy the code and paste into your newly created section file. For instance, if you want to add any section to your product template (assume that you already create that template), then you will open that template by clicking at product-template.liquid, and copy the entire code of the file. Go back to your empty section file that you have created previous and paste in the code you have copied.
Step 4: Customize your section
Now you can continue to customize your template as much as you want.
Step 5: Finish
To finish, click Save. For app version, you can do the same process in order to generate a new section file in your theme.
Conclusion
We hope that this tutorial will help you easily customize your own business website by adding new section to your theme, noted that you can create as many section as you want. If you have any trouble while practive this tutorial, you can hire a Shopify expert for help or ask our support team.


