
How to create the posts in Markdown and publish them as a blog in Shopify
Drive 20-40% of your revenue with Avada
Although Markdown has just been launched since 2004, this syntax is a working tool for the users to create articles easier by converting text to valid HTML. Considered as one of plain-text syntax, Markdown is the effective working tool for not only writers but also editors because this HTML language can be converted to many output formats and support HTML.
By reducing distractions, the users can create the blogs post and qualified content in WordPress because Markdown has just a few basic syntaxes. Besides, the Markdown’s formats are still influenced by existing text-to-HTML filters such as Setext, atx, Textile, reStructuredText, Grutatext, and EtText.
However, if you are the beginner or you are running a self-version, it is necessary for you to consider on this guiding article How to create the posts in Markdown and publish them as a blog in Shopify. This tutorial will give the Shopify store owners understandable and simple procedure to make a post in Markdown and launch it.
How to create the posts in Markdown and publish them as a blog in Shopify
Step 1: Create a post
Firstly, the admins can create a new file for our first post: _posts/2016-04-03-chocolate-chip-cookies.md.
In our post, we’ll start with empty front matter. We need this empty front matter to tell Jekyll that this isn’t a static file. Then we’ll add our Markdown content:
---
---
The chocolate chip cookie was invented by Ruth Graves Wakefield. She owned the Toll House Inn, in Whitman, Massachusetts, a very popular restaurant that featured home cooking in the 1930s. Her cookbook, Toll House Tried and True Recipes, was first published in 1936 by M. Barrows & Company, New York. The 1938 edition of the cookbook was the first to include the recipe "Toll House Chocolate Crunch Cookie" which rapidly became a favorite cookie in American homes.
We’ll repeat this for another post, _posts/2016-04-04-sourdough-bread.md
---
---
Sourdough bread is made by the fermentation of dough using naturally-occurring lactobacilli and yeast. Sourdough bread has a mildly sour taste not present in most bread made with baker's yeast and better inherent keeping qualities than other bread, due to the lactic acid produced by the lactobacilli.
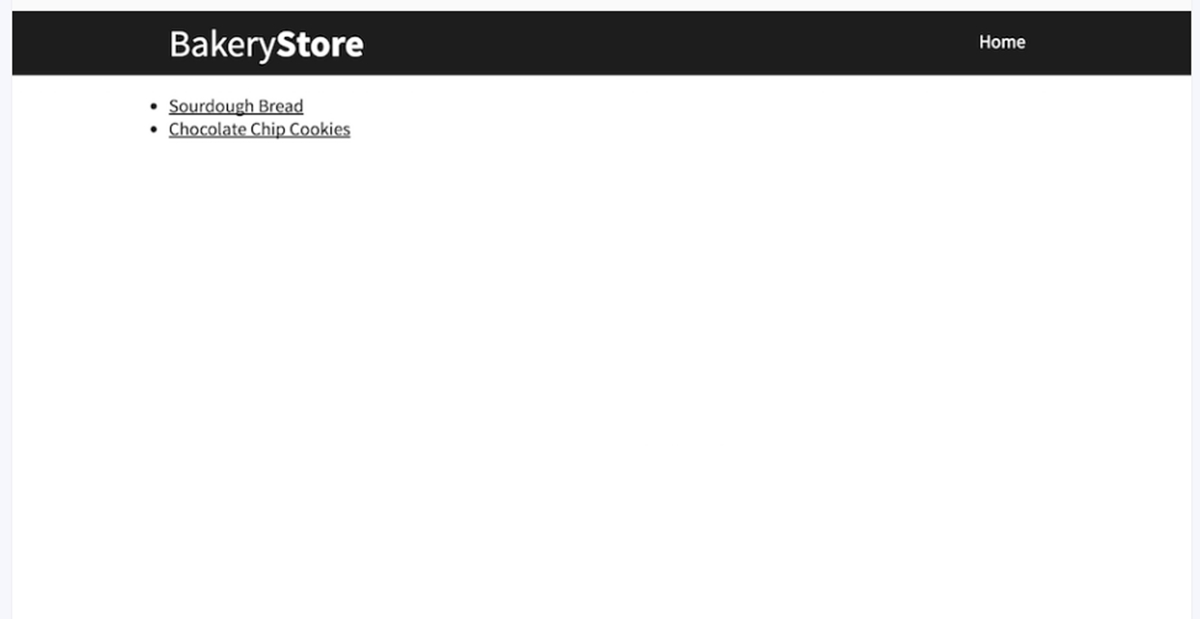
Step 2: List all posts
We have two blog posts on our site, let’s have a page which lists all the posts. We’ll create blog.html in the root of the site and add front matter to set the layout and title:
---
layout: page
title: Blog Page
---
Next, we’ll output the blog posts in an unordered list, each post will have a link and title. Jekyll gives us access to an array of all the posts at site.posts. A post object has special properties. url is the URL for the generated post page, date is (by default) the date specified in the file name and title is (by default) the title specified in the file name:
...
<ul>
  {% for post in site.posts %}
    <li><a href="{{ post.url }}">{{ post.title }}</a></li>
  {% endfor %}
</ul>
Step 3: Generate post layout
The generated page currently has no styling because there’s no layout. Let’s create a layout at _layouts/posts.html, inherit the page layout then output the title, date, and content. Jekyll automatically converts the markdown content into HTML:
---
layout: page
---

<h2 class="spacing">{{ page.title }}</h2>
<p>{{ page.date }}</p>

{{ content }}
Then the admins can add the layout in _posts/2016-04-03-chocolate-chip-cookies.md and _posts/2016-04-03-chocolate-chip-cookies.md.
---
layout: posts
---
...
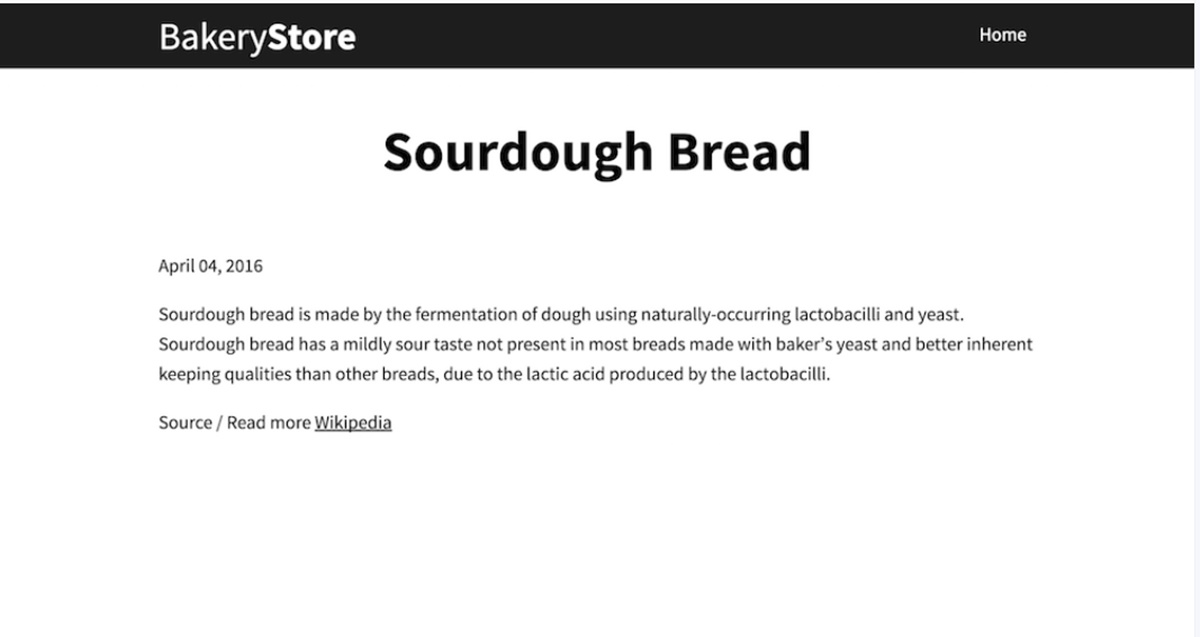
Step 4: Run date filter
To fix the date, the users can use this format
...
<p>{{ page.date | date: '%B %d, %Y' }}</p>
...
Conclusion
By very simple steps above in this tutorial How to link to related posts on a blog in Shopify, the Shopify store owners can create the powerful content linkings that will boost their sales effectiveness and contribute their valuable customer’s loyalty. Therefore, it is easy for Shopify sellers to drive their sales through built-in content. After this tutorial, the online traders can read more about blog posting through this article How to link to the next and previous posts on a blog in Shopify.


