
Verify an Email Address Without Sending an Email: 6 Ways to Apply
By Sam Nguyen

Drive 20-40% of your revenue with Avada
For years, it has become a common practice among marketers to verify the validity of an email address before hitting the “Send” button. The idea is simple - if the email hard bounced, the recipient doesn’t exist.
However, if your email list includes a few hundred or even a thousand contacts, this is really time and resource-consuming.
The solution?
You can actually verify email addresses without sending emails to all of them.
In this guide, let’s learn how and why it’s so valuable to do so.
Why should you verify an email address before actually sending?
One word: deliverability.
Delivering 500 emails to verified email addresses is actually much better than sending 1,000 messages to unverified emails.
Chances are, a significant percentage of those 1,000 emails will bounce. The more your emails get bounced, the more likely the messages coming from your inbox will be marked as spam. Not only will you waste your time on bounced emails, but the messages you send to valid addresses won’t be delivered as successfully.
By taking an extra step to verify an email address before hitting the “Send” button, you will improve your deliverability. With better deliverability, you will see a better open and response rate.
6 ways to verify an email address without sending an email
As we got to know, sending emails to verify email addresses can harm your domain reputation. In this case, verification of an email address without sending an actual email is possible.
In this section, we will show you 6 ways to do so. We’ve attempted to provide simplified solutions to technical difficulties, so let’s see what they are.
1. Check the email syntax
One of the most popular problems with email addresses is typographical and syntax errors. In fact, they can be checked and modified manually.
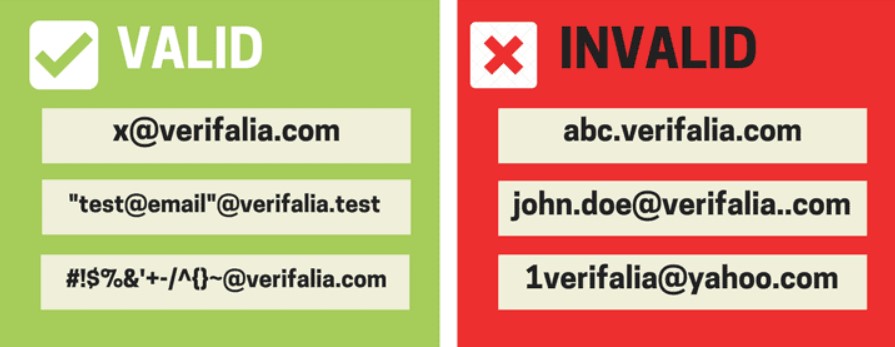
Valid email addresses consist of 2 parts: a local part (i.e., username) and a domain. They are separated by a “@” character and follow the format of local_part@domain. For example, if we have an email address of [email protected], the “abc” is considered the local part, and the “xyz” is considered the domain.
The local part can be maximum 64 characters long and can include:
- Uppercase and lowercase Latin letters (A-Z, a-z)
- Digits ranging from 0 to 9
- Special characters, such as ! # $ % ^ & ’ * + - / = ?
- Dot . (however, it should not be placed at the beginning or ending of the local part, and it shouldn’t be next to another dot)
The domain part is typically the same as the business domain, such as @avada.io, or the email service provider, such as @gmail.com. It can include:
- Uppercase and lowercase Latin letters (A-Z, a-z)
- Digits ranging from 0 to 9
- Hyphen - (however, it should not be placed at the beginning or ending of the domain part)
- Dot . (used to separate parts of domain labels, such as subdomains, main domain, and top-level domain)
You must check to ensure that your recipient’s email address adheres to the required syntax. Any other format than this email syntax is faulty and will most likely result in a bounce. Besides, check for typographical errors, such as @gnail.com or @yahooo.com, which can cause your emails to bounce back.
If you notice email addresses with incorrect syntax, you should remove them from your email list or create a suppression list, so that you won’t accidentally send them.
2. Ping the server
Ping the server is a technical method to verify email addresses without sending an email. Actually, this method is slow, cumbersome, and risky for your infrastructure; however, it is quite accurate.
To perform this method, you need a tool like Telnet on Windows or PuTTY or nc (netcat) on macOS. Below are the steps needed to verify email addresses by pinging the email server:
-
Look up the mail server using the command
nslookup - type-mxfollowed by the email domain name. This should return several servers. - Pick one of them, then connect to it using Telnet.
- On Windows, the command for this is
telnet {mail server address} 25. - On macOS, the command for this is
nc {mail server address} 25.
- On Windows, the command for this is
-
Then, say hi to the server by typing
HELO {your domain name}. Please note that there’s only one L in the command. -
Next, it’s time to check the email address. Start by typing this code
mail from:<{your email address}> - Finally, after the response code, type
rcpt to:<{the email you are verifying}>
Here is how the communication would look like for a deliverable email address:
220 mx.google.com ESMTP h3si7768221lfu.32 - gsmtp
HELO usebouncer.com
250 mx.google.com at your service
mail from:<[email protected]>
250 2.1.0 OK h3si7768221lfu.32 - gsmtp
rcpt to:<[email protected]>
250 2.1.5 OK h3si7768221lfu.32 - gsmtp
quit
221 2.0.0 closing connection h3si7768221lfu.32 - gsmtp
And below is how it’d look like for an undeliverable email address:
HELO usebouncer.com
250 mx.google.com at your service
mail from:<[email protected]>
250 2.1.0 OK l26si4867318ljg.18 - gsmtp
rcpt to:<[email protected]>
550-5.1.1 The email account that you tried to reach does not exist. Please try
550-5.1.1 double-checking the recipient's email address for typos or
550-5.1.1 unnecessary spaces. Learn more at
550 5.1.1  https://support.google.com/mail/?p=NoSuchUser l26si4867318ljg.18 - gsmtp
quit
221 2.0.0 closing connection l26si4867318ljg.18 - gsmtp
While proceeding with this method, it’s important to properly recognize the responses of an email server. Important parts of the server SMTP response are so-called Basic status codes and Enhanced status codes.
Basic status codes contain 3 digits, where the first digit represents whether the response is:
- 2 - positive
- 3 - positive intermediate
- 4 - transient negative
- 5 - permanent negative
The second digit represents the category:
- 0 - syntax
- 1 - information
- 2 - connections
- 5 - mail system
Below are some common status codes together with their meaning:
- 220 - connected - service ready
- 221 - goodbye - service closing transmission
- 250 - requested action OK and completed
- 450 - requested action not taken - mailbox may be temporarily blocked for policy reasons
- 500 - syntax error - command unrecognized
- 503 - bad sequence of commands
- 550 - mailbox unavailable
- 551 - user not local
- 552 - exceeded storage
3. Use an email verification tool
Using an email verification tool is a wise method, which requires little or even no effort. The key here is to find a tool that can automatically verify your email address rather than draining your credits or charging you extra to do so. In fact, many people choose an email verification tool because it is:
-
Accurate. Perhaps most importantly, these tools tend to work accurately. You can be confident that your final email list only includes valid addresses.
-
Speedy. Compared to pinging the server, the tool-based method is very fast. In addition, you don’t need to do any work to check email addresses. Just simply upload your email list and let the tool do the rest.
-
GDPR-compliant. You need to ensure top-notch security when handling email lists. Make sure that you check if the tool you are using meets security frameworks like GDPR (General Data Protection Regulation).
Email verification tools use a range of methodologies and procedures to complete the task. As a general rule of thumb, a few steps are common for the majority of verification tools:
-
Syntax and formatting check. It is often the first step of the email verification process for most of the tools. In this step, it’s possible to check whether the spelling is correct or not and if there are any unnecessary dots, signs, commas, semicolons, or apostrophes.
-
Domain check. During this process, tools ensure the domain linked to the email address actually exists, is registered and works well. It is vital as some domains expire and some companies migrate to different domains and then create new ones tied to them. To do so, the tools check the DNS and MX records for the domain name.
Read more: Why Should You Verify Your Sending Domain?
- Email ping. During this step, tools often use the SMTP protocol to ensure that the mailbox exists and receives emails. After this step, the result could be either positive or negative. If it is positive, you’re ready to go. A negative response means that the email address doesn’t exist.
Some of the common email verification tools include:
-
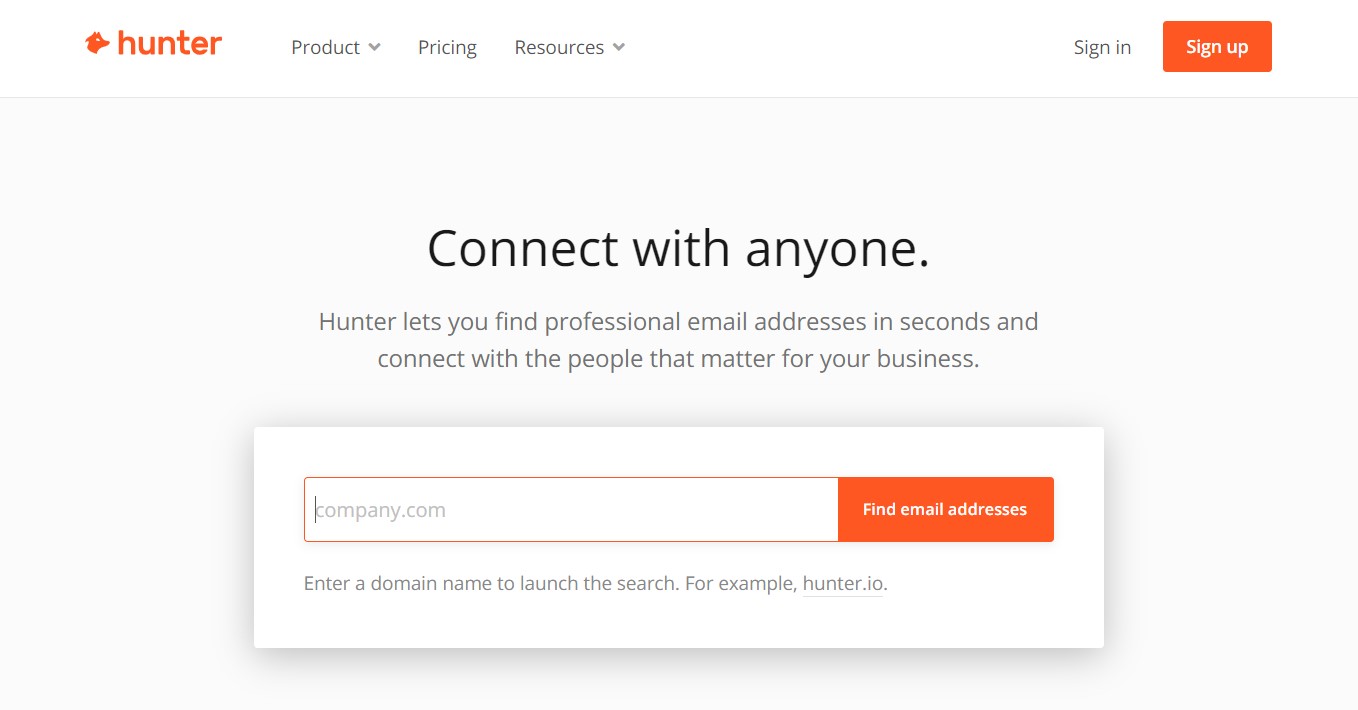
Hunter.io. The tool validates emails in a matter of seconds. Its Email Verifier performs validations on multiple levels, such as format, domain information, the response of the mail servers, as well as full comparison with a unique base of more than 100 million professional email addresses.
-
Wiza.co. The tool finds and validates email addresses, but it works best with the LinkedIn Sales Navigator and email addresses from LinkedIn.
-
ZoomInfo.com. The tool typically provides excellent data, but it’s frequently prohibitively expensive for growing teams.
4. Search email addresses in Google
Obviously, this method won’t tell you exactly whether or not an email address is valid, but it will tell you if it is. Today, people mention their addresses all over the Internet, whether on social media networks or their websites. If you only need to check a few email addresses, this approach can work for you because it won’t harm your domain’s reputation.
5. Conduct an IP address lookup
Conducting an IP address lookup is another method to determine the legitimacy of the recipient’s email account. This method assists you by providing the IP details of your recipient’s email address.
To start the process, you need to find the IP address of the recipient as the first step:
- Open MXToolbox in your browser
- Add your recipient’s email address in the box, then click on MX Lookup
- You’ll get a list of IP addresses associated with the email address. You can choose any one of them.
We’ll start with an IP address lookup in the next step. There are multiple IP address lookup tools available over the Internet, like whatismyipaddress, which can provide the IP address of your recipient’s email server.
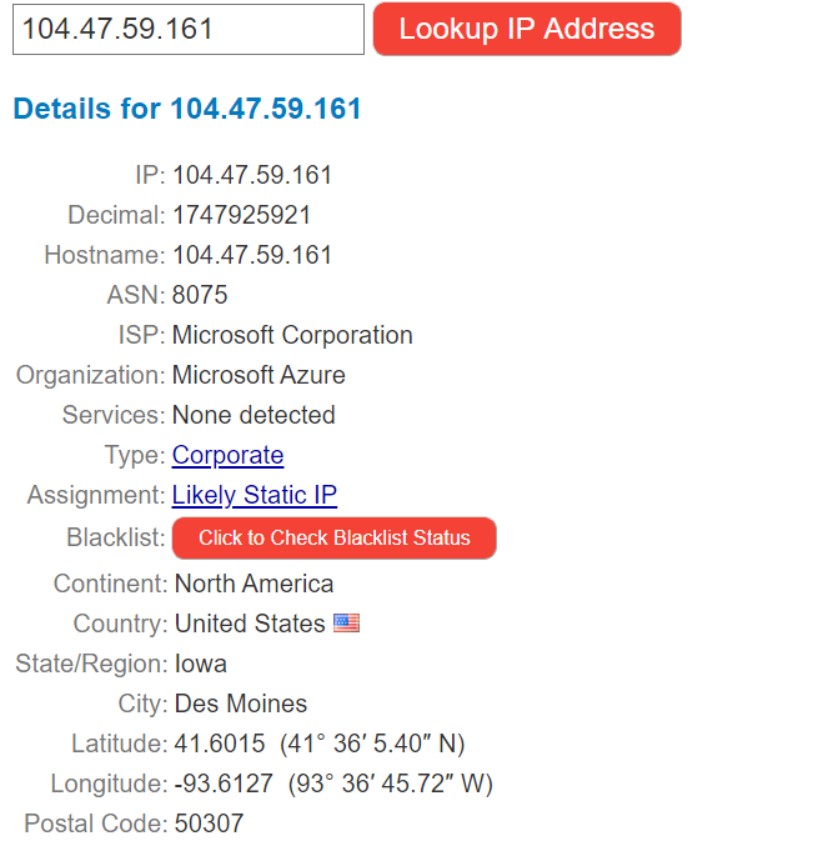
You’re able to double-check the location servers and ISP information provided in the lookup results. If you see anything out of the ordinary, it is often a case of email spoofing, and the email address is dangerous.
6. Perform a DNS lookup
The DNS lookup technique is used to check the domain authenticity. It also provides you with any blacklist or spammy data associated with the domain. In order to conduct this technique, follow the steps below:
- Open MXToolbox DNS Check in your browser
- Insert the recipient’s domain name in the text box provided and click on DNS check
- You’ll get a list of hostname and details of the DNS records
- If you do not see any details of the provided domain, it is most likely that the domain is available.

The test provides you the accuracy of the recipient’s domain, but still cannot guarantee 100% deliverability.
When should you check email addresses?
You don’t have to verify email addresses excessively. It’s valuable to keep your mailing lists clean by validating them periodically. Nevertheless, you need to check if there has been a major change in your list or if you are struggling with poor metrics.
For instance, you’ll want to verify email addresses when you get a new list. Also, you’ll want to check email validity if your bounce rate exceeds 2% or your open rate is too low.
Additionally, it’s a good idea to clean up your lists regularly, let’s say roughly once per month. If you’ve got a relatively small number of emails, you may be able to do this quarterly. If you’ve got a very long list that changes a lot, you may need a more frequent schedule.
Please note that B2B lists often need to be validated more often than B2C.
Further Reading
- How to Verify Email Addresses and Send More Effectively
- Top 13 Free Email List Cleaners For You to Try in 2022
Final thoughts
Email verification is an essential aspect of your email marketing campaign. Picking the right verification method optimizes your efforts and boosts the effectiveness of your campaign. It is also important to have a friendly email client like Avada Email Marketing Automation, and if anything, do not hesitate to use the email migration service to make your life easier.
We hope this article “Verify an Email Address Without Sending an Email: 6 Ways to Apply” has really helped you a lot. So, which method will you choose for email verification? Feel free to share your option with us; we would love to hear from you!


New Posts


How To Set Up Google Analytics 4 For Your BigCommerce Store
