
How to take Quality Product Pictures?
By Sam Nguyen

Drive 20-40% of your revenue with Avada
If a picture is worth a thousand words, then a stunning product picture is worth a fortune. Online consumers always take time-saving shortcuts, and your store’s images naturally attract their attention and help them quickly decide whether to purchase or not. Images shape the customer’s first impression, creating a beginning point to which your visitors keep browsing and eventually purchase.
The convenience of eCommerce is something really important to a customer’s shopping experience. Being able to browse merchandise from the living room, not having to go to a store, feeling the product just like it is in front of the eyes, that is the dream for any online shopper. Especially in a time like this, less interaction is more necessary than ever.
To reach online consumers, clear and eye-catching pictures of your products are vital so visitors can have confidence in your offerings - the confidence of walking into a brick and mortar store to see the item in person. This is not easy, though, since you will need some equipment to produce beautiful images that sell right at first sight.
In this guide, I will show you how to take quality pictures of products for your Shopify store and optimize the photo creation process to save time. The budget for product photography would be low too, cause I know that is what you are worrying in mind too.
Let’s start shooting!
What is product photography?
Simply put, product photography is a specific technique used to showcase a business’s products attractively. The quality of the pictures will entice potential buyers to purchase specific products that the company is offering.
Ever since the prime days of newspapers, product pictures have been an essential part of advertising, both online and offline. You can see product photography in catalogues, brochures, billboards, magazines, company websites, and online ads, especially when the products are shown directly to consumers.
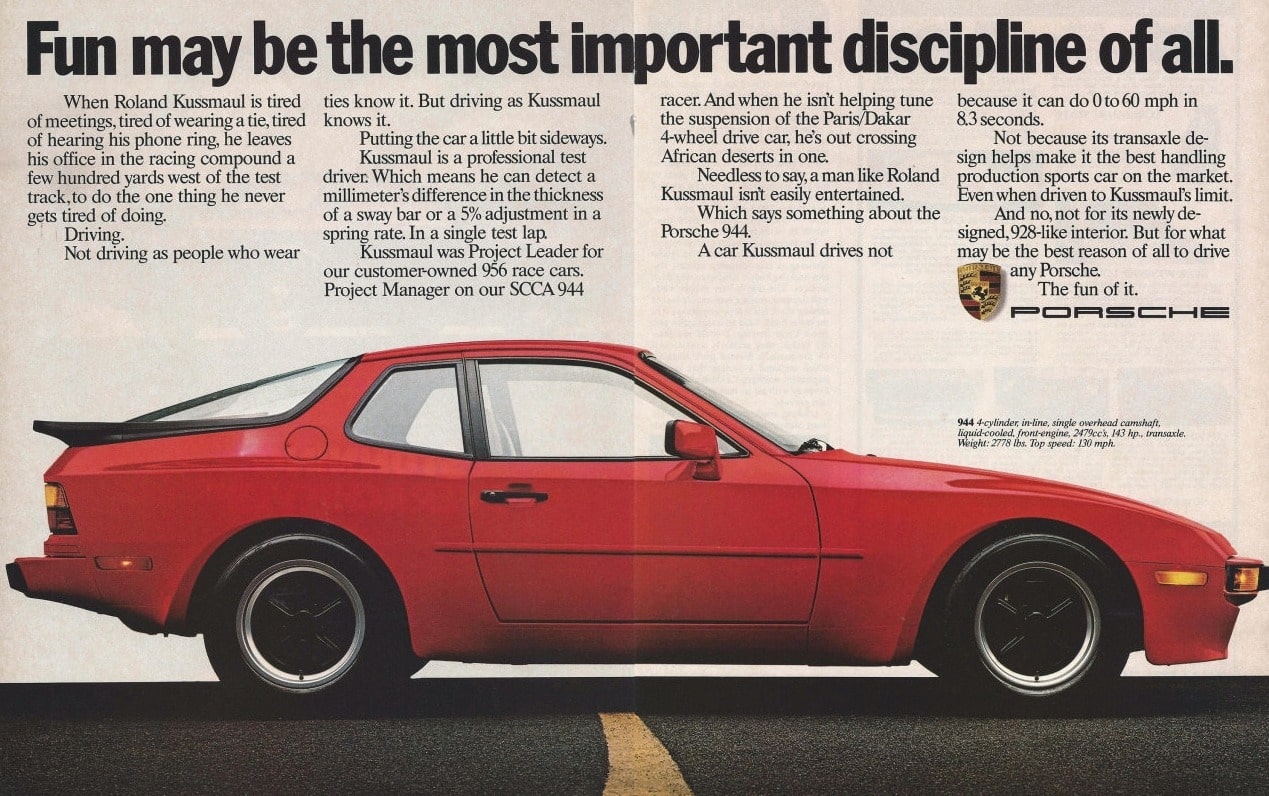
The picture above of an old Porsche magazine ad is still a great piece of advertising even today. The copy is intriguing and inviting, leading the reader to know how fun the Porsche 944 is. But, admittedly, it was the car that attracted my attention right away. The bright red and the sleek design, combined with the open road under the car, everything looks so good that I wanted to buy it instantly.
That can lead us to see the reasons why product pictures are so important.
Why quality pictures of products are essential
Our brains often transmit the information as visual. Just try to remember something in your mind; aren’t images always the first that come to mind? No matter how sophisticated your website visitors are, they always engage first with visual elements - making pictures a key part of the decision-making process, ultimately determining your Shopify store’s retention and conversion rate.
The quality of your product pictures reflects your brand image, creating a vital first impression. And the right way to make a good first impression is to present professional, polished, and quality pictures that can evoke the maximum engagement.
Quality visual enhance the buyer’s trust
93%of shoppers consider images an essential part of the purchasing decision. Your pictures represent your product’s perceived quality and value. They speak directly to the target audience, making your product more attractive and relatable. The product pictures also show the brand’s characteristics through colors, representation, and style.
Images play a key role in branding
Branding should always stand at the center of every decision your company makes, which is shown through your social media posts, your website, and all the marketing efforts. Images are at the heart of branding, making the first impression, instill trust, and invite consumers to take a close look.
Most big companies have an image brand guideline, so their branding image is consistent on every platform. Most brand’s goal is to form a long-term relationship with the customers, and photos help you speak in a uniform voice that can connect with the audience. If the copy is the brand’s tone, then the picture is the brand’s avatar - a complete personality lets consumers view your brand as a real person in their minds.
Types of eCommerce product pictures
Basically, there are two types of eCommerce product pictures to use across your marketing channels and product pages.
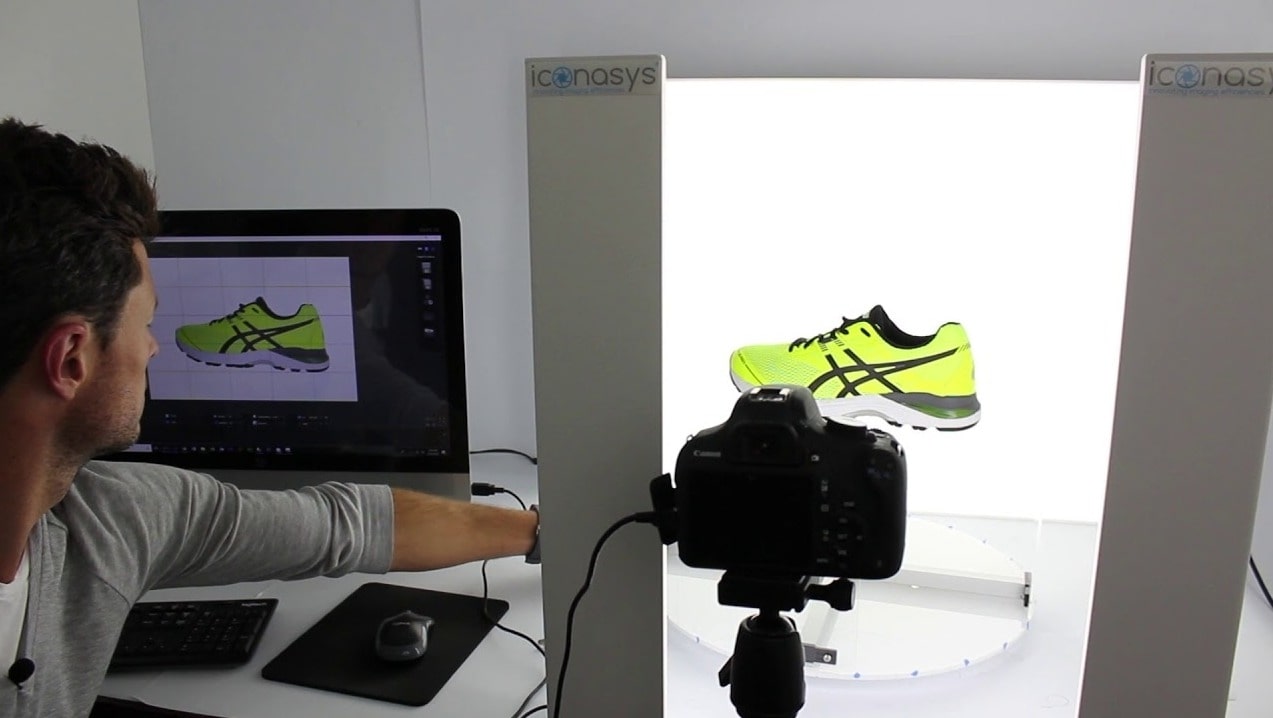
The first type is cleant-cut images of products on a white background. This type of photos showcases your featured product with a variety of pictures showing different angles. Product pages are often the best place to use this type of pictures. They are called product-only pictures.
Product-only pictures show your product in the best light from all relevant angles. The white background helps create a consistent look across the product line and a smoother browsing experience. These images describe products at a glance and nurture page visitors towards making a purchase.
Contrary to popular belief, you actually need dozens of product-only pictures for the best conversion rate. On the product pages, mix them with some in-context product pictures to create an emotional bond.
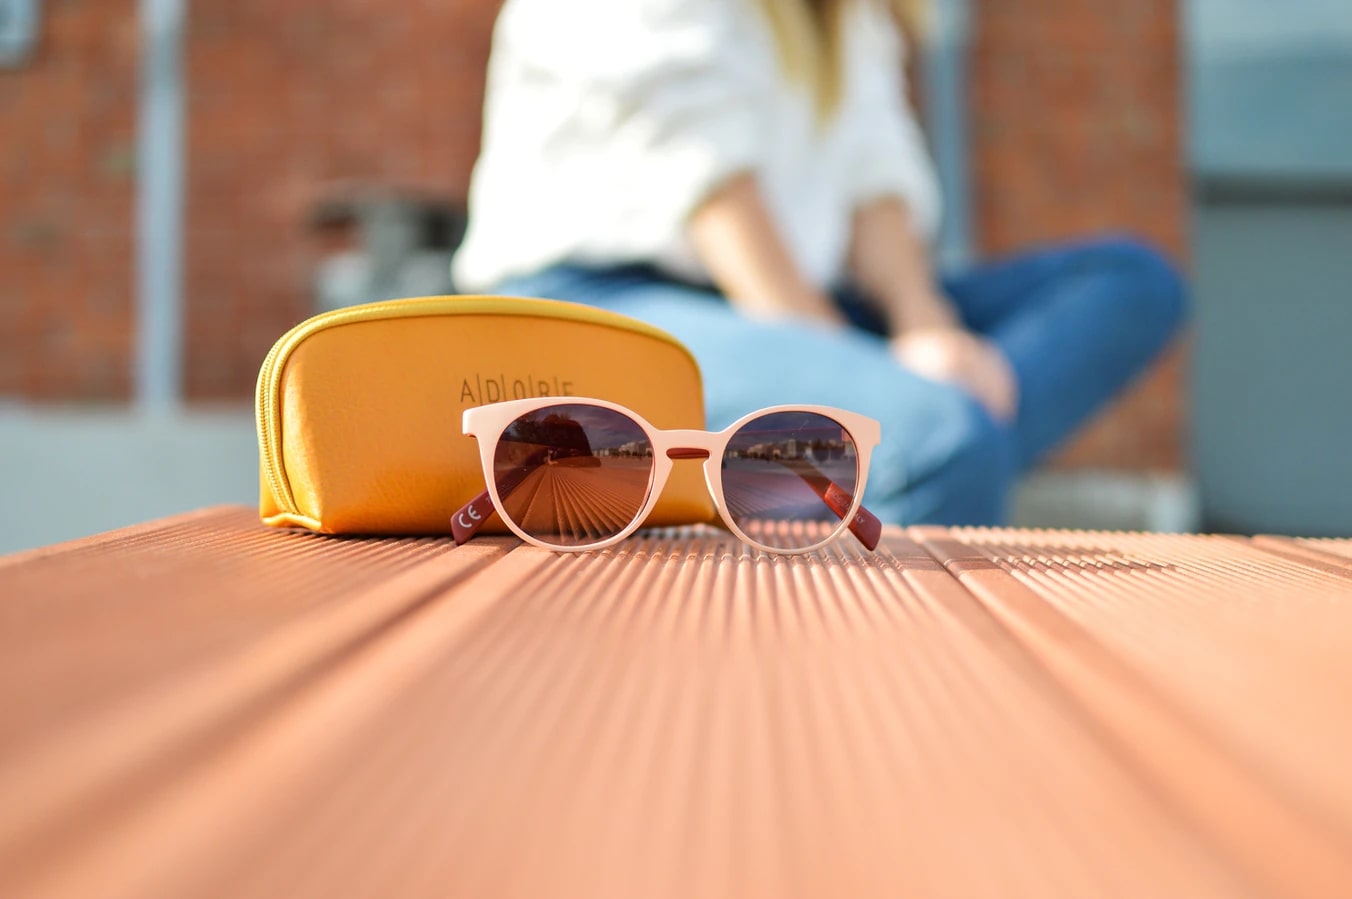
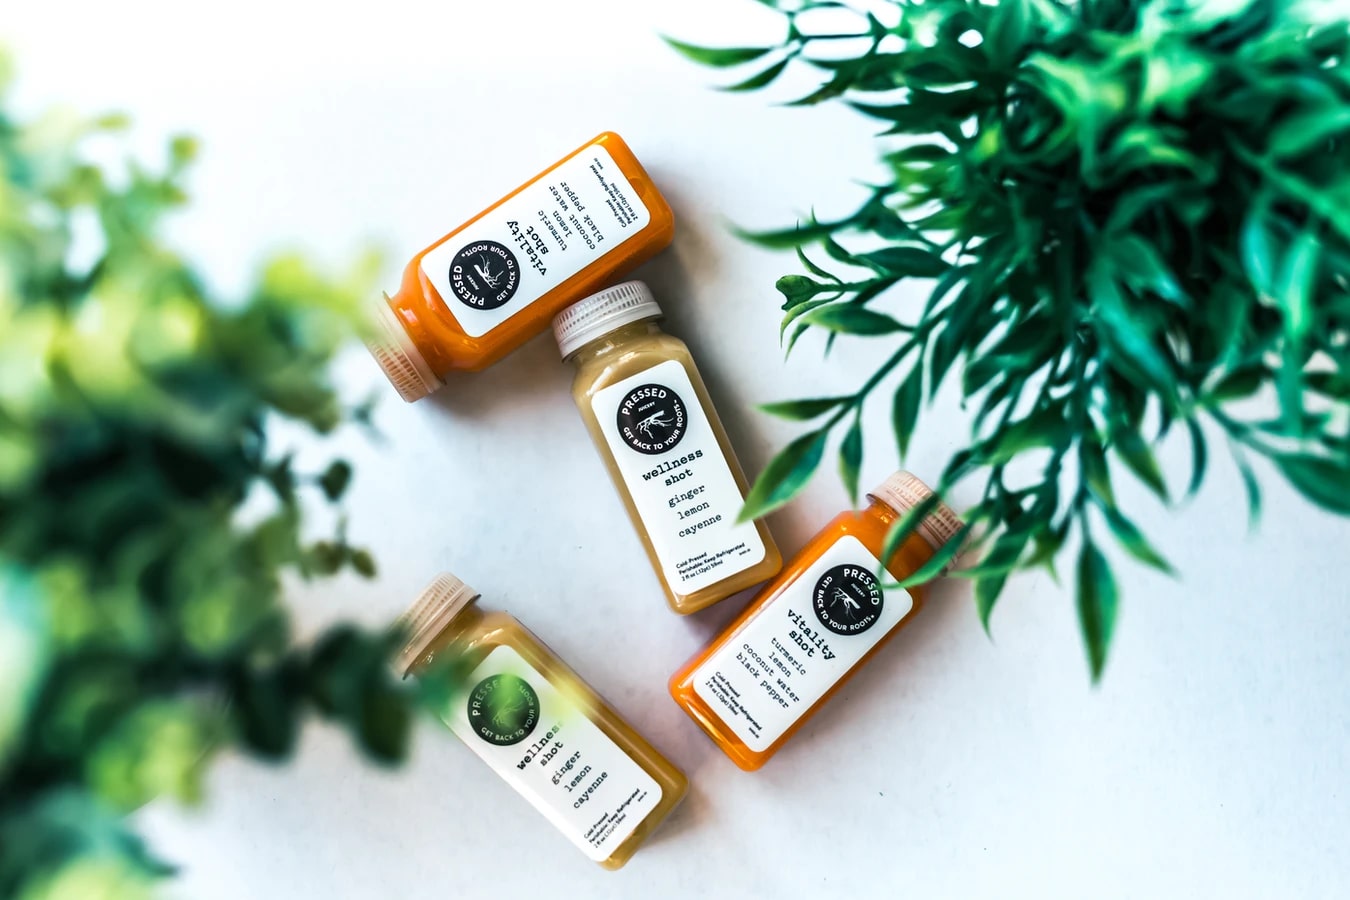
The second type is images of products in context or real-life situations. This type of photos can show your product being used by customers in its intended environment or alongside other complementary products. They are called in-context pictures or lifestyle shots.
In-context pictures tell a story for the products and are best suited for blog posts, social media posts, emails, and other marketing channels at the top of the funnel. The same rule still applies is that in-context pictures should show your products in the best light, but you have a lot more creative freedom.
You can shoot indoor or outdoor, whichever setting that suits your brand’s voice. Whatever choice you make, make some preparation for hardware and software to have the best photo results. In the next section, let’s see what you need to set up for product photography.
Here are all types of product photography, they can be grouped into the two categories above, but it is good to know too:
- Individual shots: A picture of your product on a white background.
- Scale shots: A picture to give a better idea of the size of your product, like placing a sofa next to a wall.
- Detailed shots: Pictures of close up views to highlight specific features of your product, like material or texture.
- Group shots: Pictures of products showcased together, often used for a collection.
- Packaging shots: Pictures of your product’s packaging.
- Lifestyle shots: As mentioned, pictures of your products being used in real-life situations.
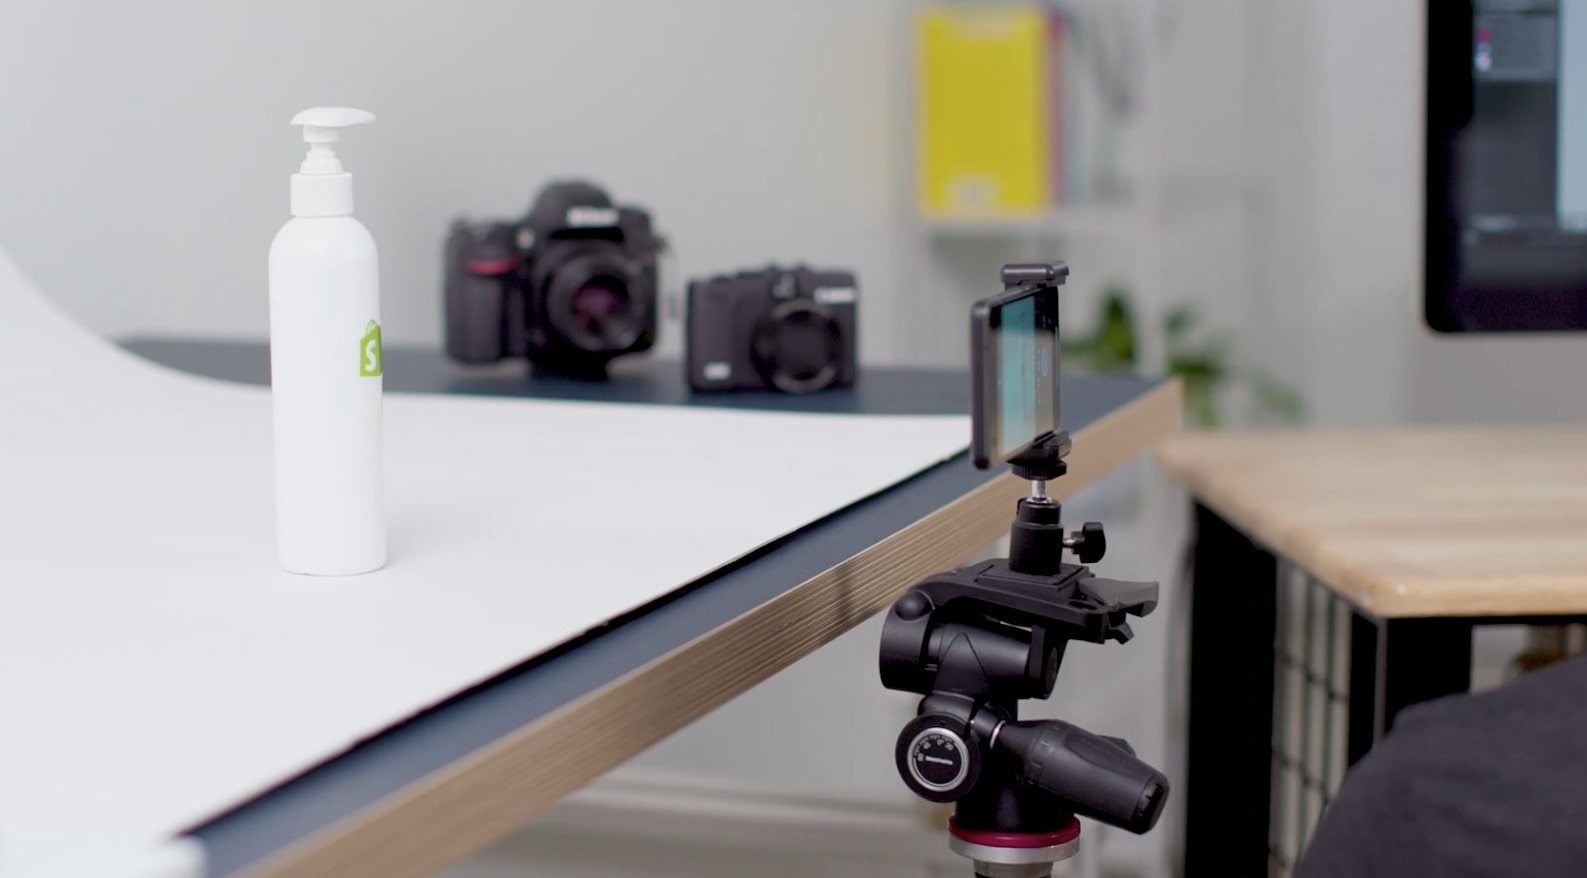
What do you need to take pictures of products?
Gear is an unmistakable part of photography, so you obviously need some to take quality pictures of products for your Shopify store. But it can be confusing and costly for newcomers to spend too much on high-tech equipment. Keep an open mind, don’t overspend on gadgets, and find only things that suit your needs. If you already have a camera, you won’t need more than $100 to set up.
Here are a few things to prepare before taking pictures:
Camera
You don’t need crazy camera gears like the pro. Try to see what you already have in hand. If you already have a mechanical camera, that is great. But if all you have is a smartphone, that is fine too. Smartphone photography has come a really long way. For a cheap camera, old Canon or Nikon models can get the works done, allowing you to demonstrate a good result with modest equipment.
It is not only the camera that takes good pictures. In reality, it is only a part of the puzzle. Photography also includes skills, lightning, exposure, environment, syling, and post-processing.
Tripod
When using cameras to take product pictures, you often use a slower shutter speed to have more light through. If you hold the camera by hands, the subject can be blurry because of this, so a tripod is necessary. Even for a smartphone, a tripod is still worth getting. There are many cheap tripod options out there that are under $20, so don’t worry.
A white background
Since you are going to take dozens of product-only pictures, a white background is essential. You can get cheap white paper sweeps from Amazon; if they get dirty, you just cut off and roll a new piece down. Another cheap option is to buy some poster boards, remember to look for pure white. If your product is small, there are many photo studio kit boxes too; you need to plug in for lighting.
A light reflector
When you are lighting with natural light, there is a bright side where the light is striking, but the shadow side can be too dark. It would be best if you have a light reflector to brighten that part. Professional light reflectors are about $30 on Amazon, but you can also use foam boards just fine. For a sophisticated lighting effect, combine a white reflector at the front and a black reflector at the back.
A room
A room with a window next to the wall can bring perfect lighting. The bigger the window, the more natural light you can play with. To set up the room for your products, you should have a standard table, decoration as you wish, and some tapes to secure your board or reflector.
A photography guideline
To maintain a consistent image as your business grows, you will need a clear brand’s photography guideline. What you need is to write down all the information about:
- Color palette
- Focal length
- Saturation
- Composition
- Shadows
- Context and location
- Consistency
All the minor things like the distance between the camera and the product, lighting setup, angles should all be documented. Your product pictures are your brand ambassadors, so don’t take this lightly. A photography guideline will help everyone involved in your product shoots work well, saving you money in the long run and a lot of time in the training process.
Your photo editing software should also have a technical guide and a template to help maintain your scale and consistent size. If you have a strong brand image, even create a style guide for in-context product pictures.
How to take quality pictures of products?
For the first time of product photography, you may get a bit nervous. But, don’t worry, after a few rounds, your pictures will look more natural with each shot. Follow these next steps and you will see yourself taking quality product pictures in no time.
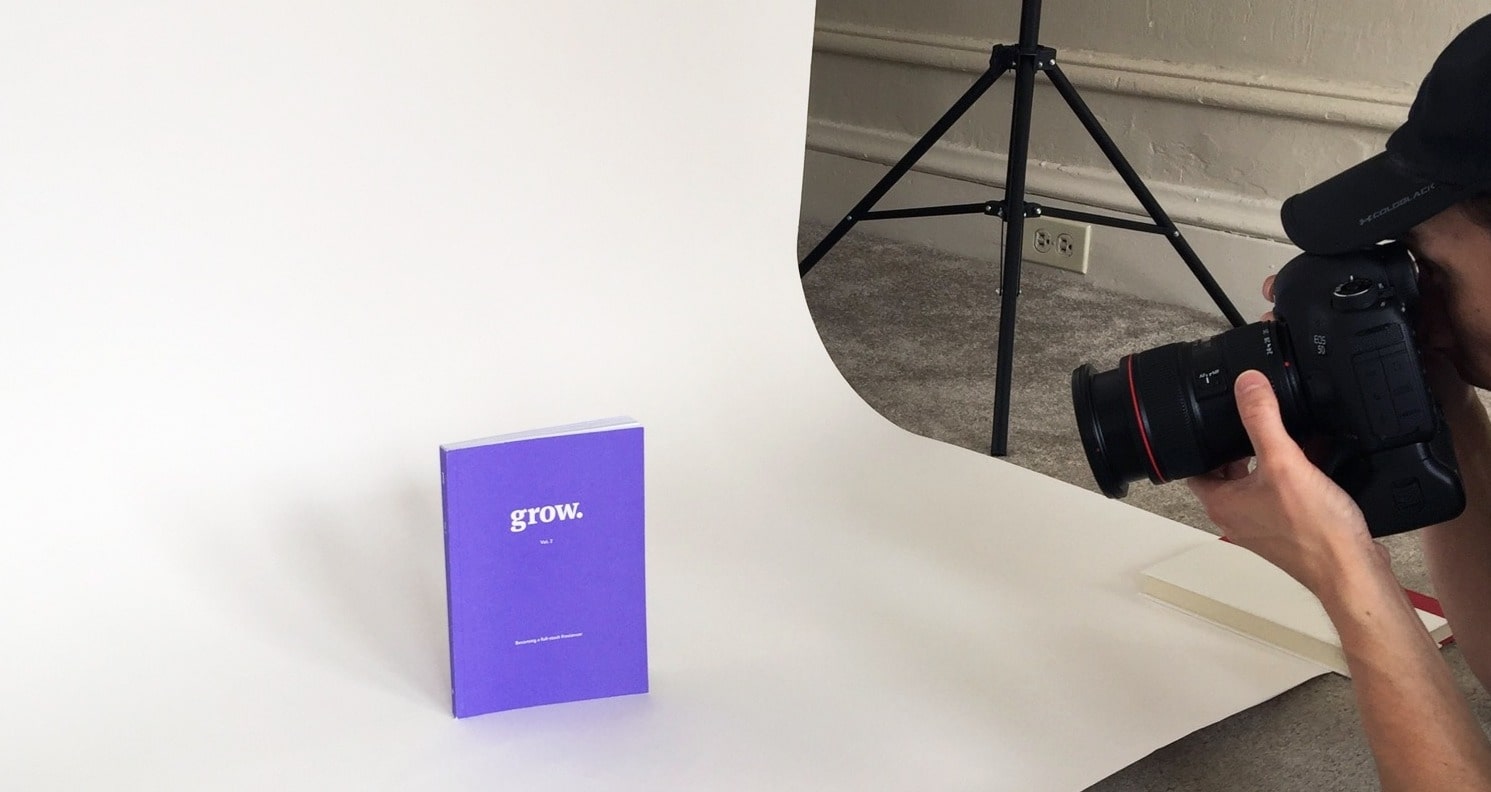
1. Set up the background
Having a right background can simplify the entire shooting and editing process, so it is worth the effort. There are many ways to improvise a background for your budget, which will decide your white background’s cost too.
Suppose your product is small (like a handbag, book, cup, etc.); all you need is a roll of craft paper. Then, push a chair against the wall and tape the craft paper to the wall, letting it naturally fall to the ground and create a seamless transition. The other budget approach is to create your own light box or buy one from Amazon.
For clothing, it is best to use a mannequin, which can be easily removed and also more quickly to change items. For lifestyle shots, ask a friend or team member to try on your products, and simply use a cafe or a borrowed living room to take pictures.
If you are shooting larger products like furniture, you may have to cost more for a stand mounted sweep as well as artificial lighting. But you can still improvise by using a larger roll of craft paper, tape it into the wall, and let gravity do the work.
2. Set up the lighting
Light is one of the most deciding factors for the quality of product pictures. This can be hard to set up right, but lighting can bring beautiful results and decrease a lot of time post-processing. You basically have two options: Natural light and Studio light.
Natural light is much easier to manipulate and save a lot of time setting up. Start by placing your product near a large window, ideally the one that allows most light into the room. If the light is too harsh, try placing a piece of cloth or white paper over the window. If the shadow is too much, use a light reflector to soften it. It is best to show when the light is brightest, giving you much light to play around.
Studio light is better for professional pictures, but you will need at least two light softboxes to have the best effect - one serves as your key light, while the other is the fill light or backlight. Your key light will be in the front, slightly to the side of the product, while the backlight is on the opposite side.
Studio light can give your much more control over the process, especially if you plan to shoot multiple products over several hours. But natural light gives a natural vibe that customers can easily resonate with at a low budget.
Once you have the right lighting, you can get professional and consistent results for your product pictures.
3. Pick your camera
Prices of DSLR cameras have dropped significantly over recent years. However, if you are on a tight budget, a smartphone can produce stunning results too. Sometimes, smartphone cameras even take better pictures than a professional camera. As long as you have good lighting and background, your iPhone can do a good job. I even tried a Google Pixel and the result is amazing.
But, as mentioned, you should get a tripod for stability, consistency, and focus. If you are on a tight budget, a pile of books or a stool can steadily hold your camera. For smartphones, stabilizers or tripods are quite cheap, so you can definitely get one.
4. Post-process the pictures
For a polished look on your product pictures, retouching them after the shoot is vital. Even if you take photos with a smartphone, editing is the difference between mediocre and professional. Getting the right background or lighting can take some trial and error, but photo editing softwares like Photoshop can remove unnecessary flaws.
Retouch your product pictures to cover anything from background removal to color grading, mannequin removal, and shadow editing for a natural look. Photo processing is a time-consuming process, so try some tools like Pixlr or Snapseed to increase the speed. If you have the budget, you can hire a professional editor. Prices start at about $1 per photo.
How to optimize product pictures
While you upload product pictures to the website, don’t forget to optimize them, so you get the best quality but don’t harm the site’s load speed. Platforms and marketplaces often have their own sets of photo editing requirements, so make sure you follow their guides.
When it comes to product pages, every second counts and can hurt the conversion rate. So make sure you implement minifying tools to optimize the pictures and cut off a few unnecessary megabytes. Apps like Tiny PNG and SEO Image Optimizer are fine to start at a free plan.
For Search Engine Optimization (SEO), you should name your images correctly and include as much relevant metadata and keywords as possible. Doing this will help search engines understand what your pictures are about, improve your ranking and boost organic traffic in search results.
Upscale product photos with AI tool
In many situations, even the product photos you have painstakingly taken might not be good enough to compete with competitors for customers. Without technical knowledge of photo editing tools, it can be hard and time-consuming for sellers to polish their photos. In these cases, we can recommend using the various AI image editing tools available now on the internet.
An application we frequently use is Upscales.ai, a relatively new AI Image upscaler tool that can upscale (or enhance) images automatically up to 8x its original resolution.
On the surface, the majority of image enhancing applications seem the same while in fact they are not created or developed similarly. Some applications like Upscales take their own AI training approach to image upscaling. Focused on people and product photography, Upscales is well-equipped to recognize the main subject of a picture and apply resolution scaling to make the subject polished, detailed, and colorful very efficiently.

Frequently asked questions about product photography
What equipment is necessary to take quality product pictures?
- Camera: Smartphones work fine, but more expensive cameras can improve the look and details of the product pictures.
- Lighting: Good lighting helps ensure the quality of the pictures, both natural and artificial light sources can be used.
- White backdrop: This helps reflect light back to the product and give a more controlled environment for better quality.
- Tripod: It will reduce camera shakes and improve the quality of the pictures.
How much should I invest in professional product pictures?
If you can afford it, the more professional the better. Pictures of your products are one of the most important resources for merchandising, marketing, and branding effort. For an eCommerce brand or an online Shopify store, pictures are even more vital because consumers cannot see or touch the product in person.
If you can, hire a professional - who will help ensure your product has the best quality pictures that suit the industry’s standards. The average cost for a professional product photo album is arrangeable between the photographer and you, based on an image rate or hour rate. You should not need to invest in product photography more than two third of your photography budget (including buying equipment).
If you can’t, follow this guide and improve yourself in photography.
How much does a professional photographer charge?
Rates for product photography varies based on the level of photography and types of products. An amateur photographer can charge between $25 -$75 per hour, while more professional photographers can charge as much as $200 - 500 an hour and $250 - $1500 per image.
If you have many products, the model of charging per product is more budget-saving, since the more products shot, the cheaper the overall price is. Beware of additional charges for product size, preparation, layout, set construction, specialty shots, and more.
What tools should I use to edit pictures of products?
Post-processing in product photography is essential to make your pictures look better. You will be able to correct the exposure, adjust the color temperature, isolate products from backgrounds, and many more. Some handy tools for photo edit are:
- Adobe Photoshop: Famously known among photographers, Photoshop lets you cut out items, replace backgrounds, clean the surroundings, and those are just a few to be named.
- Adobe Lightroom: This app can house all of your product pictures for easy access, you can adjust your photo color effortlessly in a non-destructive way to the original photos. You can also copy settings and sync across many pictures.
- VSCO: For smartphone photography, VSCO has all the best editing features such as exposure, contrast, color adjust, and more. You can create incredible photos on the go just with this app.
- Snapseed: Made by Google, Snapseed brings powerful photo editing capabilities to your smartphone at a free price. Combined with Google Photos for saving high resolution photos, you get the best of both worlds.
Some more tips on product pictures
Here are some more quick tips to improve your products pictures:
- Use at least two light sources.
- Tape some white poster board to the bottom of a clear plastic container that is flipped onto one side to make a seamless white background.
- If you want reflection, place a piece of plexiglass underneath the product.
- Don’t stop at one photo per angle per product, shoot a variety of pictures to stimulate the experience of looking at your product in real life.
- Don’t be afraid to experiment with lifestyle shots, you never know what might look cool.
Final words
And there you have it, a simple guide to take quality pictures of your products for the Shopify store. You can take good pictures on a self-made white background without buying a ton of gears and complicated lighting. But, of course, if you have the budget, don’t mind paying for the best product photographers available, the result will take your eCommerce business to the next level.
If you try the guide, feel free to leave an image of your setup and the final picture results. I’d love to see the result. Thanks for reading!


New Posts


How To Set Up Google Analytics 4 For Your BigCommerce Store
