
Setting Up a Shopify Store with 11 General Settings Checklist
By Sam Nguyen

Drive 20-40% of your revenue with Avada
After having put hundreds of hours into preparation and setting up your store, now it finally comes to the time when you’re ready to launch your Shopify store. That can be exciting, but also scary at the same time.
Before the launch, there might be a bazillion things rolling in your mind as you’re not sure if you have completed everything required, or if you’ve missed any important thing. Is all the content on point? Are the products set up correctly? Does the website look professional and trustworthy enough?
This can be overwhelming, which is the reason why you need a checklist. A checklist will organize those bazillion things in your mind so that you don’t have to run around aimlessly as the launch day is coming close. Here’s the ultimate setting checklist that you’ll ever need for a successful Shopify store launch. But first, let’s have a quick look at how to set up a Shopify store.
1. How to set up a Shopify store?
It’s fairly easy to set up a Shopify store, so you won’t need to hire a Shopify expert for this task. Save your money to hire an expert for the important and complicated tasks that you cannot handle on your own. In just about 10 minutes, you will be able to have a functioning Shopify store by following these steps below. Let’s get right into them.
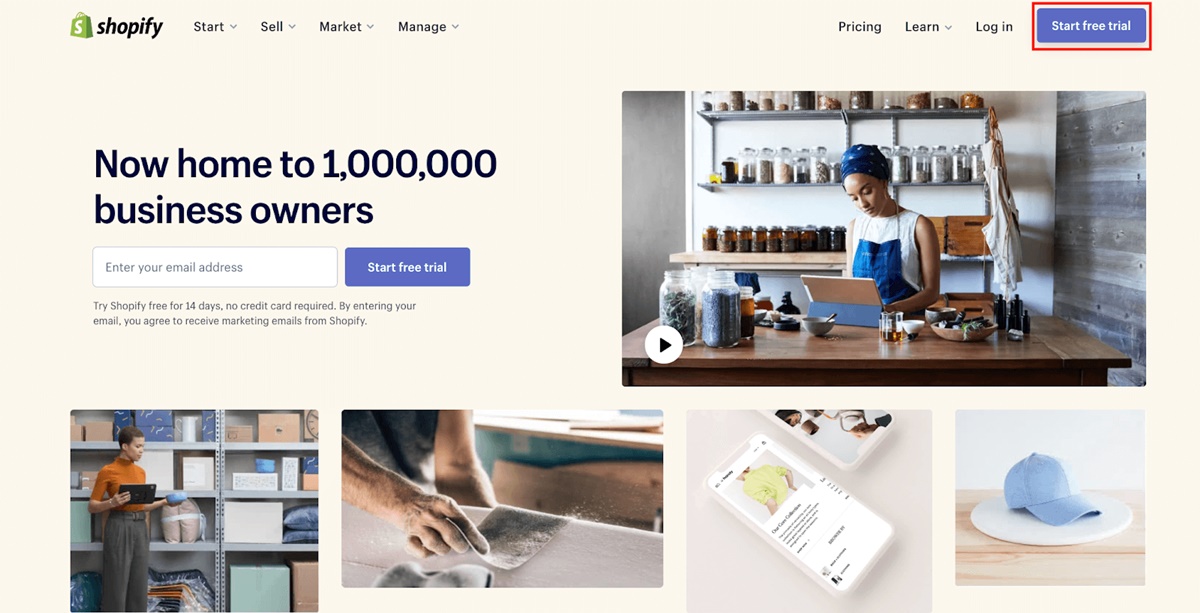
Step 1: Go to Shopify’s homepage and hit the Get Started button at the top right corner.
Step 2: A simple form will pop up, and now you need to input your registration information.
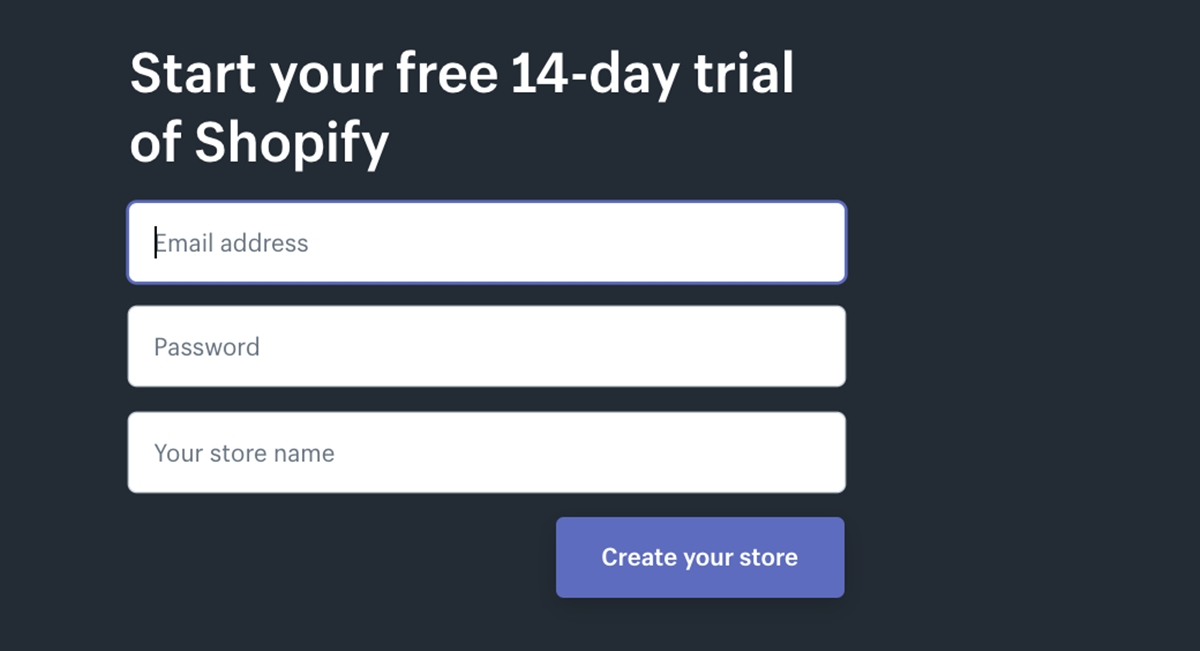
Here’s a couple of tips for this step that can save you lots of headaches later on.
- Make sure your password is strong. You will not want any outsider to get into your dashboard without your knowledge, because it takes tons of work to set everything up in there, but just a few clicks to ruin everything. Also, keep your account safe will help keep your customers’ information secure. You should set up Two-step Authentication for your store login, which I will address shortly below.
- Your store name must be unique because if a name is taken, you cannot use it. Your store name should be similar to your brand name, too, so that it’s easy for you to remember. You should spend some time to come up with a name that reflects your brand aesthetics and use it for both the brand and the Shopify store. Or you can take a look at our list of best Shopify business name generators and figure out which tool suits you best!
Step 3: After that, a longer form will pop up, but it will take just a few seconds to get through it.
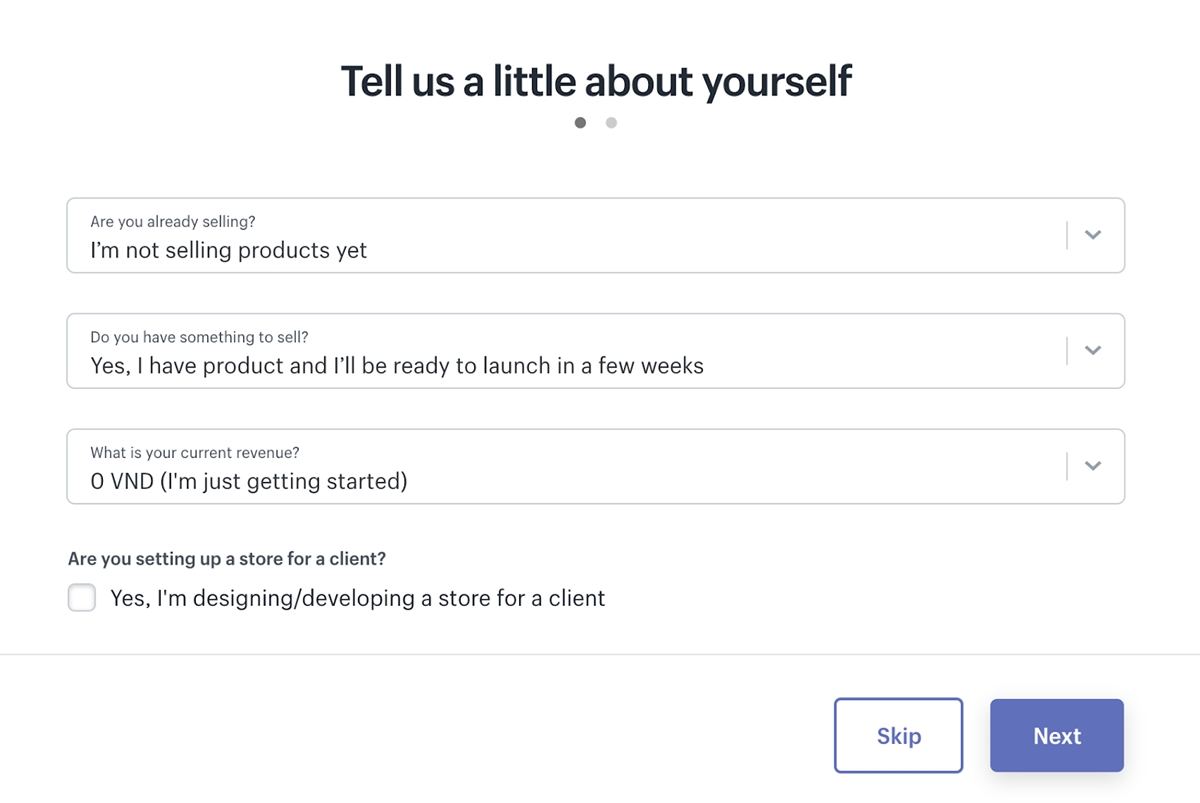
Once you’ve got through this step, you will get into a dashboard that is the backend of your online store. You will manage your front store with this dashboard.
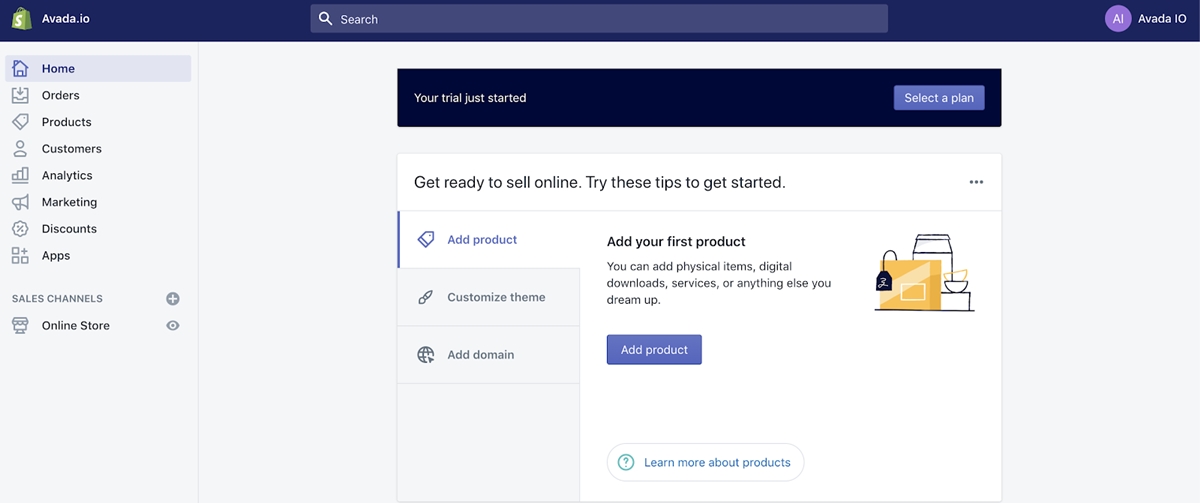
Step 4: Get to know your Shopify Dashboard from inside out.
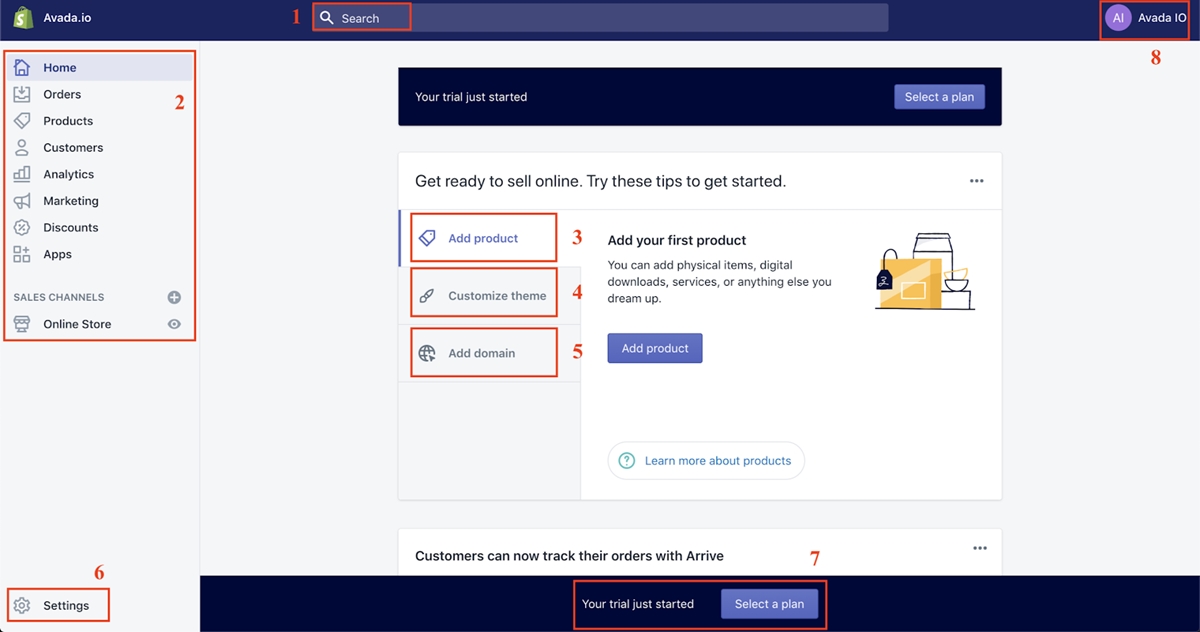
Here’s a breakdown of every major thing in the dashboard that you need to know when you’re setting up your Shopify store.
-
Search Bar: this will help you find anything in your store, from product SKU to customer ID. When you’re looking for something, save time by typing it in this search box.
-
Navigation menu: This is where you input your products, check your orders, view analytics of your store, so on and so forth. This is the most important section of your dashboard, so you should take the time to get familiar with it as quickly as possible.
-
Add product: You can click here to create products that you’re going to sell quickly.
-
Customize theme: When you first create a Shopify store, it can’t function right away yet because it does not come with a theme. However, it’s very easy to get one. You can go to Shopify Theme where there are hundreds of themes for you to choose from. There are both free and paid themes. When you’re trying out Shopify, go for a free theme first, and pay for a paid theme when you get familiar with the platform.
-
Add domain: Similarly, your freshly created store does not come with a personalized domain but with a default domain that Shopify provides. The default domain looks like this
{your store name}.myshopify.com. If you’re serious about selling online, you should buy a personalized domain based on your domain because it looks for reliable that way. For example, our paid domain is avada.io. When you have bought your domain, you can go to this tab and make it your official domain.
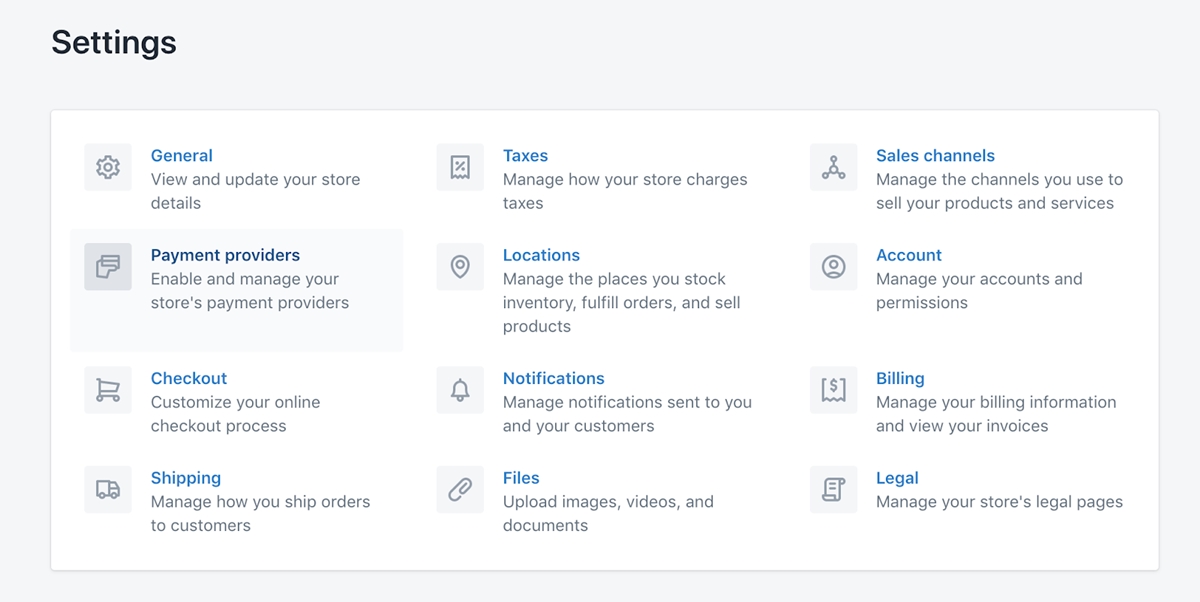
- Settings: This is where you can set up other important details that enable your store to run smoothly.
-
Select a plan: When you actually start selling, you will need to pay for a plan because the trial plan you’re using only works for 3 days. Here’s our complete guide on Shopify plans; it will inform you of what comes with each plan, and help you choose the right one for yourself. I’d recommend you to go with the basic plan (at 39$/month) and test everything first. You can always scale it up when your store takes off.
-
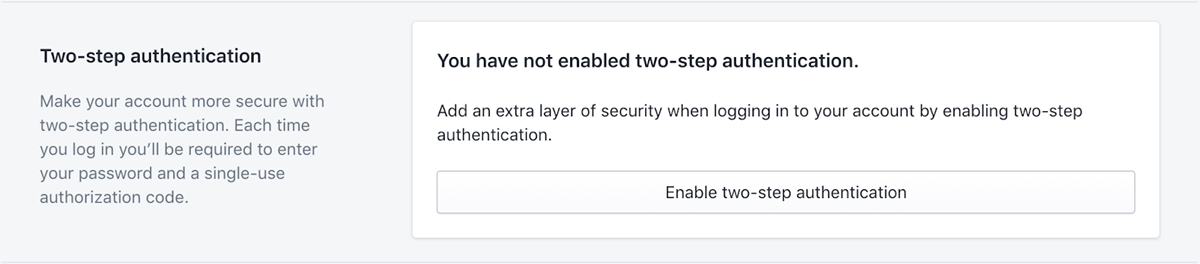
Your profile: You can go to this section to add a profile image, change some details of your website, and improve your website security. This is where to enable two-step authentication, which is a must to secure your store. Scroll down to the bottom of your profile, and you will see this
Two-step authenticationsection. Click on it to set it up.
This is just the basics. You will need to take time to get to know the ins and outs of the Shopify system because an online guide can only tell you so much. If you want to know how something works truly, you will need to try it and use it. It will not take a lot of time to master the use of Shopify because the platform is built with non-tech savvy in mind, which means it’s uncomfortably easy to use.
Recommend:
- How to start your one product Shopify store?
- How To Start A Shopify Store With No Money?
- Shopify Starter Plan Review 2024: Examples of Successful Case Studies
2. Do you really need a checklist?
Let’s get back to having a Shopify Store launch checklist. Do you really need a checklist? The short answer is: YES. The long answer is: It will minimize mistakes and spare you a ton of headaches.
Checklists are widely used in any task that involves too many moving parts. It is used by pilots and astronauts for every flight. The New England Journal of Medicine also found in a study that checklists can help significantly reduce complications and potential mistakes in medical care.
You can come up with all kinds of checklists that are as long as you want them to be, but good checklists are neat and precise. They don’t have a lack of important details, but they don’t contain too much information as well. In other words, to be able to move smoothly, you should keep a checklist that is short, efficient, and easy to use, even in difficult situations. Let your checklist act as a reminder of the most important steps.
I have that checklist for you right here, so you don’t have to go anywhere else to find it. Let’s get right into it.
3. The Shopify launch checklist that you ever need:
3.1. Add your sales channels:
Based on a survey conducted by Harvard Business Review, 7% of consumers only shop only. Also, consumers are leaning further and further towards buying from multi-channel, which means consumers are more and more likely to use a sales channel to purchase a single product with a brand.
You don’t want to miss out on this opportunity of multi-channel retailing, do you? If so, you’ll need to find out which sales channels there are that work best for your brand and product, and then use that sales channel for your store.
Here are the sales channels that you can integrate with your Shopify store:
- eBay
- Amazon
- Social channels
- Google Shopping
You can keep track of sales and inventory across these channels because they all can connect with the core of your Shopify system. Here’re some successful examples of using different sales channels for your reference.
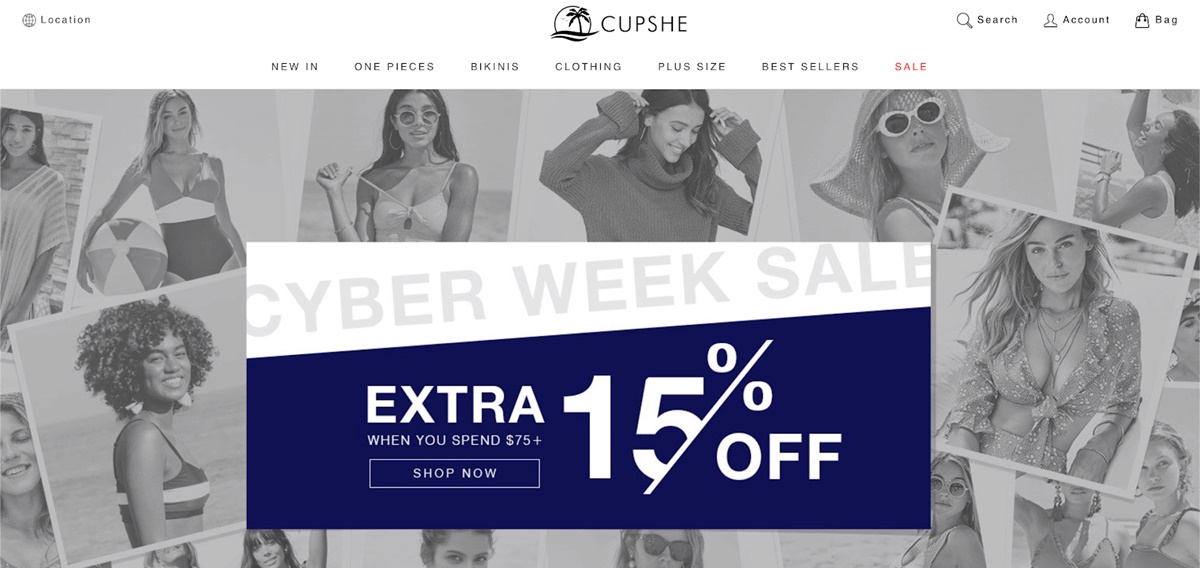
Cupshe(dot)com, whose annual revenue is roughly $50M, attributes 40% of its sales directly to selling on social media channels.
When ORO LOS ANGELES expanded their selling to Instagram, their revenue is lifted by 29.3%, and that is directly attributable to Instagram.

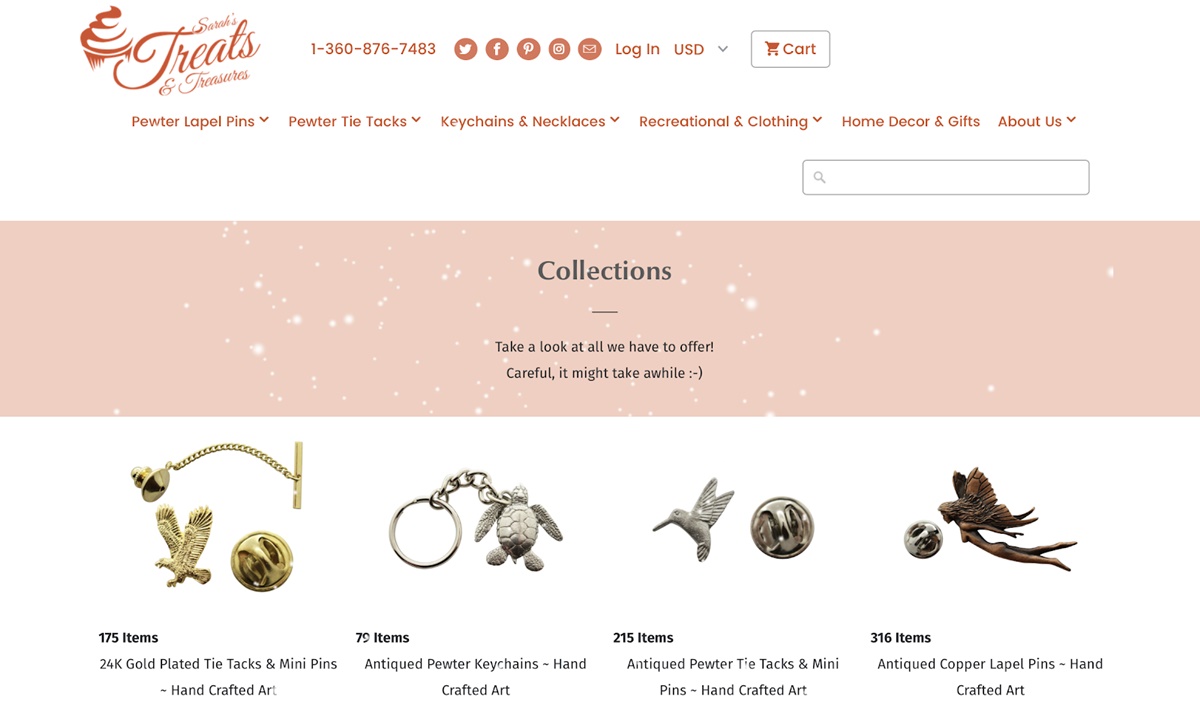
And when Sarah’s Treats & Treasures used Amazon as their sales channel, they gained traction on the platform very quickly, and now, it’s responsible for about 80% of their orders.
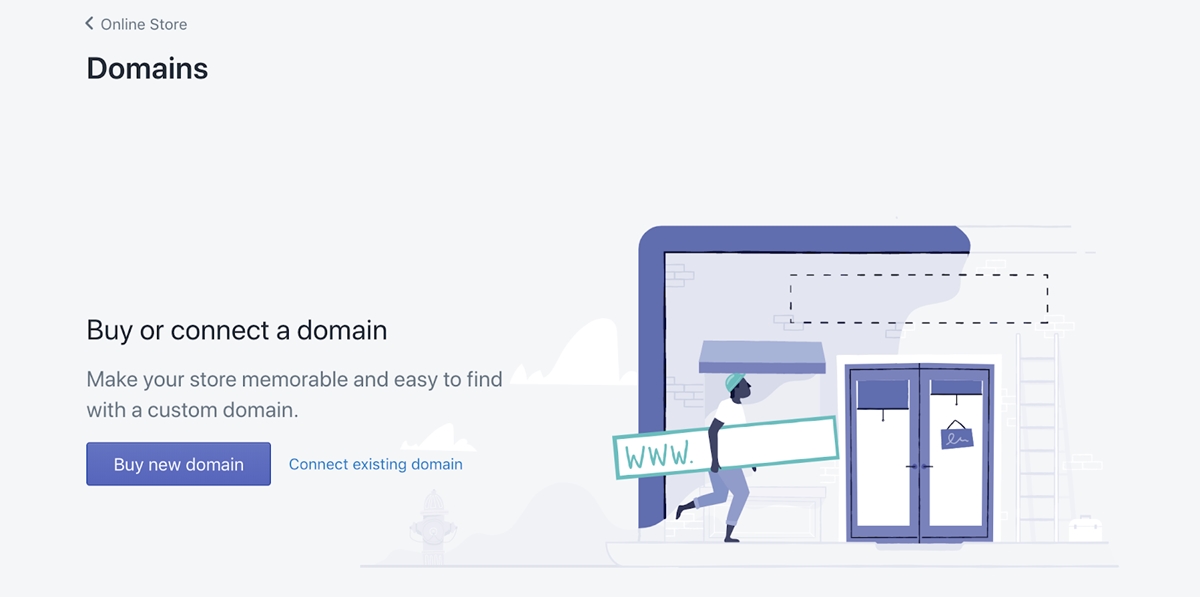
3.2. Add your domain:
This is probably the first thing you should think of if you’re serious about selling stuff online. The reason is adding a custom domain for your site will give your store brand recognition, and that makes it easier for your customers to remember your URL. You don’t want to miss a sale (or most likely a lot of it) when a customer wants to buy but don’t know how to look for you.
The first step to add a custom domain is searching for it first to see if it’s available because there might be other businesses that have the same name as you do, and they have registered the domain name that you want to register. If the domain is available, you can purchase it directly through Shopify.
In case your desired domain name is not available, you don’t necessarily have to go back and change your entire brand name. This is where creativity comes into play. Pepper, whose desired was pepper.com, was taken, added a little word to their domain name, and made it wearpepper.com for their URL. Bingo!
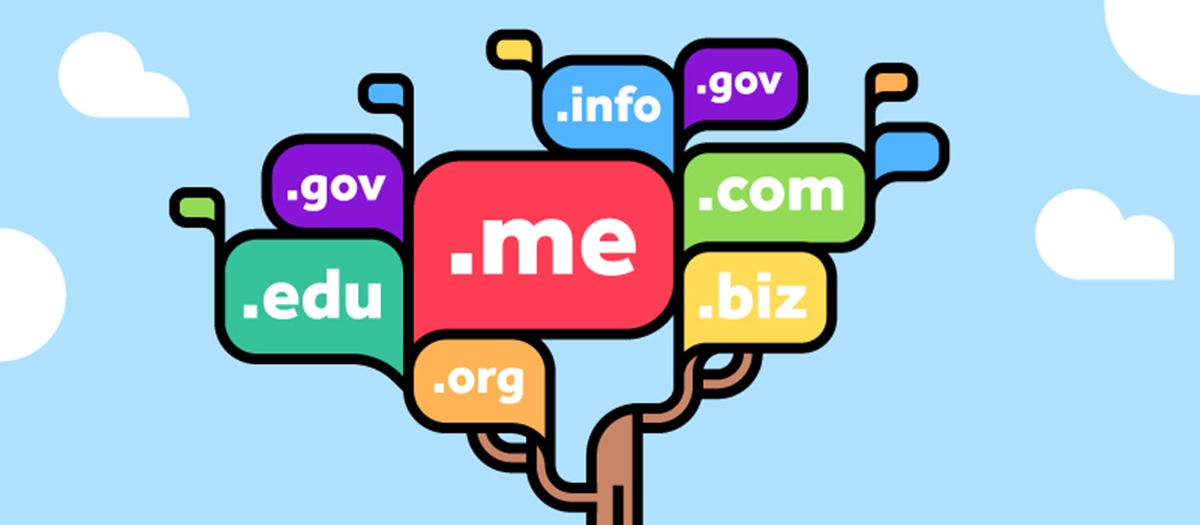
One important part of a domain name is the top-level domain (TLD). A top top-level domain is the .com part that you probably see a thousand times in your life, but this is the most popular TLD, and there are a whole lot more different variations, such as .net, .xyz, .gov.
These days, apart from .com, .store and .shop are popular among ecommerce businesses, but if you want some creativity and uniqueness, Driftaway Coffee’s webpage is ***driftaway.coffee***. No clothing store has the word coffee in their domain, right?
3.3. Check your payment gateway:

Here’s a quick but important issue: before you spend your already limited budget to your store, you’ll want to make sure that buyers can actually complete a purchase. Place a test order on your website to make sure that everything works smoothly.
3.4. Set up the standard pages:
When prospects go to your website, they won’t buy right away, but they will walk around your site looking for relevant information first. They will need to know who you are, what you’re actually selling, whether you’re reliable, etc.
Here are the most important pages that every online store should prepare carefully:
Homepage:
The homepage is the most important page on your website. It’s what keeps visitors stay and try to look for more information. If your homepage sucks, the bounce rate will be very high, which means when a visitor lands on your page, they’re entirely uninterested by how your homepage looks, so they leave immediately and don’t even bother looking for any further information. Make sure your homepage looks appealing with great product photography; whatever you’re selling, take really great pictures of it, and put it on your homepage.
Contact:
If someone is interested in buying, but there’s no way they can contact you with a question, you will miss that sale and any sale that falls into that case. On your contact page, display your phone number, email, and you should integrate live chat with your website too. Live chat is being used by probably every ecommerce store because it’s so easy for a customer to get in touch with a business via live chat. Also, you should make a contact form noticeable on your website, so that when the customer reaches out, but you’re not online, they can send you a message via your contact form, and you should let them know when you can get back to them.
About:
Your about page is where visitors can have more information about your company and your brand. This is where you can display information that your ad copies don’t have room to express.
Frequently asked questions (FAQ):
When you first launched your product or service, it might be hard to know what kinds of questions customers will ask the most. In this case, to craft a FAQ, you can predict questions that your potential customers might have, and you can also look at your competitors’ FAQs to see what questions they answer on their website. The key to creating a good FAQ section is don’t assume that your customers know things, but assume that they don’t know anything about your products, logistics, payment methods, etc. And then answer each of the questions that pop into your mind. You can also add up later on when more questions come in.
Product:
Your product page must certainly be on the list. This is where customers come in, check out product images, and read your product information. This is where the customers make their final decision if they are going to buy it. Here you should provide perfect images of each of all of your products, along with detailed descriptions about sizes, functions, pricing, so on and so forth.
3.5. Review your email notification settings:
For store owners, email is a powerful tool as it can be one of the primary methods to communicate with the customers. The Shopify default comes with several automated emails that you’ll want to customize before launch because they are kind of generic and boring. You can learn how to edit your default email templates, and personalize the message based on your brand voice.
Here are some of the most important emails that you should customize first because they will be sent to customers the most:
- Welcome series
- E-receipts
- Order confirmation
- Abandoned cart notifications
- Shipping notifications
3.6. Set up an analytics tool:
It’s necessary to have an analytics tool integrated with your store from day one. This date will give you insights into your website visitors’ behavior. For example, when your bounce rate is 70%, you will know that there’s a problem with your homepage that makes customers bounce back as soon as they come in.
One of the most used analytics tools is Google Analytics. This tool will tell you everything you need to know about the behavior of customers on your website (such as bounce rate or which product is seen the most), and you can know where you need to optimize based on that.
3.7. Set up your tax and shipping settings:
This is where you need to double-check because if you don’t set them up correctly, that can eat into your profits because you’re not charging enough. Set up your tax and shipping settings properly before you launch your store.
Recommended: How to Set Up Shopify Taxes for Dropshipping
3.8. Make it easy for shoppers to contact you:
You haven’t forgotten about that contact page I recommend you to set up, have you? Double-check that again and make sure it’s easy to find. Remember to add live chat to your page too.
According to a survey conducted by Total Retail, businesses that can chat immediately can raise cart size up to 48% and can have three times more customer retention. This is no rocket science these days, right? We all get frustrated when you cannot reach out to a store for a question, and that sometimes that makes us drop out buying decision.
Live chat also gives you an opportunity to upsell. Remember, every time you order a burger at McDonald’s, they always ask if you want some coke/fries. That’s an upsell, and they can do that because you talk to them directly. With that simple question, McDonald’s makes billions selling extra fries and coke every day worldwide. If there is an upsell opportunity with your product, don’t miss that by adding live chat to your webpage.
3.9. Install only the necessary apps:
Although there are thousands of apps on the Shopify App Store, you won’t need many of them when you first launch your business, and some apps don’t even make sense at all when you look at them at your current size.
And because you probably fall short of capital when you first launch your business, you should want to pay for the apps that are essential for your store. Here’s our review of 31 must-have Shopify apps. Of course, you won’t need all of them either, which is why we break them down into different sections such as sales apps and promotion apps and review apps. You can check them out and see which ones you need to most based on your business and industry.
3.10. Set up your billing information:
When you first create your Shopify store, you have a 3-day free trial of full functionality. After this period, your store will be closed, which means you won’t be able to log in. So you can take the time to set up things first, but please don’t forget to set up your billing details so you can get charged.
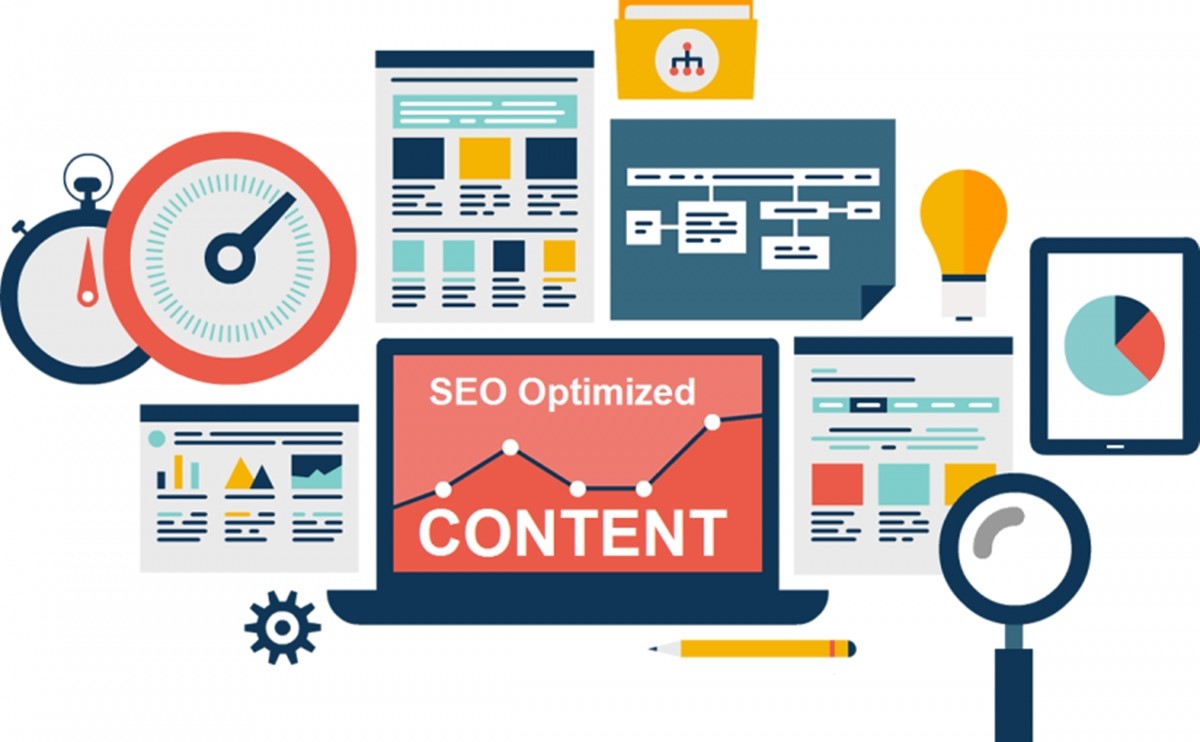
3.11. Optimize your web images:

There is one potential issue that can hurt your website traffic considerably; slow loading speed. Most websites, as big as Amazon, only take less than a second to load. And because of that, customers have grown familiar with fast loading speed. If your website loads slow, visitors might not have the patience to wait. This is especially detrimental when you’re running traffic campaigns on Facebook because you get charged when someone clicks on your outbound link, but that click might not land on your site because of your site loads, so slow so they just leave. You get charged without having a visitor.
One of the reasons for a slow-loading site is unoptimized images as text does not take much loading capacity. So it’s important to make sure all of the images on your website are optimized to make sure that no money is lost due to a slow webpage.
Here are some tips on how you can optimize your website images:
- Optimize your “alt” attributes carefully: The alt attributes are mostly used for web accessibility and SEO optimization. To optimize this section, use keywords that you are trying to rank for on the Google search results.
- Choose the right file type: Generally speaking, you should stick closely to
.jpgor.png, but you can also use the.gifttype where you think a GIF can deliver your message better. - Be descriptive when naming your images: This one helps with the SEO optimization of your site and product pages, so stick to the keywords that you’re ranking for.
- Reduce the size of your images: For web display, you won’t need the same quality as you would need for print because the LCD display screen of electronic devices can offset for that. Therefore, it’s unnecessary to use a high-quality image for your web display. TinyPNG is a free tool that you can use to compress images and reduce your file size; I would recommend sticking with 1-MB file size at maximum for optimized speed and display.
- Optimize your homepage images: As I said above, if your homepage doesn’t load in a second, visitors will leave. Okay, that’s a bit too extreme. Let’s say 2 seconds instead. So, your homepage images are the most important to optimize to make sure visitors don’t leave. Make sure you use the smallest image possible size here without hurting the quality of the display.
Recommend: 12+ Best Shopify Image optimizer Apps
4. What’s next?

So, that’s pretty much everything that you need to put on your checklist and go through before you launch your store.
So what’s next to buff everything up? Some essential things, of course, because we only do what’s essential here.
Whatever your goal is, here are the important that you should pay attention to if you’re going to keep your store survive and grow:
Marketing - Yes. It’s on top of the list because bad marketing means no sales. Actually, when it comes to a business that sells things successfully, it’s all about your product and how you market it. If you want the entire business you have just set up to be an asset that provides you with a flow of income instead of a burden that takes money from you every month, you have to make it known to the right people.
There are lots of ways these days to marketing a product, but if you just get started, google for how to run ads on Facebook, Instagram and Twitter, then start from there. You should be able to reach your potential customers in one or all of these platforms because we all hang out on social media these days, we don’t go out anymore.
To market a product successfully, make sure yours shine with great photography and appealing ad copies. If you’re trying to make your brand known to people, influencers on Instagram can be used to build up your credibility.
In the beginning, marketing will take a huge amount of budget to get your product off the ground, so make sure you have a fair amount of capital at hand for this task. There’s no free way to market your product for free, because if it’s free, everybody will do it, and it’s no longer free. Pay to get your message known to people (those who like stuff like what you’re selling). Facebook ads will certainly pay off if you get your targeting properly.
Buying experience - one of the best ways to not miss sales is to make buying with you a piece of cake for your customers. Keep working to improve the user experience of your website, don’t let error such as unloading images, slow loading speed hurt your sales numbers. You can take advantage of apps in the Shopify store to improve your customers’ shopping experience via sales, promotions, hot items, etc.
Cashflow - If you run out of cash, you’re dead. One of the most common reasons that businesses die is because they run out of cash. Although they’re making money, that money for different reasons (such as late payment, scheduled payment) has not made it into cash the moment their cash runs out. As a result, they don’t have enough cash to pay for bills, wages, overhead costs, etc.
Watch over your cash very carefully. One important thing you should keep in mind is don’t overspend on anything even if your business is doing well. That means don’t stuff your warehouse with tons of inventory when you notice your sales are rapidly increasing. You don’t know whether and when that growth just suddenly stops.
In business, there’s a saying that is “die on a mountain of assets.” That saying basically you have inventory, you have a warehouse, you have a fancy office, but you still die because you don’t have enough cash to pay for your expenses. No one ever says “die on a mountain of cash,” and Apple is not going to die any time soon, even in the face of crisis because they have somewhere around US$ 210 billion worth of cash to spend. The rule of thumb in business is you will stand a chance as long as you still have cash.
Final words
I hope this article has given you a sufficient setting checklist that you can rely on to set up your store before you officially launch it. If I miss any important aspect, please leave a comment below, and I will add them to the article. Thanks! :-)
Related Posts:


New Posts


How To Set Up Google Analytics 4 For Your BigCommerce Store
